
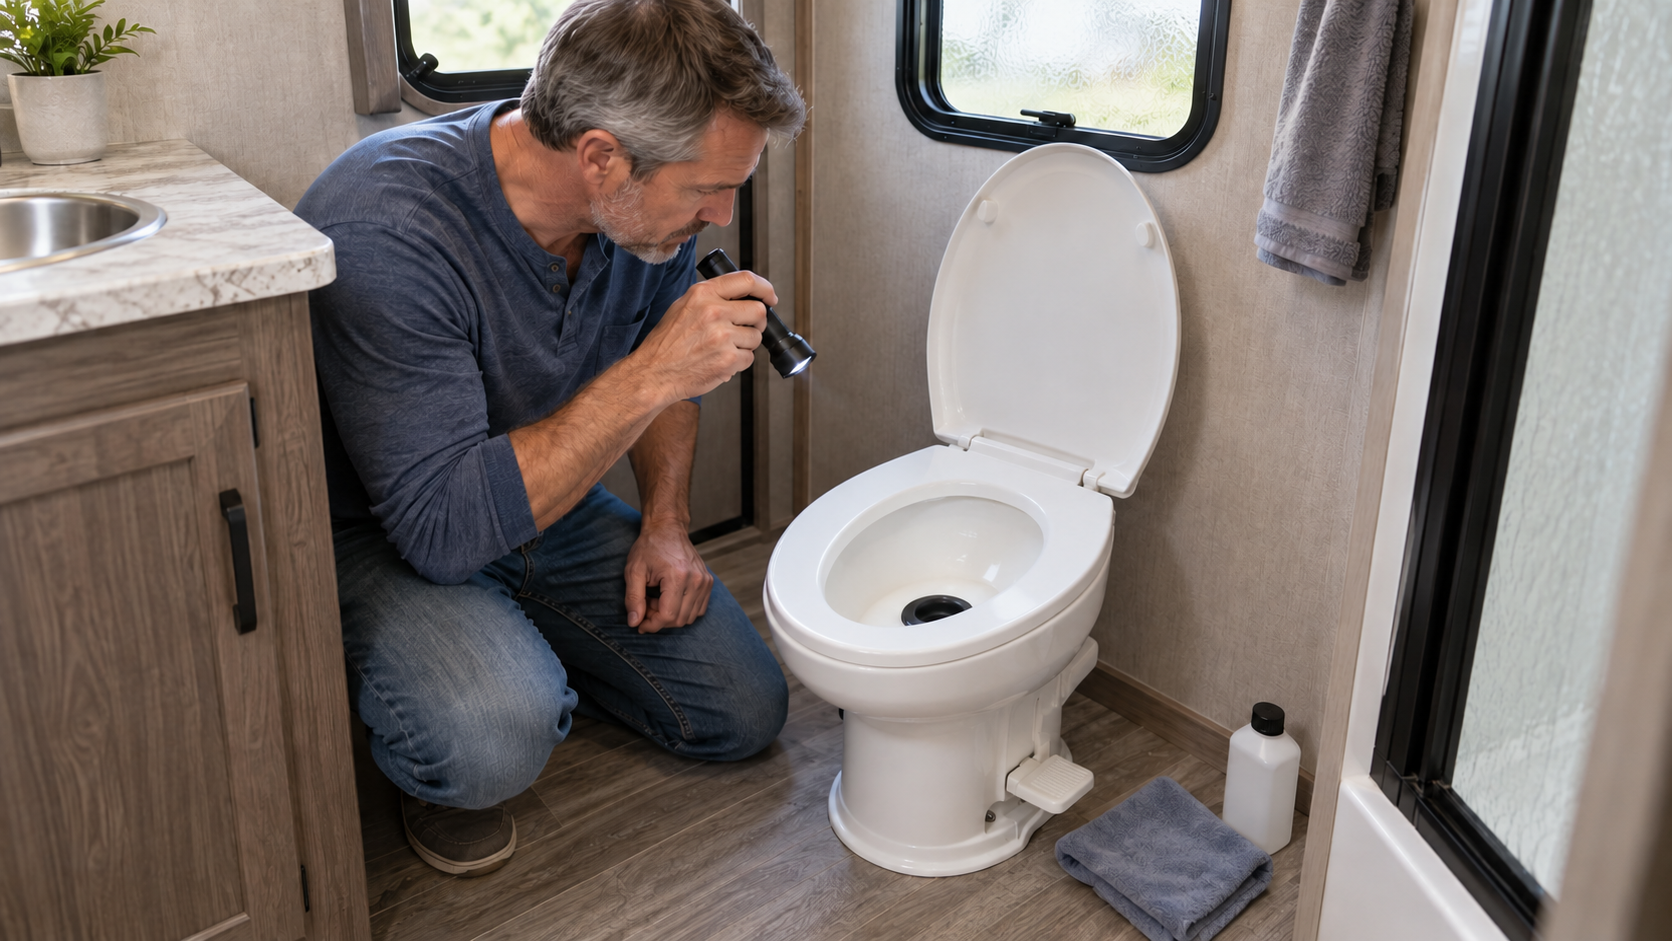
RV toilet maintenance matters because the toilet is simple compared with a household toilet, yet it still depends on several seals, valves, water connections and moving parts. A small problem with the bowl seal or water valve can produce odours, waste fresh water or damage the bathroom floor.
Most RV owners can clean the bowl, inspect the flush mechanism, maintain the bowl seal, check visible water connections and recognize a developing problem. Removing the toilet, replacing internal valves or repairing a damaged floor flange may require more experience.
Before performing maintenance, identify the toilet manufacturer and model. Parts that appear similar are not necessarily interchangeable.
Identify the Type of RV Toilet
The maintenance procedure depends on the type of toilet installed in the RV.
Common types include:
- Gravity-flush toilets
- Cassette toilets
- Macerating toilets
- Vacuum-flush toilets
- Portable toilets
- Composting toilets
A gravity-flush toilet is common in travel trailers, fifth wheels and motorhomes. It normally sits directly above the black holding tank or connects through a short drop pipe. Pressing the foot pedal or operating the flush control opens a ball or blade valve at the bottom of the bowl.
Cassette toilets collect waste in a removable tank accessed from outside the RV. Macerating and vacuum toilets use pumps, controls and additional plumbing. These systems require model-specific maintenance and troubleshooting.
This guide concentrates primarily on conventional gravity-flush RV toilets. Follow the manufacturer’s instructions if your RV has another type.
Record the Toilet Model
Find the toilet’s manufacturer, model number and serial number before ordering parts. The identification label may be located:
- Behind the toilet
- Near the base
- Under the seat
- Beneath a removable cover
- Inside the cassette compartment
- In the RV’s appliance records
Record the correct replacement numbers for the bowl seal, water valve, floor-flange seal, vacuum breaker and flush mechanism.
Taking photographs before removing covers or disconnecting plumbing can help preserve the original arrangement.
Understand How a Gravity-Flush Toilet Works
Most gravity-flush RV toilets use a foot pedal or hand control with two stages.
Partially operating the control normally adds water to the bowl. Pressing it farther opens the flush ball or blade and allows waste to fall into the black tank.
After the valve closes, a small amount of water should remain in the bowl. That water helps create an odour barrier between the bathroom and the black tank.
A typical toilet may include:
- A bowl
- A flush ball or blade
- A replaceable bowl seal
- A foot pedal or hand control
- A water valve
- A vacuum breaker
- A water-supply connection
- Floor-mounting bolts
- A floor-flange seal
- A spray attachment on some models
A problem with any of these components can appear as leaking water, poor flushing, bowl-water loss, odours or difficulty operating the pedal.
Use the Toilet Correctly
Use only toilet paper suitable for RV holding-tank systems and enough water to move waste into the tank.
Holding the flush valve open briefly after use adds water to the black tank. Adequate water helps prevent waste from drying into a hard mound beneath the toilet.
Avoid placing the following items in an RV toilet:
- Paper towels
- Facial tissues
- Cleaning wipes
- Baby wipes
- Feminine hygiene products
- Cotton swabs
- Dental floss
- Grease
- Food waste
- Household drain cleaner
- Objects labelled “flushable” unless the toilet and holding-tank manufacturers specifically permit them
Many products marketed as flushable do not break down quickly enough for an RV holding tank.
Do not use the toilet while the black-tank termination valve is left open continuously at a campsite. Liquids may drain away while solids remain inside the tank. Keep the valve closed during normal use and empty the tank when appropriate.
Clean the Toilet Without Damaging It
RV toilet materials, seals and valves can be damaged by unsuitable household cleaners.
Use a cleaner approved by the toilet manufacturer. Avoid abrasive powders, stiff brushes and chemicals that contain ingredients prohibited by the manual.
Depending on the toilet, unsuitable products may include:
- Chlorine bleach
- Alcohol
- Petroleum-based cleaners
- Abrasive cleaners
- Strong drain-opening chemicals
- Harsh solvents
- Scouring pads
Clean the bowl regularly with a soft toilet brush or cloth. Pay attention to the area around the flush ball or blade, where mineral deposits and waste residue can interfere with sealing.
Never mix cleaning chemicals. Combining incompatible products can produce toxic gas.
Maintain the Bowl Seal
The bowl seal sits around the flush opening and helps retain water after the flush valve closes.
A dry, dirty or damaged seal may allow water to drain from the bowl and permit black-tank odours to enter the bathroom.
To inspect the seal:
- Turn off the water pump and disconnect city water.
- Operate the flush control to relieve pressure.
- Open the flush ball or blade according to the toilet manual.
- Inspect the seal for dirt, mineral buildup, deformation or damage.
- Clean the seal with an approved product and soft cloth.
- Apply only the lubricant recommended by the toilet manufacturer.
- Restore water and test whether the bowl holds water.
Do not use petroleum jelly unless the toilet manufacturer specifically permits it. Petroleum products can damage some rubber seals.
A seal that remains hard, distorted, torn or unable to hold water usually requires replacement.
The Bowl Will Not Hold Water
If water slowly disappears from the bowl, the bowl seal is the most likely area to inspect.
Possible causes include:
- Dirt on the seal
- Toilet paper caught in the sealing surface
- Mineral deposits
- A dry seal
- An incorrectly seated seal
- A worn or damaged seal
- A flush ball or blade that does not close completely
- A damaged flush mechanism
Clean the sealing surfaces and lubricate them only as directed. Do not force sharp tools beneath the seal because they can scratch the flush ball or damage the rubber.
If the toilet still loses water, install the correct replacement seal or have the toilet serviced.
The Flush Ball or Blade Does Not Close
A flush valve that remains partly open cannot hold water or block tank odours.
Possible causes include:
- Debris around the valve
- A dry bowl seal
- Excessive friction
- A damaged pedal mechanism
- A displaced linkage
- A weak or broken return spring
- A cracked flush component
- A swollen or distorted seal
Turn off the water supply before inspecting the mechanism. Do not force the pedal or flush control. Applying excessive pressure can break the pedal, linkage or valve.
Use the toilet manufacturer’s replacement kit and instructions. Some toilets contain factory-sealed assemblies that should not be separated.
Water Does Not Enter the Bowl
If the toilet opens but little or no rinse water enters, check the RV’s water supply before assuming the toilet has failed.
Check:
- Fresh-water tank level
- Water-pump operation
- City-water connection
- Water pressure at another faucet
- Toilet supply valve, if equipped
- Kinked or frozen water lines
- The screen at the toilet’s water inlet
- Mineral buildup in the rim openings
- A damaged water valve
- The electrical supply on powered toilets
If other fixtures have normal flow, the restriction is probably near the toilet.
Some water valves have an inlet screen that can be cleaned without disassembling the valve. Follow the toilet manual closely.
Do not drill out rim openings or alter the water valve to increase flow.
Water Continues Flowing Into the Bowl
A toilet that continues adding water after the pedal or control has been released can overflow and flood the RV.
Turn off the water pump or disconnect the city-water supply immediately.
Possible causes include:
- A pedal that does not return
- A sticking water valve
- Dirt inside the water valve
- A frozen or cracked valve
- A damaged return spring
- A misaligned linkage
- Excessive water pressure
- An electrical-control fault on a powered toilet
Some toilet designs may allow a small amount of residual water to trickle briefly after flushing. Check the manual for the normal operation of your model.
Continuous or prolonged water flow usually means the water valve or operating mechanism needs service.
Do not leave the RV connected to pressurized city water while an unreliable toilet valve remains in service.
Water Leaks Behind the Toilet
Water behind the toilet may come from the supply line, water valve, vacuum breaker, sprayer or an internal connection.
Dry the area and inspect while briefly restoring water pressure.
Look for:
- A loose supply-line connection
- Cross-threaded plastic fittings
- A cracked water valve
- A leaking vacuum breaker
- A damaged hand sprayer
- A split water line
- Freeze damage
- Water running down from another fixture
Turn the water off before tightening or replacing a connection. Plastic toilet fittings can crack if overtightened.
If water appears only while flushing, watch the water valve and vacuum breaker during operation. If it leaks whenever the system is pressurized, inspect the supply connection and valve body.
Water Leaks From the Toilet Base
Water appearing at the floor around the toilet may indicate a damaged floor-flange seal, loose mounting bolts, a cracked toilet base or leakage from a higher connection.
Do not assume every RV toilet uses a household wax ring. Most RV toilets use a model-specific rubber, foam or synthetic floor-flange seal.
Check whether the toilet rocks or shifts. Loose mounting hardware can prevent the floor seal from remaining compressed.
Do not overtighten the mounting bolts. Excessive force can crack the toilet base or damage the floor flange.
The toilet may need to be removed so the flange, seal and surrounding floor can be inspected. Any soft, swollen or discoloured flooring should be evaluated for water damage.
The Toilet Rocks or Feels Loose
A properly installed toilet should remain stable during use.
Movement may be caused by:
- Loose floor bolts
- A compressed or damaged floor seal
- A cracked mounting flange
- Damaged flooring
- Incorrect installation
- A cracked toilet base
Stop using a toilet that moves significantly. Continued use can worsen the leak, break the flange or damage the surrounding floor.
Tightening the bolts may help only when the flange, seal, toilet base and floor remain sound. If the toilet loosens again, remove it and inspect the mounting system.
Odour Enters the Bathroom
Odour does not always mean the black tank needs more chemical treatment.
If the smell appears while the flush valve is closed, check for:
- No water in the bowl
- A leaking bowl seal
- A damaged floor-flange seal
- A loose toilet
- A leaking vent connection
- A cracked toilet component
- A dry nearby drain trap
- A leak in the wastewater plumbing
If the smell becomes stronger when the flush valve opens, inspect the black-tank condition and roof vent.
Possible causes include:
- Insufficient water in the holding tank
- Waste buildup
- A blocked tank vent
- A nearly full tank
- A leaking vent pipe
- Wind forcing air down the vent
- A tank-rinsing or treatment problem
Do not attempt to cover a persistent sewage smell with air freshener. Find and correct the path allowing odour into the RV.
The Toilet Is Clogged
A blockage may occur in the toilet opening, drop pipe or black tank.
Start by determining whether the tank is full. Do not continue flushing into a full tank.
For a simple blockage:
- Turn off the water supply
- Open the flush valve carefully
- Use an RV-approved toilet wand or flexible tool
- Add water when tank capacity allows
- Follow the holding-tank manufacturer’s instructions
- Empty and rinse the tank at an approved dump station
Do not use boiling water. It can damage plastic toilet and holding-tank components.
Avoid caustic household drain cleaners, rigid metal rods and excessive compressed air. These methods can damage seals, plumbing or the holding tank.
A severe or inaccessible blockage may require professional tank cleaning.
Maintain the Black Tank Along With the Toilet
The toilet cannot work properly when the black holding tank is neglected.
Good operating habits include:
- Keeping the tank valve closed during normal campsite use
- Using enough water with each flush
- Emptying the tank before it becomes completely full
- Rinsing the tank when appropriate
- Using holding-tank treatments approved by the RV manufacturer
- Avoiding non-degradable materials
- Inspecting the roof vent for obstruction
- Winterizing the tank and plumbing
If the tank sensors remain inaccurate, debris may be contacting the sensor probes. The toilet itself may operate normally even when the monitor panel gives an incorrect reading. For more on holding tank care, see our RV Holding Tank Maintenance guide.
Winterize the Toilet
Water trapped inside the toilet valve, vacuum breaker, sprayer or supply line can freeze and crack components.
Follow the RV and toilet manufacturers’ winterizing procedures. Depending on the model, this may involve:
- Draining the fresh-water system
- Disconnecting city water
- Operating the flush control to remove pressure
- Draining the toilet supply line
- Clearing the hand sprayer
- Using approved non-toxic RV antifreeze where permitted
- Emptying and cleaning a cassette tank
- Disconnecting power from an electric toilet
- Lubricating seals before storage
Different toilets have different antifreeze requirements. Do not assume a product approved for the RV plumbing system can be left inside every cassette, macerator or toilet mechanism.
During de-winterizing, inspect the toilet carefully while restoring water pressure. A freeze-damaged water valve may leak immediately or begin leaking after several flushes. For the complete winterizing procedure, see our How to Winterize an RV guide.
RV Toilet Maintenance: Checklist
Before Each Trip
- Test the flush control
- Confirm that water enters the bowl
- Check whether the bowl holds water
- Inspect around the toilet for moisture
- Confirm that the toilet is secure
- Check for wastewater odours
- Verify that the black tank has enough capacity
During the Camping Season
- Clean the bowl with approved products
- Clean and lubricate the bowl seal as directed
- Inspect the water connection
- Check the pedal or flush control
- Watch for water-valve leakage
- Inspect the sprayer, if equipped
- Confirm that the toilet remains firmly mounted
Before Storage
- Empty and rinse the black tank
- Clean the toilet
- Drain or winterize the water supply
- Protect the water valve from freezing
- Service the bowl seal
- Empty and clean the cassette tank, if equipped
- Leave components in the storage position specified by the manufacturer
For a printable version of the maintenance schedule, see our RV Checklists page.
When to Contact a Qualified Technician
Arrange professional service when:
- Water will not stop flowing into the bowl
- The toilet leaks from its base
- The floor around the toilet is soft or damaged
- The floor flange is cracked
- The toilet repeatedly loosens
- A concealed water connection leaks
- The toilet body is cracked
- The flush mechanism requires major disassembly
- A macerator or vacuum pump has failed
- Electrical wiring is damaged
- A wastewater odour remains after basic checks
- The black tank or drop pipe has a severe blockage
A properly maintained RV toilet should flush smoothly, remain firmly attached, hold a small amount of water in the bowl and stay dry around its base. Regular cleaning, seal maintenance, correct winterizing and early attention to leaks can prevent unpleasant and expensive repairs. For help identifying specific problems, see our RV Troubleshooting guides. For more industry safety guidance, see the RV Safety & Education Foundation.