
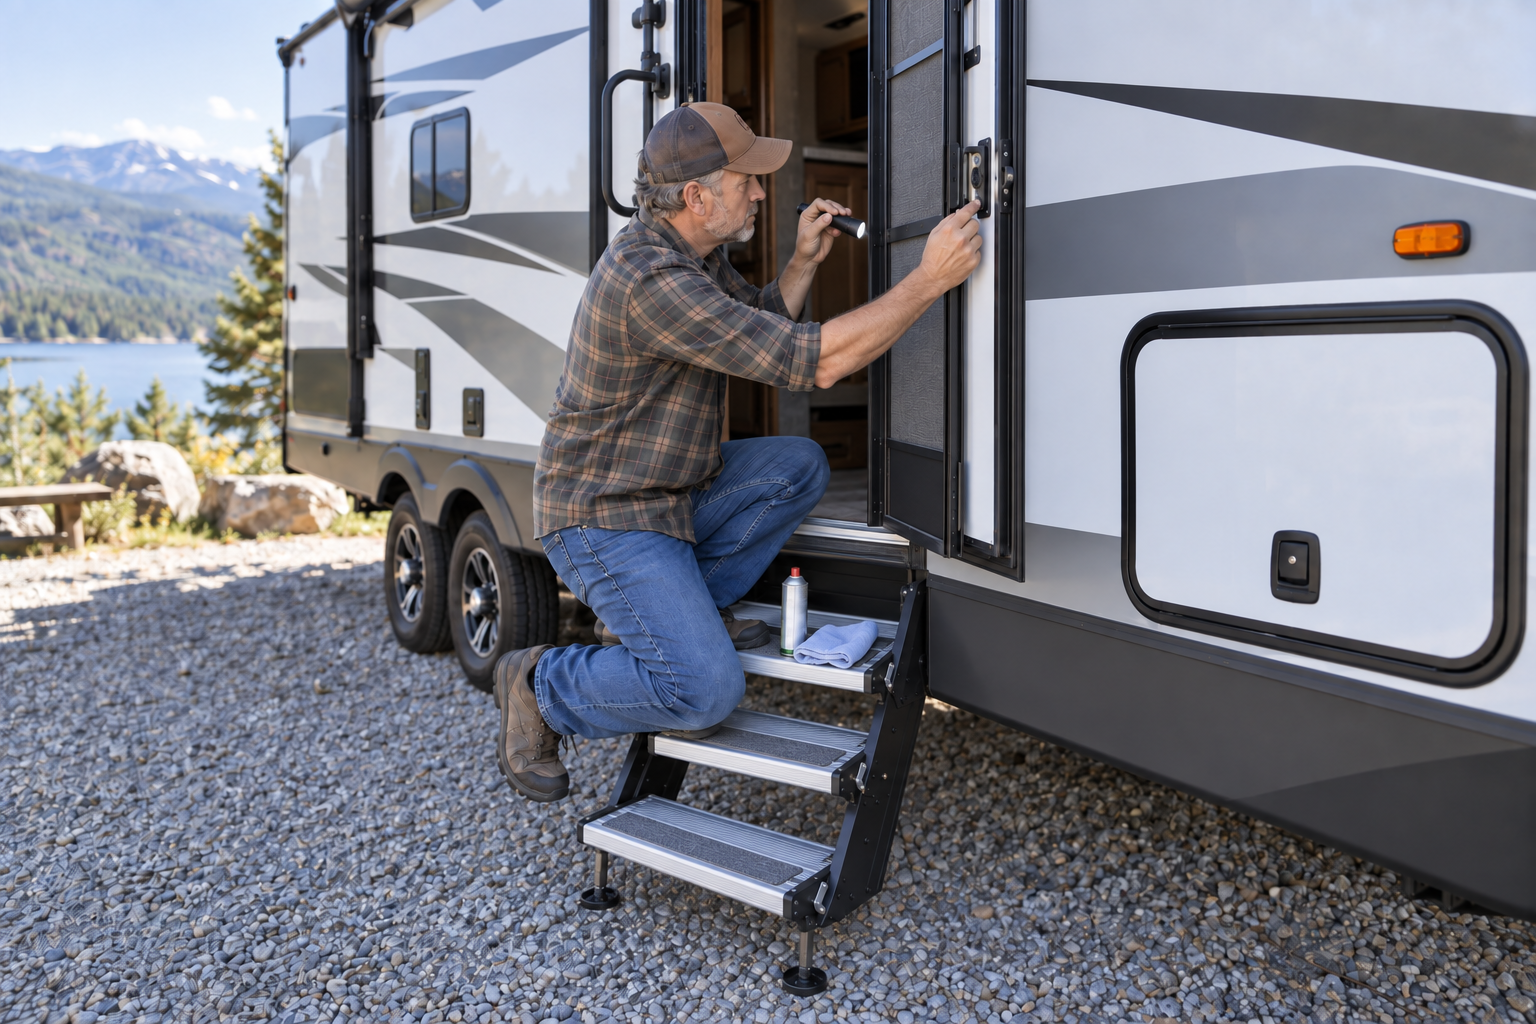
RV door maintenance matters because entry doors, steps, baggage doors, locks, and latches endure vibration, road dust, rain, temperature changes, and frequent use. A door that becomes difficult to close or a step that hesitates may seem like a minor inconvenience, but it can develop into a safety problem or leave the RV unsecured.
Routine cleaning, inspection, and lubrication can prevent many common problems. When a component begins binding or moving out of alignment, finding the cause before forcing it can prevent damage to the door, frame, lock, or surrounding wall.
This guide covers owner-level maintenance and troubleshooting. Follow the instructions provided by your RV and component manufacturers, particularly when adjusting a door, servicing a powered step, or working around electrical wiring.
Inspect the Entry Door Regularly
Open and close the entry door slowly while watching its movement. It should swing without scraping, excessive resistance, or unusual movement at the hinges. The latch should enter the striker cleanly without requiring the door to be lifted, slammed, or pulled sideways.
Inspect:
- Door hinges and mounting screws
- Latch and striker alignment
- Lock operation
- Door-frame fasteners
- Interior and exterior handles
- Screen-door latch and hinges
- Weather seals
- Threshold and lower frame
- Hold-open catch or friction hinge
- Window frame, if the door has a window
- Gaps around the door when it is closed
Look for loose screws, worn hinge pins, bent components, cracked plastic, torn seals, corrosion, and movement between the door frame and RV wall.
Check the door from inside and outside. An alignment problem that is difficult to see from one side may become obvious from the other.
Determine Why the Door Is Difficult to Close
Do not assume every hard-closing door needs a striker adjustment. Several problems can produce similar symptoms.
Common causes include:
- Loose or worn hinges
- A shifted striker plate
- Dirt or corrosion inside the latch
- A damaged or swollen weather seal
- A bent door or frame
- An RV that is twisted from uneven levelling
- Excessive stabilizer-jack pressure
- Frame or wall movement
- A screen door interfering with the main door
- An object caught in the threshold
If the door operates normally when the RV is level but begins binding after the stabilizers are deployed, reduce the stabilizer pressure and recheck it. Stabilizer jacks are intended to limit movement; they should not be used to lift or level the RV unless the system manufacturer specifically designed them for that purpose.
A substantial change in door fit can indicate that the RV body or frame is being twisted. Correct the levelling or support problem before altering the door hardware.
Check the Hinges and Fasteners
Support the door and gently move its outer edge up and down. Noticeable movement at a hinge may indicate loose fasteners, worn hinge components, or damage around the mounting area.
Tighten accessible fasteners only enough to secure them. Avoid overtightening screws into thin metal, wood, or composite material because damaged threads may no longer hold properly.
If a screw repeatedly loosens, determine why. Vibration, a worn hole, hinge binding, or movement in the surrounding structure may be involved. Installing a larger screw without confirming adequate clearance can damage hidden wiring, framing, or the opposite side of the door.
Inspect hinge pins and pivot points for corrosion or wear. Apply only a lubricant approved for the hinge material and location. Wipe away excess product so it does not collect dirt.
A bent hinge, cracked frame, or loose mounting surface generally requires more than lubrication. Continuing to force the door can enlarge mounting holes and damage the surrounding wall.
Adjust the Latch and Striker Carefully
Close the door slowly and watch where the latch meets the striker. Scuff marks can help identify whether the latch is contacting too high, too low, or too far to one side.
Before moving the striker:
- Confirm the RV is level and properly supported.
- Check that the hinges and frame fasteners are secure.
- Inspect the latch for dirt or damage.
- Mark the striker’s original position.
- Make only a small adjustment.
- Tighten the fasteners and test the door several times.
The door should latch securely without excessive force. Avoid moving the striker so far that the latch engages only partially.
If the alignment changes repeatedly, the striker may not be the root cause. Inspect the hinges, frame, stabilizer setup, and surrounding structure before making further adjustments.
Clean and Lubricate the Door Lock
Dust and residue can make an RV lock difficult to operate. Clean the exterior of the lock and remove dirt from around the latch bolt and handles.
Use a lock lubricant recommended by the lock manufacturer. A dry lubricant is often better suited to exposed locks than a heavy oil that attracts dust, but the correct product depends on the lock design. Do not spray an unknown lubricant into electronic keypads or powered lock components.
Insert the key gently and confirm that it turns without binding. Do not use the key as a handle to pull the door open. A bent or weakened key may break inside the cylinder.
Check every key before a trip and carry a spare in a secure location outside the locked RV. Verify that both the latch lock and deadbolt operate from inside and outside.
If a lock becomes increasingly difficult to turn, address it before it fails. A worn cylinder, misaligned door, or loaded latch can trap occupants inside or prevent access from outside.
Inspect the Weather Seal
The entry-door seal should remain flexible and make consistent contact around the frame. Look for:
- Tears and missing sections
- Flattened or hardened rubber
- Loose adhesive
- Dirt preventing contact
- Gaps at corners
- Evidence of water tracks
- Seal material folded beneath the door
Clean the seal with a product approved for the material. Avoid petroleum-based chemicals unless the manufacturer permits them because they may soften or damage some rubber compounds.
Use a piece of paper to check contact. Close the door on the paper at several points around the perimeter. Some resistance should be felt when pulling it out. A loose area may indicate a seal or alignment problem.
Do not compensate for a severely misaligned door by installing an excessively thick seal. Added pressure can make the latch difficult to operate and place more stress on the hinges.
Maintain the Screen Door
Inspect the screen door separately from the main door. Confirm that it:
- Swings freely
- Latches without being lifted
- Connects to and separates from the main door correctly
- Has an intact screen
- Does not rub against the threshold
- Remains securely attached at the hinges
- Has a working sliding panel and handle
A misaligned screen door can interfere with the main entry door and make it appear that the main latch is defective.
Clean debris from the threshold and lower frame. Lubricate approved hinge and latch points sparingly. Repair torn screening before the opening grows, especially if the RV is used in areas with mosquitoes or other insects.
Check the Door Hold-Open Device
RV entry doors may use a friction hinge, gas strut, mechanical catch, or exterior hold-open clip. Inspect the device for loose fasteners, bent arms, cracks, and excessive resistance.
A door that suddenly swings in the wind can injure someone or damage the hinges, wall, awning hardware, or exterior catch. However, a door that requires excessive force to move can also damage its mounting points.
Do not alter a friction hinge or add an improvised restraint without confirming that it will not overload the door or wall. Replace worn components with parts suitable for the door’s size and weight.
Inspect Manual Entry Steps
Manual folding steps should extend and retract without binding. Dirt, rust, bent components, or dry pivot points can make them difficult to operate.
Before touching the mechanism, support the steps if necessary and keep fingers away from folding joints. Clean mud, gravel, and road debris from the frame and pivots.
Inspect:
- Mounting bolts and brackets
- Step treads and anti-slip surfaces
- Pivot points
- Welds and frame members
- Retaining pins or latches
- Rust and corrosion
- Excessive side-to-side movement
- Clearance beneath the RV
Apply an approved lubricant to the pivot points, then move the steps through their full range several times. Wipe away excess lubricant.
Do not travel with manual steps partially extended or unsecured. Confirm that the travel latch or retaining mechanism is fully engaged before departure.
Maintain Powered Entry Steps
Powered steps normally extend when the door opens and retract when the door closes, although operation varies with the step switch, ignition circuit, controller, and manufacturer.
Keep people, pets, clothing, and tools away from the mechanism while it is moving. Powered steps can change position unexpectedly when the door switch, ignition, or electrical power changes.
Inspect:
- Step mounting hardware
- Pivot joints and linkage
- Electric motor and gearbox
- Wiring and connectors
- Ground connection
- Door switch or magnetic sensor
- Step-control switch
- Tread condition
- Obstructions around the mechanism
Clean and lubricate the specified pivot points according to the step manufacturer’s schedule. Do not spray lubricant into the motor, electrical connectors, or sealed gearbox unless instructed.
Test the steps while standing clear. Confirm that they extend fully, stop firmly, and retract completely. Listen for grinding, repeated clicking, or a motor that continues running after the steps reach their limit.
Troubleshoot Powered Steps That Do Not Move
If the powered steps do not operate:
- Keep everyone clear of the mechanism.
- Confirm the house battery is connected and adequately charged.
- Check the step-control switch position.
- Check whether the ignition changes the step operation.
- Inspect the applicable fuse or circuit breaker.
- Examine visible wiring and connectors.
- Inspect the ground connection.
- Check the door switch or magnetic sensor for damage or misalignment.
- Look for an obstruction or bent linkage.
A poorly aligned magnetic door sensor can prevent the controller from recognizing whether the door is open or closed. Inspect the sensor and magnet without assuming their positions are universal; follow the manufacturer’s specifications.
Do not place hands inside the linkage while testing the switch. The steps may move without warning.
If the motor runs but the steps do not move correctly, the linkage, gearbox, drive pin, or step frame may be damaged. Disconnect electrical power before performing any inspection that places hands near moving components. For more on 12-volt systems and battery care, see our Understanding RV Electrical Systems guide.
Address Steps That Move Slowly or Stop Partway
Slow or intermittent steps may result from:
- A weak battery
- Voltage loss in the wiring
- A poor ground
- Corroded connectors
- Dry or dirty pivots
- A bent step frame
- A failing motor or gearbox
- An obstruction
- A misaligned door switch
Measure system voltage only if you understand the circuit and can access it safely. A battery showing acceptable voltage without a load may still experience a substantial voltage drop when the motor operates.
Do not repeatedly cycle a stalled motor. Continued operation can overheat the motor, damage the controller, or worsen a mechanical problem.
Secure a Failed Step Before Travelling
A step that will not retract must be secured before the RV moves. An extended step can strike curbs, vehicles, posts, and other objects.
Follow the step manufacturer’s emergency procedure. Some systems allow the linkage or motor to be disconnected so the steps can be moved manually. Support the steps before removing any pin or linkage because the assembly may move suddenly.
Once retracted, secure the steps with a properly rated method that prevents them from dropping during travel. Do not rely on a light cord, temporary tape, or the damaged mechanism.
If the steps cannot be secured safely, do not drive the RV until they are repaired or removed by a qualified technician.
Inspect Exterior Compartment Doors
Open every baggage and utility compartment and examine:
- Hinges
- Latches and striker plates
- Locks
- Gas struts
- Hold-open catches
- Weather seals
- Frame fasteners
- Door edges
- Drain openings
- Signs of water entry
A compartment door should sit evenly in its opening and compress its seal without requiring excessive force. Uneven gaps can indicate a loose hinge, shifted striker, bent door, damaged frame, or overloaded compartment.
Check the interior for water tracks, staining, damp carpet, corrosion, and musty odours. Water may enter at the upper frame and collect along the compartment floor.
Maintain Compartment Latches and Locks
Clean dirt from around the latch and striker. Lubricate moving parts with a product recommended by the latch manufacturer, then operate the handle and lock several times.
If a latch feels loose, confirm that its mounting hardware and retaining nut are secure. Many compartment latches rotate a cam behind the frame. The cam must engage firmly without placing excessive pressure on the door.
Adjust the cam or striker in small increments. Too little engagement can allow the door to open during travel. Excessive pressure can bend the door, damage the latch, or flatten the seal.
After closing each compartment, pull gently on the door to confirm it is latched. Locking a compartment does not always guarantee that the latch engaged correctly.
Inspect Compartment Gas Struts
Gas struts support heavier compartment doors and keep them from falling. Inspect each strut for:
- Oil leakage
- Bent rods
- Corroded mounting points
- Loose retaining clips
- Cracked brackets
- Weak lifting force
- A door that will not remain open
Do not puncture, heat, bend, or open a gas strut. It contains stored pressure.
Support the compartment door securely before disconnecting a strut. Replacement struts must have the correct length, attachment style, and force rating. A strut that is too powerful can damage the hinges or door; one that is too weak may allow the door to fall.
Prevent Water Entry Around Compartments
Clean the door seal and the surface it contacts. Dirt, leaves, wiring, or stored items can prevent the seal from compressing.
Inspect the upper frame, corners, hinge area, exterior flange, and nearby wall seams. Water entering above the compartment may travel behind the wall and appear inside the opening.
Check that the door is not bowed and that all latches pull it evenly against the seal. Large compartment doors may use more than one latch; both must engage correctly.
Do not seal over designed drain paths. If the frame includes drain or weep openings, keep them clear. For more on tracing water entry, see our RV Water Leak Detection guide.
Check Doors and Steps Before Every Trip
Include these items in the pre-trip inspection:
- Entry door closes and latches securely.
- Deadbolt and latch lock operate normally.
- Screen door is secured.
- Door handle and hinges are tight.
- Steps are completely retracted and secured.
- Powered steps respond correctly to the door and ignition.
- Compartment doors are closed, latched, and locked as appropriate.
- Exterior access panels are secured.
- Hold-open catches are released.
- No seal, strap, wire, or stored item protrudes from an opening.
Walk around the RV immediately before departure. A compartment can be reopened after an earlier inspection, and powered steps can extend when the entry door is used.
RV Door Maintenance: Checklist
Regularly confirm:
- Entry-door hinges and fasteners are secure.
- The latch enters the striker without slamming or lifting the door.
- Locks and handles operate smoothly.
- Weather seals are clean, flexible, and undamaged.
- The screen door closes and latches correctly.
- The threshold is clean and free of obstructions.
- Door restraints and hold-open devices are secure.
- Manual steps move freely and lock in both positions.
- Powered-step pivots are clean and lubricated as directed.
- Powered-step wiring, grounds, and door sensors are secure.
- Step treads and mounting brackets are undamaged.
- Compartment hinges, latches, locks, and seals are serviceable.
- Gas struts hold compartment doors safely.
- Compartments show no evidence of water entry.
- Every exterior door and step is secured before travel.
For a printable version of the maintenance schedule, see our RV Checklists page.
When to Call a Professional
Have the RV inspected if the entry door repeatedly moves out of alignment, the wall or frame flexes around the opening, the floor feels soft, or cracks appear near the door frame. These conditions may indicate structural movement or water damage.
Professional service may also be needed for a bent door, damaged hinge mounting area, malfunctioning powered-step controller, failed motor or gearbox, damaged wiring, or a compartment frame that has separated from the wall.
Do not use a powered step with exposed wiring, damaged linkage, loose mounting brackets, or unpredictable movement. Avoid travelling until an entry door, step, or compartment door can be secured properly.
Doors and steps should operate without being forced. Regular cleaning and inspection make small changes easier to catch, while prompt repairs prevent loose hardware or minor misalignment from becoming a larger—and more expensive—problem. For help identifying specific problems, see our RV Troubleshooting guides. For more industry safety guidance, see the RV Safety & Education Foundation.