
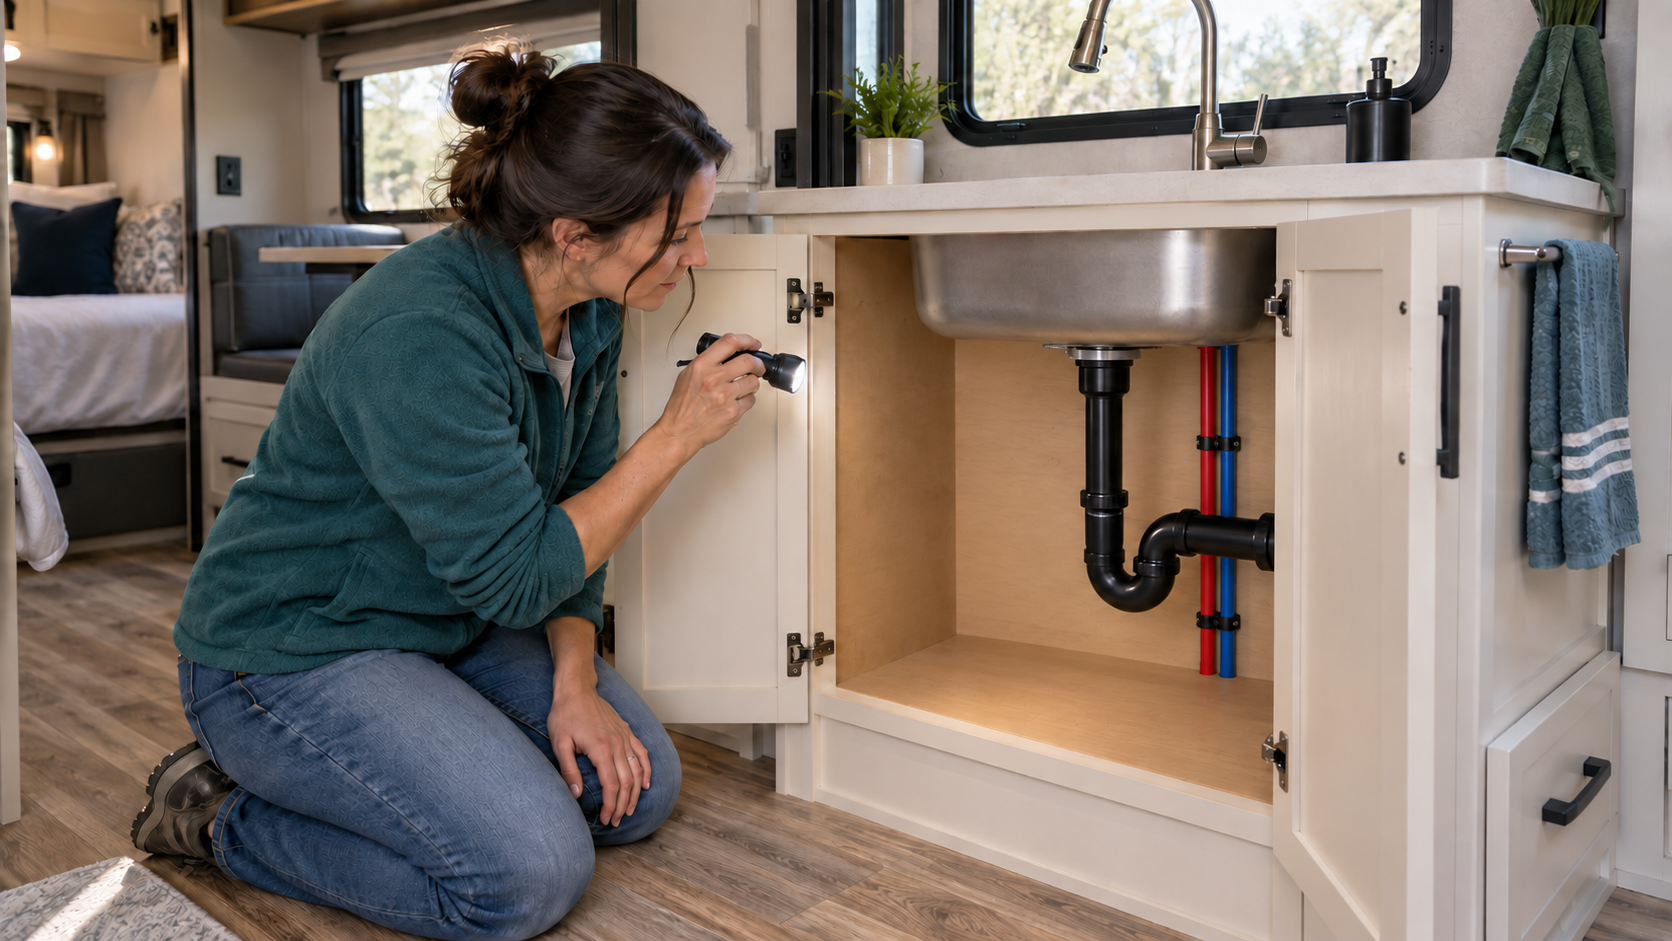
An RV plumbing system provides many of the conveniences of home, but it operates differently from household plumbing. Understanding the basics of RV plumbing makes it easier to maintain the system, recognize developing problems, and avoid damage. Water may come from an onboard fresh-water tank or a pressurized campground connection, while wastewater remains in holding tanks until it can be emptied at an approved dumping facility.
The system must remain lightweight enough for travel and flexible enough to withstand vibration, temperature changes, and movement. Pipes and fittings can loosen, seals can deteriorate, and water trapped in the system can freeze. Even a slow leak can damage cabinetry, insulation, walls, or flooring before it becomes obvious.
Understanding how water moves through your RV will help you maintain the system, recognize developing problems, and avoid damage. The exact arrangement varies, so always consult the instructions supplied with your RV and its individual components.
The Main Parts of an RV Plumbing System
Most RV plumbing systems include:
- A fresh-water tank
- A 12-volt water pump
- A pump strainer
- A city-water connection
- Hot- and cold-water lines
- Faucets, showers, and toilets
- A water heater
- Low-point drains
- A fresh-water tank drain
- One or more wastewater holding tanks
- Wastewater termination valves
- A sewer outlet
- Vent pipes
- Winterization valves or connections
Some RVs also have water filters, accumulator tanks, tank-flushing connections, exterior showers, washing machines, macerator pumps, hydronic heating equipment, or automatic water-management panels.
Before servicing the system, locate its major components and learn how its valves are arranged. Taking photographs of valve positions during normal operation can make winterization and de-winterization easier.
The Fresh-Water Tank and Water Pump
The fresh-water tank stores water for use when a pressurized connection is unavailable. A 12-volt pump draws water from the tank and sends it through the plumbing lines.
The pump normally runs when a faucet is opened and stops when the system reaches its operating pressure. A brief sound after closing a faucet may be normal, but repeated cycling when no water is being used can indicate a leak, a dripping fixture, air in the system, a failed check valve, or another pressure loss.
If the pump runs continuously, switch it off and investigate. Possible causes include:
- An empty fresh-water tank
- A blocked pump strainer
- An open low-point drain
- An incorrectly positioned winterization valve
- A loose fitting on the pump’s inlet side
- Air entering the suction line
- A damaged water line
- A faucet or exterior shower left open
- A pump that cannot build pressure
Do not allow a pump to run unnecessarily while it is unable to draw water. Follow the pump manufacturer’s instructions regarding dry operation, priming, cleaning, and storage.
Cleaning the Water-Pump Strainer
Many RV water pumps have a small strainer on the inlet side. It catches debris before it reaches the pump.
A blocked strainer may reduce water flow, cause the pump to sound different, or prevent it from pressurizing the system. To clean it:
- Switch off the water pump.
- Disconnect campground water.
- Open a faucet to relieve system pressure.
- Place a towel or shallow container beneath the strainer.
- Remove the strainer bowl according to its instructions.
- Clean the screen and inspect the seal.
- Reassemble the strainer carefully.
- Restore water and inspect for leaks.
Do not overtighten a clear plastic strainer bowl. Excessive force can crack it or distort its seal.
Connecting to Campground Water
The city-water connection allows campground water pressure to supply the RV directly. The onboard pump is normally switched off while using this connection.
Use a hose identified as safe for drinking water. Keep it separate from sewer-flushing hoses and wastewater equipment. Consider marking the hoses or storing them in separate containers so they cannot be confused.
Before connecting:
- Inspect the campground faucet
- Allow the water to run briefly if permitted
- Inspect the hose and washers
- Install a suitable water-pressure regulator
- Confirm that the RV’s tank-fill controls are in the correct position
- Keep hose ends from touching the ground or wastewater equipment
- Check the connection for leaks after turning on the water
Campground pressure can vary and may exceed the safe operating pressure of an RV plumbing system. Use a regulator compatible with your RV and follow the RV manufacturer’s pressure specifications. Do not assume that every campground pedestal provides safe or consistent pressure.
When leaving the campsite for an extended period, many owners turn off the campground faucet. This limits the amount of water that could enter the RV if a hose, fitting, or fixture fails while no one is present.
Filling the Fresh-Water Tank
The method used to fill a fresh-water tank varies. Some RVs have a gravity-fill opening, while others use a pressurized connection and selector valve.
Only fill the tank from a water source suitable for drinking. Do not place an unclean hose into the fill opening or allow the hose end to contact the ground.
Monitor the tank while filling it. Do not rely entirely on the monitor panel because tank sensors can be inaccurate. Stop filling when the manufacturer’s instructions indicate the tank is full.
Water flowing from a tank vent or overflow may indicate that the tank is full, but continuing to force water into the system can damage the tank, supports, venting, or surrounding structure.
Sanitizing the Fresh-Water System
The fresh-water system should be sanitized according to the RV manufacturer’s instructions. Sanitizing may be appropriate:
- At the beginning of the camping season
- After long-term storage
- After contamination is suspected
- After repairs to the fresh-water system
- When water develops an unusual odour or taste
- When recommended by the manufacturer
Use the concentration, contact time, filling procedure, and flushing process specified for your RV. The required method can depend on tank capacity, plumbing materials, filters, and installed equipment.
Never mix household bleach with ammonia, acids, vinegar, toilet chemicals, or other cleaning products. Dangerous gases can form.
Water filters and water-treatment equipment may require removal, bypassing, or separate sanitation. Consult their instructions before adding any sanitizing solution to the system.
After sanitizing, flush the system as directed until the treatment has been removed. Dispose of the water responsibly and in accordance with local rules. For more on safe drinking water, see the CDC’s guidance on water safety.
Water Filters
An RV water filter may improve taste and reduce certain sediments or contaminants, depending on its design. Not every filter removes the same substances.
Check the filter label or manual to determine:
- What the filter is designed to reduce
- Its replacement interval
- Its maximum pressure
- Its approved flow direction
- Whether it must be removed during sanitation
- How it should be stored
- Whether it can be exposed to freezing temperatures
Replace a damaged, frozen, expired, or contaminated filter. A filter does not make an unsafe water source suitable for drinking unless it is specifically designed, certified, and used for that purpose.
Checking for Plumbing Leaks
RV plumbing should be inspected regularly because small leaks can remain hidden.
Check:
- Beneath every sink
- Behind accessible plumbing panels
- Around the toilet
- Near the water pump and strainer
- Around the water heater
- Inside exterior storage compartments
- Beneath the shower
- Near low-point drains
- Around exterior shower connections
- Near washing machines or dishwashers
- Around the fresh-water tank when accessible
Look for moisture, staining, swollen wood, soft flooring, loose fittings, mineral deposits, mould, musty odours, or damaged insulation.
Inspect the system under both pump pressure and campground pressure because a leak may appear under one source but not the other.
Do not tighten a leaking plastic fitting aggressively. Overtightening can crack the fitting or deform its seal. Relieve pressure first, determine why the connection is leaking, and follow the component manufacturer’s repair procedure.
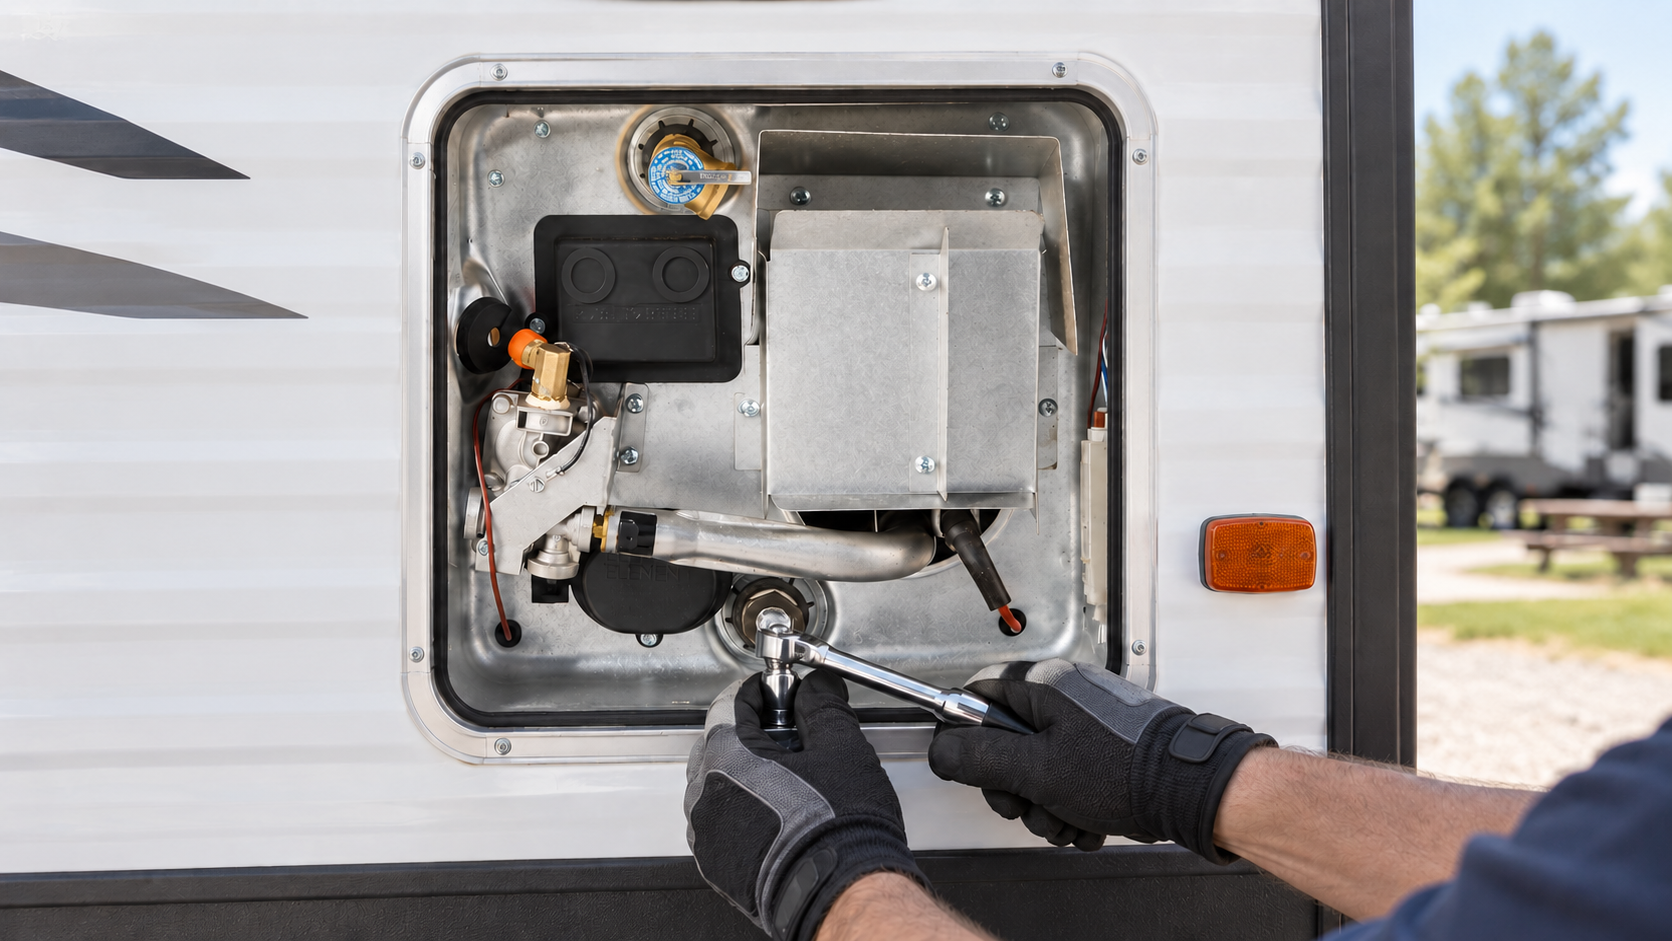
The RV Water Heater
RV water heaters may operate on propane, electricity, diesel fuel, or a combination of energy sources. Tank-style and tankless models require different maintenance.
Before You Operate Your Water Heater
Before operating any water heater, confirm that the plumbing system is filled and that water flows steadily from a hot-water faucet. Operating an electric heating element in an empty tank can destroy the element very quickly.
Before draining a tank-style water heater:
- Turn off every energy source supplying the heater.
- Allow the water to cool completely.
- Disconnect shore power when required.
- Turn off propane when required.
- Turn off the water supply and pump.
- Open a hot-water faucet to relieve pressure.
- Follow the heater manufacturer’s draining procedure.
Water inside the tank may be dangerously hot and pressurized. Never remove a drain plug or anode rod until the water has cooled and the pressure has been safely relieved.
Some water heaters use a replaceable anode rod, while others do not. Never add an anode rod to a heater that was not designed to use one. Install only the drain plug or anode specified by the heater manufacturer.
The pressure-relief valve is a safety device. Never cap, plug, or obstruct it. If it continually leaks, discharges unexpectedly, or appears damaged, have the system inspected.
Flushing a Tank-Style Water Heater
Mineral deposits and sediment can accumulate inside a tank-style heater. Periodic draining and flushing may improve performance and allow the owner to inspect the drain plug or anode rod.
Follow the heater manufacturer’s maintenance interval and flushing instructions. Use only tools and flushing equipment approved for the heater.
Inspect an applicable anode rod for deterioration and replace it according to the manufacturer’s criteria. An anode that shows corrosion is not necessarily defective; sacrificing itself is its intended purpose.
Tankless water heaters may require a completely different descaling or maintenance procedure. Do not apply instructions for a conventional tank-style heater to a tankless model.
The Grey-Water System
Grey water generally comes from sinks, showers, and similar fixtures. It collects in a grey-water holding tank until the tank is emptied.
Food particles, grease, soap residue, hair, and other debris can contribute to odours or slow drainage. Avoid pouring cooking grease, solvents, paint, harsh chemicals, or large amounts of food waste into RV drains.
Use strainers where practical and clean them regularly. If water backs up into a shower or sink, stop using the fixtures and check the tank level. A full tank can overflow into the RV.
Grey water must be disposed of according to campground rules and local regulations. Do not assume that releasing it onto the ground is permitted.
The Black-Water System
The black-water tank receives waste from the RV toilet. It must retain enough liquid to help waste move out when the tank is emptied.
Use only toilet paper and holding-tank products compatible with the RV’s system. Do not place household wipes, facial tissues, paper towels, hygiene products, grease, diapers, or other solid waste into the toilet. Products labelled “flushable” may still create problems in an RV holding tank.
Leaving a black-tank termination valve open while connected at a full-service campsite can allow liquid to drain away while solids remain behind. This can create a hardened accumulation that is difficult to remove. Unless the RV or component manufacturer directs otherwise, keep the valve closed and empty the tank when appropriate.
Tank treatments may help control odours or break down waste, but they do not replace adequate water or proper dumping practices. Use only products approved for RV holding tanks and follow their labels.
Safely Emptying the Holding Tanks
Empty wastewater only at an approved dump station or properly designed sewer connection.
Step-by-Step Dumping Procedure
A typical procedure includes:
- Wear disposable gloves.
- Inspect the sewer hose and fittings.
- Secure the hose to the RV outlet.
- Secure the other end at the approved sewer inlet.
- Open the black-tank valve and allow the tank to drain.
- Close the black-tank valve.
- Open the grey-tank valve to help rinse the hose.
- Close the grey-tank valve.
- Disconnect the equipment carefully.
- Rinse and store the wastewater equipment as permitted.
- Wash your hands thoroughly.
Follow the RV, sewer-hose, campground, and dump-station instructions. Some RVs have multiple wastewater outlets or tank valves that require a different sequence.
Never use a drinking-water hose to rinse a sewer hose or connect it to a black-tank flushing system. Keep potable-water equipment physically separated from wastewater equipment.
Using a Black-Tank Flush Connection
Some RVs have a dedicated connection for rinsing the black-water tank. This connection is not a potable-water inlet.
Use a separate hose reserved only for flushing wastewater equipment. Follow all warnings printed near the connection and in the RV manual.
The tank’s termination valve may need to remain open during flushing, depending on the manufacturer’s instructions. Never leave a flushing operation unattended. An overfilled tank can force contaminated water into the RV, out a roof vent, or through damaged plumbing.
Holding-Tank Sensors
Tank-monitor readings are estimates and may become inaccurate when debris coats the sensors. A monitor may show that a tank is partly full immediately after it has been emptied.
Before assuming the sensor has failed, follow the manufacturer’s cleaning instructions. Avoid inserting improvised tools or chemicals into the tank because they may damage sensors, valves, seals, or tank material.
Even when the monitor appears reliable, watch for physical signs of a full tank. Slow drainage, gurgling, odours, or water rising into the shower may indicate that a grey tank is near capacity.
Preventing and Managing Odours
Wastewater odours may come from several sources, including:
- Dry drain traps
- Loose toilet seals
- A damaged toilet bowl seal
- Dirty tanks
- Blocked roof vents
- Leaking plumbing
- Improper tank treatments
- An open termination valve
- A failed air-admittance valve
- Waste residue in the sewer hose or compartment
Run water into sinks and showers that have not been used recently to refill their drain traps. If an odour continues, locate the cause rather than masking it with fragrance.
Never mix tank chemicals or cleaning products unless their labels specifically permit it. Chemical combinations can create harmful gases or damage plumbing components.
Low-Point Drains and System Valves
Low-point drains allow water to leave the hot- and cold-water lines. They are commonly used during winterization and maintenance.
Their location and operation vary. Some use caps beneath the RV, while others use valves inside a compartment or cabinet.
A drain that is not completely closed can cause the water pump to run continuously or prevent the system from building pressure. Inspect drain caps and seals before replacing them, and avoid overtightening plastic components.
Water-heater bypass valves are also arranged differently among RVs. Incorrect valve positions can cause poor hot-water flow, diluted antifreeze, or difficulty filling the heater. Follow the plumbing diagram provided by the manufacturer.
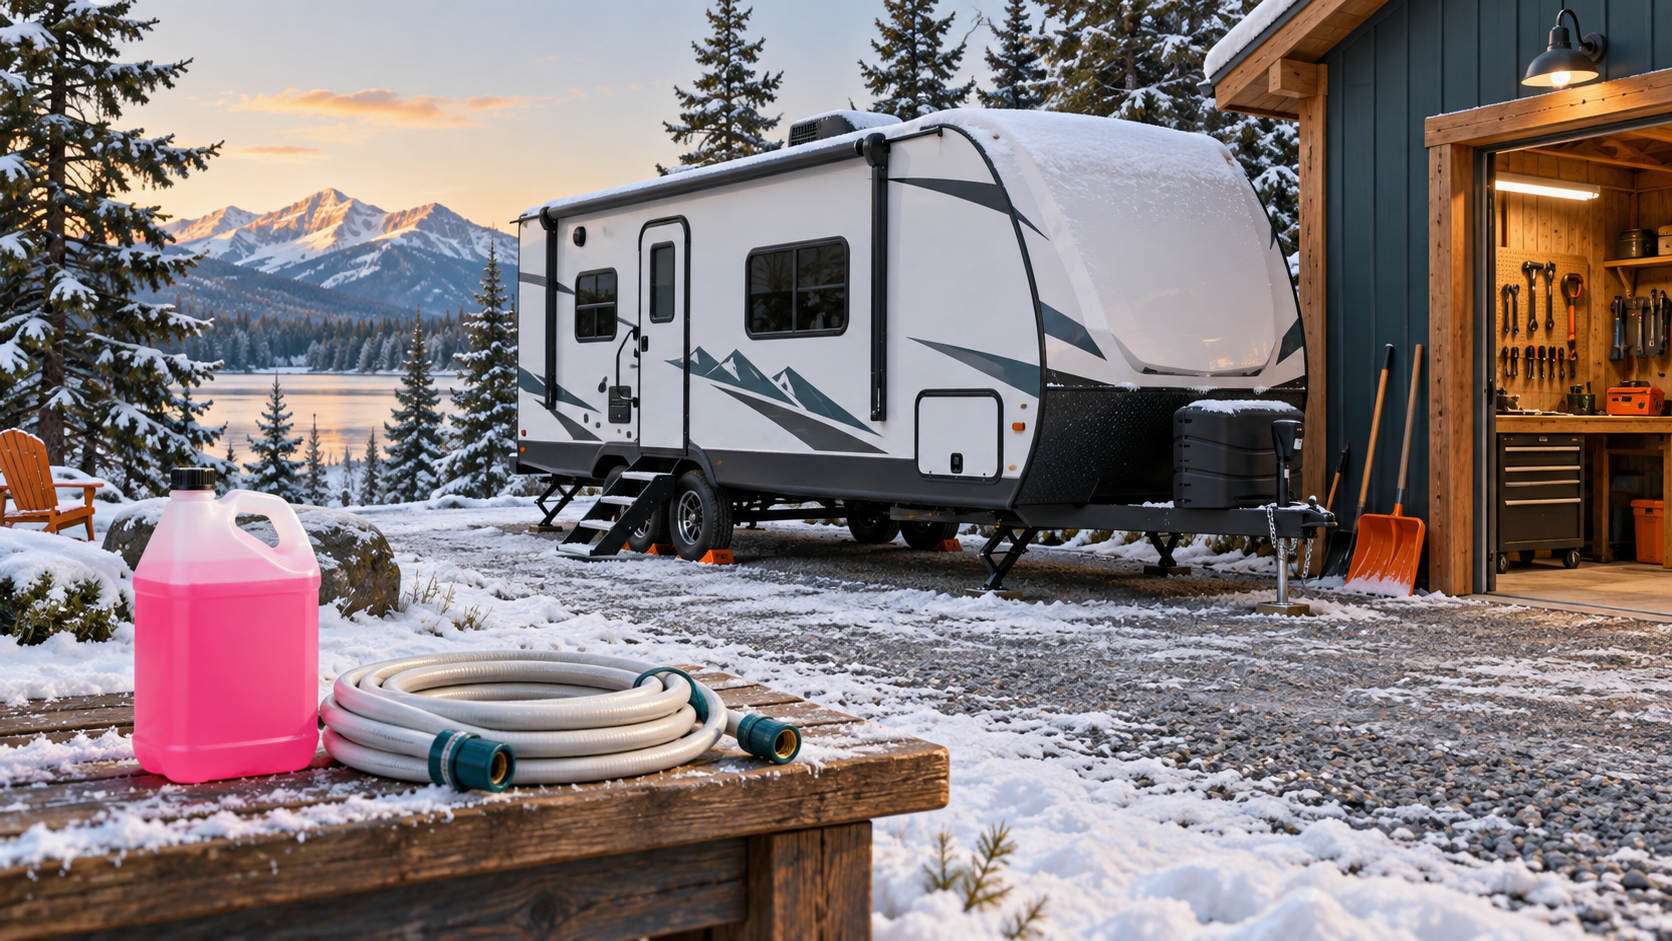
Winterizing the Plumbing System
Water expands when it freezes. Water trapped in pipes, valves, pumps, filters, toilets, faucets, or appliances can crack components and cause extensive damage.
Winterization Steps
Winterize the RV before freezing conditions occur. The correct procedure depends on the RV and may include:
- Draining the fresh-water tank
- Emptying the wastewater tanks
- Draining the water heater
- Bypassing the water heater
- Draining low-point lines
- Removing or bypassing water filters
- Clearing water with regulated compressed air
- Pumping approved RV plumbing antifreeze through the system
- Protecting drain traps
- Winterizing washing machines, dishwashers, ice makers, and other equipment
Use only nontoxic antifreeze labelled for RV potable-water plumbing. Automotive antifreeze is poisonous and must never be placed in the fresh-water system.
Do not exceed the pressure specified by the RV manufacturer when using compressed air. High pressure can damage plumbing lines, fittings, valves, filters, or appliances.
Pay attention to less obvious water connections, including exterior showers, spray ports, toilet valves, black-tank flush connections, refrigerator water lines, and washing-machine hookups. For a full seasonal routine, see our Seasonal Care guides.
De-Winterizing the System
When returning the RV to service:
- Inspect plumbing components for visible damage.
- Return valves to their operating positions.
- Reinstall drain plugs and applicable anode rods.
- Reinstall or replace water filters as instructed.
- Flush RV antifreeze from the plumbing.
- Fill the water heater before energizing it.
- Sanitize the fresh-water system when appropriate.
- Pressurize the system.
- Inspect every accessible fitting and fixture for leaks.
Watch the plumbing closely during the first use after winter storage. Freeze damage may not appear until the system is under pressure.
Troubleshooting Low Water Pressure
Low flow at every fixture may be caused by:
- A clogged pump strainer
- A restricted water filter
- A kinked hose
- A pressure regulator problem
- Low campground pressure
- An empty fresh-water tank
- Air entering the pump’s inlet line
- An incorrectly positioned valve
- A failing water pump
Low flow at only one fixture is more likely to involve its aerator, shower head, valve, hose, or local supply line.
Start with simple observations. Determine whether the problem occurs on campground water, the onboard pump, or both. This distinction can help narrow down the cause.
When the Water Pump Cycles Unexpectedly
A pump that runs briefly when no fixture is open may indicate that pressure is escaping somewhere.
Check:
- Faucets and shower valves
- The toilet valve
- Exterior shower controls
- Pump fittings
- The pump strainer
- Low-point drains
- The water-heater drain
- Accessible water lines
- The fresh-water tank fill arrangement
Switch off the pump if the cause cannot be found. Repeated cycling should not be ignored because even a small concealed leak can damage the RV.
When to Contact a Qualified Technician
Seek professional assistance when you discover:
- A concealed or persistent leak
- Soft flooring, walls, or cabinetry
- A cracked fresh-water or wastewater tank
- A damaged water-heater tank
- A pressure-relief valve problem
- Contamination that cannot be safely corrected
- Frozen or burst plumbing
- A toilet or holding tank that leaks
- A termination valve that cannot be operated safely
- Repeated water-pump failures
- Water near electrical wiring or equipment
- Plumbing modifications beyond your experience
Immediately disconnect the water source and switch off the pump if a major leak occurs. If water has reached electrical equipment, disconnect electrical power only when it is safe to do so and obtain qualified assistance.
RV Plumbing Basics: Maintenance Checklist
A practical plumbing-maintenance routine may include:
- Inspecting hoses and connections before each trip
- Using an appropriate water-pressure regulator
- Checking beneath sinks and around fixtures
- Cleaning the water-pump strainer
- Sanitizing the fresh-water system as required
- Replacing water filters according to their instructions
- Inspecting the water heater
- Flushing a tank-style heater when recommended
- Checking the applicable anode rod
- Testing the water pump
- Examining wastewater valves and caps
- Inspecting the sewer hose
- Cleaning holding tanks appropriately
- Checking roof vents for obstruction
- Winterizing before freezing weather
- Inspecting carefully after de-winterization
- Recording maintenance and repairs
Key Takeaways for RV Plumbing Basics
An RV plumbing system is manageable once you understand its basic flow. Fresh water comes from the onboard tank and pump or from a pressurized campground connection. Used water enters holding tanks and remains there until it can be disposed of at an approved facility.
Most plumbing problems are easier to correct when discovered early. Regularly inspect fittings, listen for unexpected pump operation, investigate unusual odours, and respond quickly to any sign of moisture.
Use drinking-water-safe equipment for the fresh-water system, keep it separate from wastewater tools, regulate campground water pressure, and protect every water-containing component from freezing. When a problem involves concealed damage, contamination, a leaking tank, or water near electrical equipment, stop using the affected system and obtain professional assistance.