
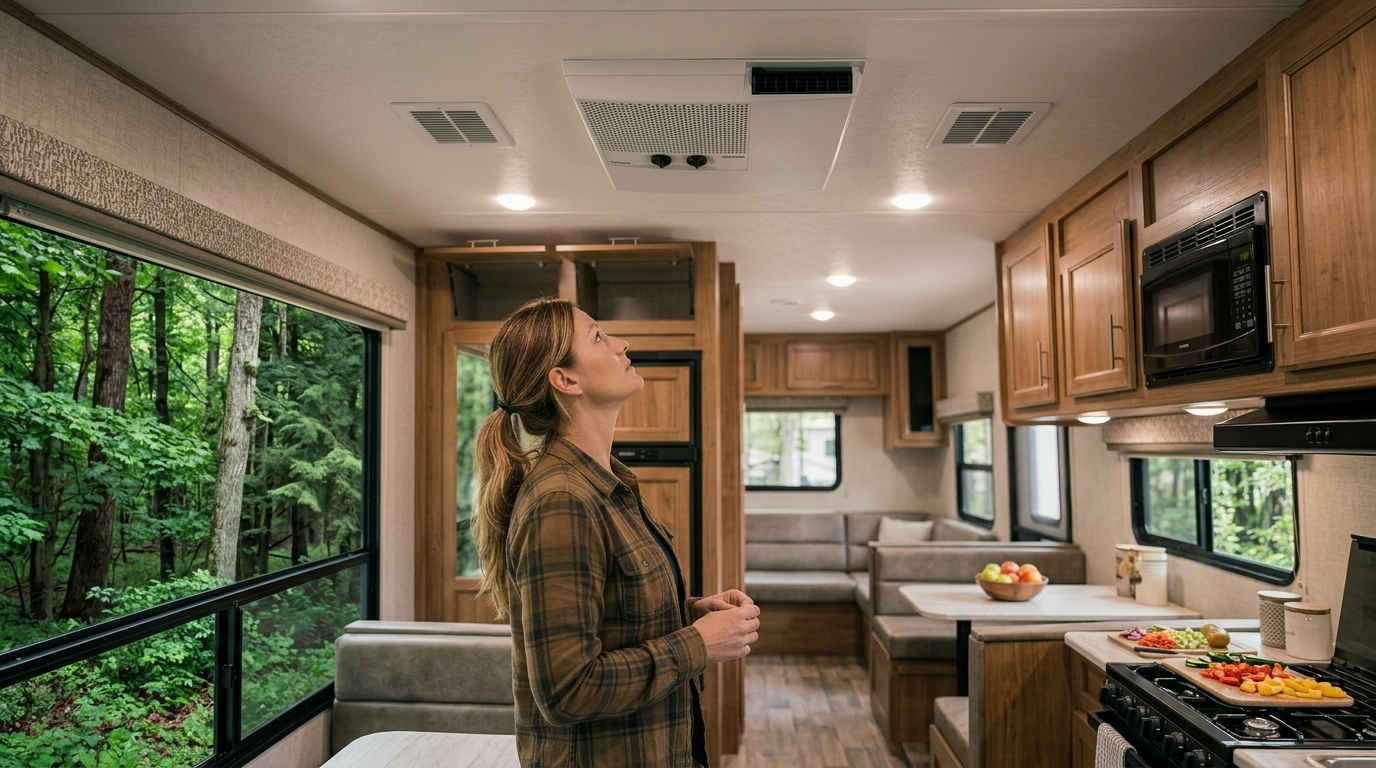
An RV air conditioner that stops cooling can turn a comfortable trip into an uncomfortable one. Unlike a home air conditioner, an RV unit operates in a demanding environment — vibration, dust, extreme heat, and long periods of inactivity. When cooling performance drops, the cause may be simple, or it may require professional service.
This guide explains how to diagnose an RV air conditioner that is not cooling, what to check first, and when to call a technician. It is not a substitute for the manufacturer’s manual, but it helps you understand the likely causes and rule out simple problems before seeking help.
Understand How RV Air Conditioners Work
Most RV air conditioners are rooftop units that use a compressor, condenser coil, evaporator coil, and blower to cool and circulate air. The system is sealed — refrigerant cannot be added by an owner — and the components operate on 120-volt AC power, usually from shore power or a generator.
Some RVs also have a heat pump, which can provide heating as well as cooling. Heat pump troubleshooting differs slightly but shares many of the same checks.
Understanding the basic components helps you know what to look for:
- Compressor — circulates refrigerant
- Condenser coil — releases heat outdoors
- Evaporator coil — absorbs heat from the interior air
- Blower — moves air across the coils and into the RV
- Filters — catch dust before it reaches the evaporator coil
- Thermostat — controls operation
- Condensate drain — removes water produced during cooling
Start With the Simplest Checks
Before assuming a major failure, verify the basics.
1. Is the thermostat set correctly?
Confirm the mode is set to COOL and the setpoint is lower than the current interior temperature. A thermostat set to FAN or HEAT will not cool.
2. Is the air conditioner receiving power?
Check the shore-power connection, the pedestal breaker, the RV main breaker, and the A/C branch breaker. If other 120-volt appliances work, power is reaching the RV — but the A/C circuit may still be tripped.
3. Is the RV connected to adequate power?
RV air conditioners draw significant current, especially during compressor startup. A 30-amp RV trying to run an A/C, microwave, and electric water heater at the same time may not have enough power.
4. Are the filters clean?
Dirty filters restrict airflow and reduce cooling performance. This is the single most common cause of poor cooling.
5. Are the vents open and unobstructed?
Supply vents and return-air openings must be clear. Blocked vents reduce airflow and can cause the evaporator coil to freeze.
6. Has the unit had time to cool?
An RV air conditioner takes several minutes to reach full cooling. Do not judge performance after 30 seconds.
7. Is the outdoor temperature extremely high?
RV air conditioners lose efficiency in extreme heat. On a 38°C (100°F) day, the unit may run continuously without reaching a low setpoint.
Clean or Replace the Air Filter
This is the most important and most neglected maintenance task.
Locate the filter:
- Usually behind the interior return-air grille
- Some RVs have multiple filters in ducted systems
Clean or replace it:
- Reusable filters can be washed with mild soap and water
- Allow the filter to dry completely before reinstalling
- Disposable filters should be replaced with the correct size and type
- Do not use household filters that are too restrictive
Check frequency:
- Monthly during regular use
- More often in dusty conditions, with pets, or during wildfire smoke
A dirty filter restricts airflow across the evaporator coil, which reduces cooling and can cause the coil to freeze.
Check the Return Air and Supply Vents
Airflow is critical to cooling performance.
Check:
- Return-air grille is not blocked by furniture, bedding, or stored items
- Supply vents are open
- No closed registers redirect airflow
- Ducted systems do not have crushed or disconnected ducts
- Interior foam divider between return and supply is intact (not damaged or displaced)
The last point is important: the ceiling assembly has a foam divider that separates the cold supply air from the warm return air. If that divider is damaged or displaced, cold air recirculates directly into the return, and the RV never cools properly.
Check the Exterior Unit
From a safe position — not on the roof unless it is confirmed walkable and you can do so safely:
Look for:
- Cracked or missing shroud
- Debris blocking the condenser coil
- Bent or damaged fins
- Loose mounting hardware
- Insect or animal nests
- Damaged wiring
- Water staining around the roof opening
The condenser coil releases heat to the outside. If it is blocked by dirt, leaves, or debris, cooling performance drops.
If the condenser coil is blocked, clean it carefully and avoid bending the fins. Clean the condenser coil only if the manufacturer permits owner cleaning and you can access it safely. Do not use a pressure washer, and do not bend the fins. For more industry safety guidance, see the RV Safety & Education Foundation.
Check for Water Dripping Inside
Water dripping inside the RV is not normal. The A/C produces condensation that should drain outside.
Interior leaks can come from:
- Blocked condensate drain
- Frozen evaporator coil thawing
- Dirty filter
- Damaged roof gasket
- Loose mounting
- Cracked drain pan
- RV not level
If water is dripping inside:
- Turn the A/C off
- Dry the area
- Investigate the drain path
- Do not run the unit until the cause is found
Moisture inside the ceiling can damage insulation, wiring, and interior panels. Because moisture damages the ceiling, turn the unit off until the drain is cleared.
Listen to the Unit
The sounds a unit makes can narrow the diagnosis.
Normal sounds:
- Compressor hum
- Blower fan
- Occasional cycling
Unusual sounds:
- Grinding or scraping — blower or fan problem
- Loud humming without startup — compressor struggling
- Repeated clicking — relay or capacitor problem
- Popping or arcing — electrical issue
- Rattling — loose hardware or debris
Stop using the unit if it makes grinding, popping, or arcing sounds. Continued operation can damage components or create a fire hazard.
Check the Voltage
RV air conditioners are sensitive to low voltage. When voltage drops, the compressor draws more current, overheats, and may fail.
Signs of low voltage:
- Compressor struggles to start
- Lights dim when the A/C starts
- Frequent breaker trips
- A/C cycles off unexpectedly
- Electrical management system disconnects power
Check:
- Shore-power voltage with a multimeter or EMS
- Pedestal condition
- Cord and plug for heat or damage
- RV breaker panel
Do not continue running the A/C if voltage is low. Shut it down and address the power supply before continuing. For more on 120-volt power and voltage problems, see our Understanding RV Electrical Systems guide.
Check the Breaker and Fuses
If the A/C has no power at all:
- Check the A/C branch breaker in the RV panel
- Check the main breaker
- Check the pedestal breaker
- Check any inline fuses on the A/C circuit
- Inspect the cord and plug for damage
Do not repeatedly reset a breaker that trips immediately. That indicates a fault that requires investigation.
If the Unit Freezes Up
Ice on the evaporator coil is a common problem. Signs include:
- Reduced airflow
- Ice visible on the coil or refrigerant lines
- Water dripping after shutdown
- Poor cooling
Common causes:
- Dirty filter
- Restricted return airflow
- Closed supply vents
- Dirty evaporator coil
- Malfunctioning blower
- Low refrigerant charge (requires technician)
- Very humid conditions
What to do:
- Turn the cooling off
- Run the fan only (if the manufacturer permits) to thaw the coil
- Do not chip ice from the coil — sharp tools can puncture the tubing
- Check the filter and airflow
- If icing returns, arrange professional service
Measure the Temperature Difference
A basic cooling test can indicate whether the unit is working.
Procedure:
- Close all windows and doors.
- Run the A/C for 15–20 minutes.
- Measure the air temperature at the return-air grille.
- Measure the air temperature at a nearby supply vent.
- Compare the difference.
A properly operating RV air conditioner typically produces a temperature difference of roughly 8–11°C (15–20°F) between return and supply air. The exact figure varies with humidity, airflow, and unit design.
If the difference is much smaller, the unit is not cooling effectively. If the difference is normal but the RV still feels warm, the problem may be heat gain rather than the A/C.
Improve Cooling Efficiency
Even a properly operating A/C has limits. Reducing heat gain helps it keep up.
Do:
- Park in shade when possible
- Use the awning
- Close blinds and window coverings
- Limit door opening
- Start cooling before the interior gets hot
- Use vent cushions in roof vents
- Seal obvious air leaks
- Use interior fans to circulate air
- Cook outside when practical
- Reduce use of heat-producing appliances
Do not:
- Block return-air grilles
- Close multiple supply vents
- Block the exterior condenser coil
- Run the A/C with dirty filters
When to Call a Technician
Contact a qualified RV technician or HVAC technician when:
- The compressor will not start
- The unit trips the breaker repeatedly
- There is ice on the coil that keeps returning
- The unit produces smoke, sparks, or a burning smell
- Wiring is damaged or overheating
- Water drips inside the RV
- The unit runs but never cools
- Refrigerant is suspected to be low
- The roof gasket requires replacement
- You cannot safely access the roof
- The unit makes grinding or scraping sounds
Air conditioner service involves high-voltage electricity, refrigerant, and roof access. These are not safe for untrained owners. For help identifying other RV problems, see our Common RV Problems and Troubleshooting guide.
Preventing Future Cooling Problems
Regular maintenance prevents most A/C problems.
- Clean or replace the filter monthly
- Keep return and supply vents clear
- Inspect the exterior shroud and coil regularly
- Clean the condenser coil as permitted
- Check the roof gasket and sealant annually
- Test the unit before hot weather
- Do not run the A/C with low voltage
- Cover the unit during long-term storage if the manufacturer permits
For more detail, see our How to Maintain Your RV Air Conditioner guide.
RV Air Conditioner Not Cooling: Checklist
If the A/C is not cooling, confirm:
- Thermostat is set to COOL and below room temperature.
- The A/C breaker is not tripped.
- The RV has adequate 120-volt power.
- The air filter is clean.
- Return-air grille is unobstructed.
- Supply vents are open.
- The ceiling foam divider is intact.
- The exterior condenser coil is not blocked.
- The unit has had time to cool.
- Voltage is within acceptable range.
- No ice is visible on the coil.
- No water is dripping inside.
For a printable version of the maintenance checklist, see our RV Checklists page.
RV Air Conditioner Not Cooling: Key Takeaways
An RV air conditioner that stops cooling is usually diagnosable. Start with the simple checks — thermostat, power, filter, airflow, and voltage. Most performance problems trace back to airflow, dirt, or power supply rather than a failed compressor.
If the unit freezes repeatedly, draws low voltage, drips water inside, or fails to cool after the basics have been checked, call a technician. Refrigerant, electrical, and roof work require specialized skills and equipment. Because most failures are preventable, regular maintenance matters.