
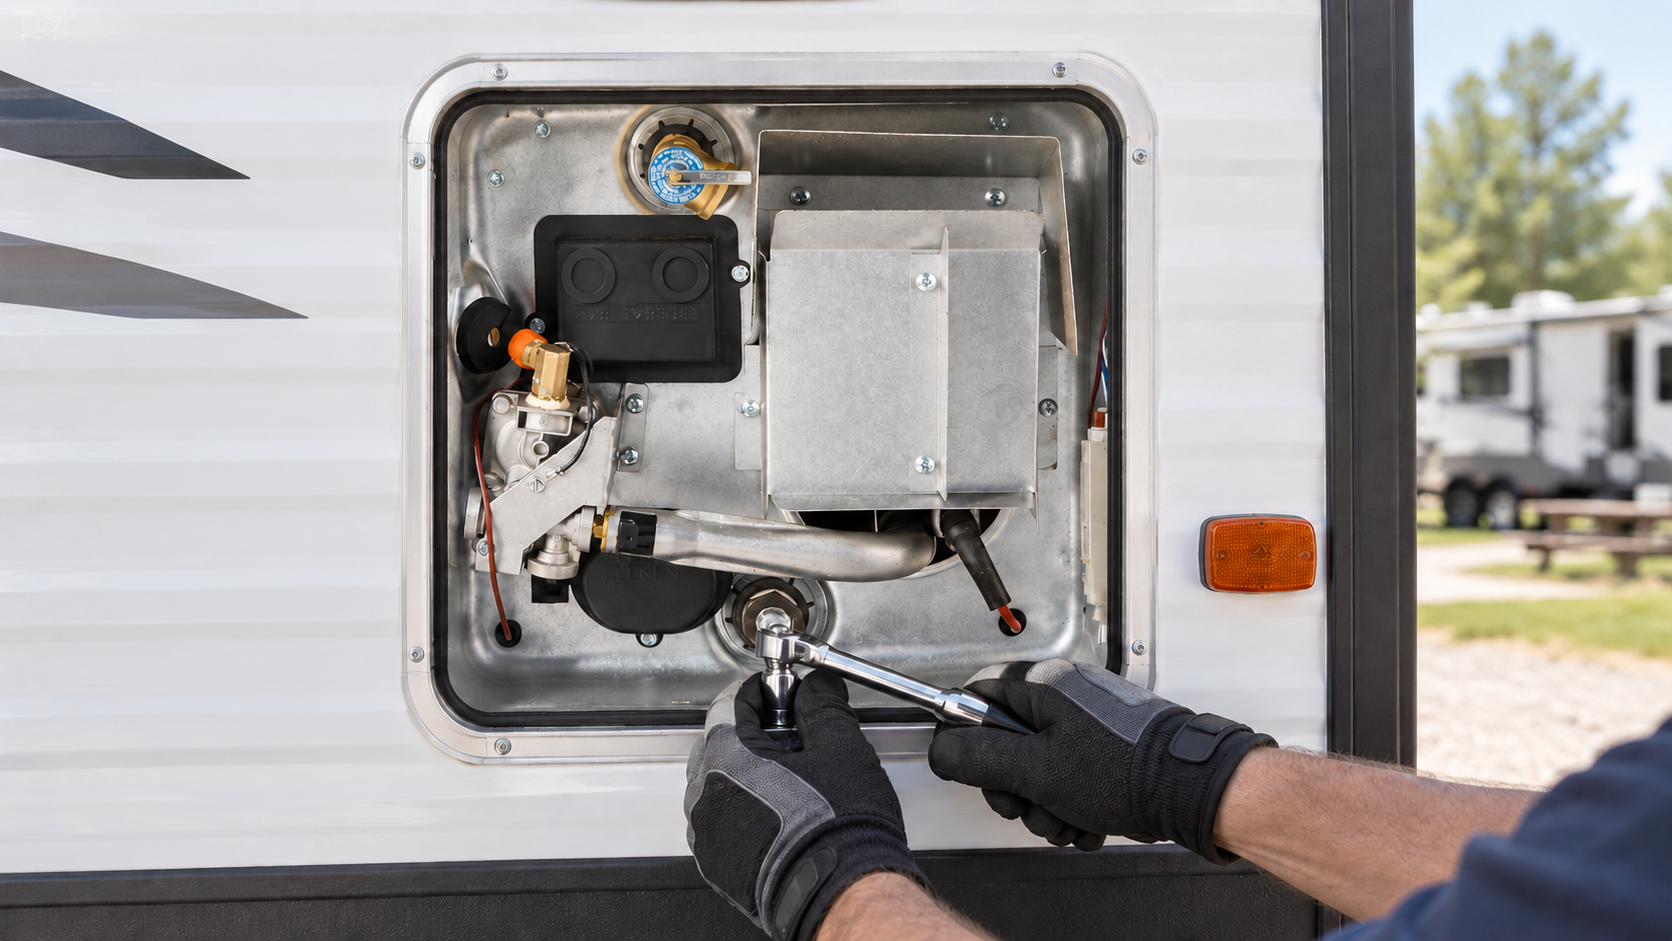
RV water heater maintenance starts with understanding that a water heater can stop providing hot water for reasons that have little to do with the burner or heating element. Incorrect bypass-valve positions, a weak 12-volt supply, low water flow, mineral buildup, or a plumbing crossover can all affect its operation. Knowing which heater you own is the starting point for maintaining it and recognizing a fault.
Water heaters also involve propane, electricity, hot water, and pressure. This guide covers how the main types operate, owner-level checks, warning signs, and when to seek service. For the full tank-draining and sediment-removal procedure, see How to Drain and Flush Your RV Water Heater.
RV Water Heater Maintenance: Identify Your Heater
Find the manufacturer and model number on the heater’s label or in your RV paperwork. Determine whether it has a storage tank, uses propane or electricity, is tankless, or is part of a combination or hydronic system. Record the details with your maintenance documents.
Do not assume that a drain plug, anode rod, cleaning product, or winterizing step used on another heater applies to yours. Follow the instructions for the exact appliance.
Tank-Style and Tankless Heaters Work Differently
A tank-style water heater stores a limited amount of water and heats it with a propane burner, an electric element, or both, depending on the model. Many propane-operated units also need 12-volt power for their controls. If one fails to ignite, check the electrical supply as well as the propane supply before assuming the gas valve has failed.
A tankless heater warms water as it flows through the unit. Its performance can depend on incoming-water temperature, flow rate, water pressure, propane supply, electrical power, temperature setting, and scale buildup. A restrictive showerhead, clogged aerator, partially closed valve, or too much mixing with cold water may cause fluctuating temperatures or prevent some models from firing.
A tankless heater does not use the same drain-and-flush procedure as a conventional storage tank. Follow its manual for filter service, descaling, and freeze protection.
Never Heat an Empty Tank
A tank-style heater must be full before the propane burner or electric heating element is switched on. An electric element can fail rapidly when operated without water.
After storage, winterizing, or tank service, install the correct drain component and put the bypass valves in their normal positions. Restore the water supply, open a hot-water faucet, and let air escape until water flows steadily. Check for leaks before turning on either heat source. Do not rely on the sound of the pump or a control-panel indicator as proof that the tank has filled.
The companion drain-and-flush guide explains how to refill the tank after service.
Understand the Bypass Valves
Bypass valves isolate many tank-style water heaters during winterization. They may be behind the appliance, inside a cabinet, or at a centralized utility panel. RVs can use one-, two-, or three-valve arrangements, sometimes with check valves.
In normal operation, water must enter the heater and leave through its hot-water outlet; the bypass route must be set as the RV manufacturer directs. Incorrect positions can leave you with no hot water, reduced flow, or lukewarm water.
If the heater appears to operate but hot water never reaches the faucets after de-winterizing, check the bypass configuration against your RV’s plumbing diagram before replacing appliance parts. For more on winterizing and de-winterizing the plumbing system, see our How to Winterize an RV guide.
Know Which Drain Component Your Tank Uses
Many Suburban tank-style heaters use a replaceable sacrificial anode rod that also serves as the drain plug. It wears as it helps protect the tank. Many Dometic/Atwood aluminum-tank heaters instead use a nylon drain plug and do not require that type of anode rod.
Identify the exact model before buying either part. Threads that appear to fit do not prove that a replacement is compatible. If your heater specifies an anode, inspect it during scheduled tank service and replace it according to the manufacturer’s wear criteria. A corroded appearance alone does not mean it has failed.
For a close inspection of the rod or nylon plug and the steps to reinstall it, use How to Drain and Flush Your RV Water Heater.
Maintain the Exterior Compartment
With the heater switched off and cool, inspect its exterior compartment for leaves, insect nests, debris, water stains, damaged wiring, rust, loose components, and blocked vents. Keep combustion-air and exhaust openings clear.
Soot, delayed ignition, flame outside the intended combustion area, or a propane smell is not normal. Turn the heater off and arrange professional service. Do not adjust the burner, gas valve, electrode, or propane pressure without the required training and specifications.
Pay Attention to the Relief Valve
A tank-style heater’s pressure-and-temperature relief valve is a safety device. A small amount of dripping can sometimes result from thermal expansion, but continuous leakage, heavy corrosion, or forceful discharge needs investigation.
Some tanks use an air pocket to accommodate expansion, and manufacturers may specify a method to restore it. Excess supply pressure, overheating, mineral buildup, or a faulty valve can also cause discharge. Follow the procedure for your model rather than assuming an air-pocket adjustment will fix every drip.
Never plug, cap, restrain, or bypass the relief valve. Water leaving it may be dangerously hot.
Prevent Scale and Odours
Minerals and debris can collect in a storage tank. Flush it at the interval recommended for your model and water conditions. A tankless heater may require a different descaling procedure and approved product. Do not apply tank-style steps to a tankless heat exchanger.
A sulphur-like smell at the hot tap may involve water conditions, sediment, or an anode rod where one is used. If both hot and cold water smell, inspect the fresh-water supply and plumbing system too. Use only a cleaning or odour-treatment procedure approved for the heater and potable-water system.
If the smell resembles unburned propane or is present at the exterior appliance compartment, stop using the heater and seek qualified help. Do not treat it as a water-quality issue.
Troubleshoot No Hot Water
Start with conditions you can check without opening an electrical or propane compartment:
- Is the tank full, or is a tankless unit receiving adequate water flow?
- Are the bypass valves in the normal operating positions?
- Is the correct heater switch or mode selected?
- Is 12-volt power available to the heater’s controls?
- Is propane available, and do other propane appliances operate?
- For electric operation, is shore power available and is the applicable breaker on?
- Does the control panel display a fault code?
- Is an exterior electric switch on, if the model has one?
Record which operating mode fails. If a combination heater works on propane but not electricity, or vice versa, that distinction helps narrow down the fault. Do not repeatedly cycle a heater that continues attempting ignition without lighting.
Troubleshoot Lukewarm or Fluctuating Water
If tank-style hot water is only lukewarm, first check the bypass valves. Also check that both hot and cold taps on an exterior shower are fully closed; with both taps open and the showerhead control closed, water may mix through the fixture. A faulty check valve or plumbing crossover can have a similar effect.
Other possible causes include a failed element, thermostat problem, heavy mineral deposits, or demand exceeding the tank’s capacity. A storage tank needs time to recover after its hot water has been used.
For a tankless model, insufficient flow, a clogged inlet screen or aerator, scale, changing campground pressure, propane-supply trouble, or an unstable 12-volt supply may cause temperature swings. Follow the model’s instructions for temperature selection and how much cold water to mix at the faucet.
Recognize Leaks and Combustion Problems
If water appears in the exterior compartment, determine whether it seems to come from the drain fitting, relief valve, plumbing connection, rain around the access frame, or the appliance itself. Turn off the heater and water supply. Let it cool before any closer inspection. A leaking tank or heat exchanger usually requires professional evaluation.
Soot around the exhaust indicates incomplete combustion. Stop using the propane mode until a qualified technician has found and corrected the cause. The same applies to delayed ignition, flame rollout, repeated shutdowns, or a persistent propane smell.
For electric faults, never repeatedly reset a breaker or high-temperature safety device without determining why it trips. Heating-element replacement and testing can expose dangerous voltage and sealed tank parts. For more industry safety guidance, see the RV Safety & Education Foundation.
Protect the Heater From Freezing
Winterizing the RV’s water lines does not automatically protect its water heater. A tank-style heater usually must be turned off, cooled, depressurized, drained, and bypassed as the RV and appliance manuals direct. Tankless units can contain additional waterways, screens, plugs, or valves that require a different procedure.
Before spring startup, return the bypass valves to their normal positions, reinstall the correct service components, fill the heater, purge air, and check for leaks. Only then restore its heating modes.
When to Call a Qualified Technician
Stop using the heater and obtain service for a propane smell, soot, delayed ignition, flame rollout, smoke, sparks, burnt wiring, repeated electrical trips, persistent relief-valve discharge, a leaking tank or heat exchanger, freeze damage, or a fault that returns after basic owner-level checks.
Do not bypass a safety device to keep hot water running. Maintenance starts with the correct model instructions; tank service belongs in the drain-and-flush procedure, while combustion, propane, and internal electrical repairs belong with qualified professionals. For help identifying specific problems, see our RV Troubleshooting guides.