
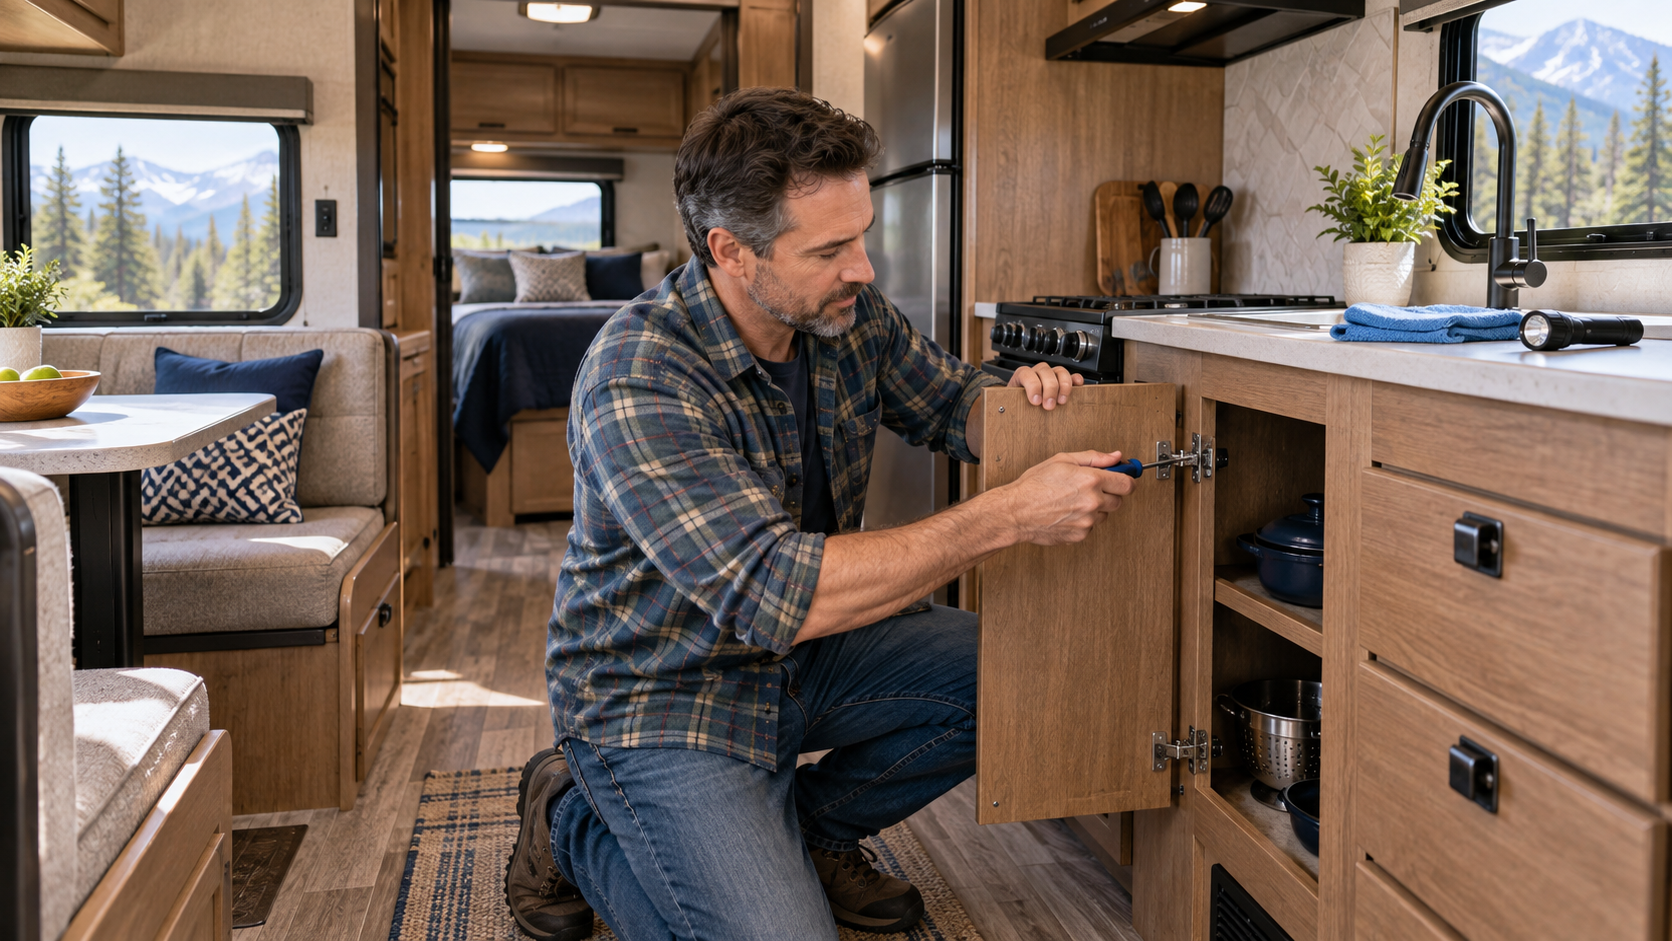
RV interior maintenance matters because an RV interior experiences vibration, temperature swings, humidity, road dust, and long periods of storage. Cabinet hardware loosens, sealants separate, flooring shifts, fabrics collect moisture, and small plumbing leaks can remain hidden inside cupboards or beneath furniture.
Routine cleaning is important, but interior maintenance should also include inspecting fasteners, latches, floors, walls, furniture, plumbing areas, and hidden spaces. Finding a loose hinge or damp cabinet early can prevent more expensive damage later.
Use cleaning products approved for the RV’s surfaces. Lightweight wall panels, vinyl finishes, plastics, fabrics, and laminated cabinetry can be damaged by harsh household chemicals or excessive moisture.
Inspect Cabinets and Drawers
Travel vibration gradually loosens cabinet hinges, handles, drawer slides, and latches.
Inspect:
- Door hinges
- Drawer slides
- Handles and knobs
- Travel latches
- Screws and fasteners
- Shelves and supports
- Cabinet joints
- Interior wall attachments
- Signs of moisture or pests
Tighten loose hardware carefully with the correct hand tool. Do not overtighten screws in thin wood, composite panels, or lightweight framing because the fastener can strip the material.
If a screw will not tighten, do not keep turning it. The hole or backing material may be damaged and require a proper repair.
Cabinet doors and drawers must remain securely closed during travel. Replace weak or broken latches before the RV is moved.
Check for Water Inside Cabinets
Open every cabinet and storage compartment during inspections. Use a flashlight to examine corners, plumbing openings, exterior-wall surfaces, and the floor beneath stored items.
Look for:
- Water staining
- Swollen panels
- Soft flooring
- Peeling finish
- Rust
- Mould or mildew
- Musty odours
- Damp insulation
- Dripping fittings
- Condensation
Cabinets beneath sinks, beside showers, around water heaters, and along exterior walls deserve particular attention.
Do not cover damp material with shelf liner or stored items. Find the source, stop additional water entry, and dry the area completely. Visible surfaces may dry while moisture remains inside a wall or floor. Because moisture can hide behind shelf liners and stored items, empty cabinets periodically before inspecting them.
Maintain Interior Walls and Ceilings
Inspect wall and ceiling panels for staining, bubbling, separation, softness, cracks, or movement.
Pay close attention to:
- Ceiling corners
- Roof vents
- Skylights
- Air-conditioner openings
- Windows
- Exterior doors
- Slide-out corners
- Upper cabinets
- Front and rear walls
- Areas beneath antennas or roof equipment
A stain may appear far from the exterior opening where water entered. Moisture can travel along framing, wiring, insulation, or roof contours.
Do not puncture, aggressively press, or cut into a suspicious area. Photograph it and arrange a moisture assessment when concealed damage is possible. If a stain appears on a wall or ceiling, investigate the source rather than covering it.
Flooring Maintenance
RV flooring may include sheet vinyl, vinyl plank, laminate, carpet, or manufacturer-specific materials.
Sweep or vacuum regularly to prevent sand and grit from scratching the surface. Clean with a product approved for the flooring and avoid saturating seams or edges.
Inspect for:
- Lifting seams
- Loose planks
- Cuts or tears
- Discolouration
- Soft areas
- Swelling
- Moisture near fixtures
- Damage beneath slide-outs
- Fasteners working upward
A soft floor may indicate water damage, failed adhesive, or structural deterioration. Do not hide it beneath a rug or flooring patch.
Before operating a slide-out, remove stones, pet toys, rugs, and debris from its travel path. A small object can score flooring or damage the slide mechanism. If the floor feels soft, stop using that area and arrange an inspection.
Furniture and Upholstery
Inspect sofas, dinettes, mattresses, chairs, and convertible beds for loose hardware, damaged supports, fabric wear, moisture, and pest activity.
Check:
- Mounting bolts
- Hinges and folding mechanisms
- Seat-belt anchors
- Bed platforms
- Table supports
- Upholstery seams
- Foam condition
- Areas beneath cushions
- Walls behind furniture
Furniture designed to be secured for travel must remain properly attached. Do not remove mounting hardware without understanding whether the furniture or seat belts depend on it.
Vacuum beneath cushions and inside storage bases. Allow damp upholstery to dry completely before closing the RV.
Lift mattresses periodically and inspect beneath them for condensation, mould, staining, and trapped moisture. Improve airflow where needed. Because cushions can trap moisture, lift them periodically and allow airflow beneath.
Windows and Interior Doors
Clean window tracks, screens, latches, and frames. Inspect drainage paths and weep openings according to the window manufacturer’s instructions.
Look for:
- Water staining
- Loose handles
- Damaged screens
- Cracked frames
- Failed latches
- Condensation
- Swollen wall panels
- Debris in tracks
Interior and bathroom doors should move freely and latch securely. Check sliding doors, pocket doors, folding doors, and shower enclosures before travel.
Do not drive with an interior door free to swing or slide. Repeated impacts can damage the door, hardware, wall, or surrounding cabinetry. If a door suddenly stops latching, check for loose hinges or structural movement.
Entry Door and Steps
From inside the RV, inspect the entry-door latch, deadbolt, hinges, screen door, grab handle, threshold, and surrounding wall.
The door should close without excessive force and remain secure during travel. A sudden change in alignment may indicate loose hinges, worn hardware, improper levelling, or movement in the RV structure.
Keep the threshold clean and dry. Water entering around the door can damage the subfloor before the problem becomes obvious.
Make sure interior and exterior steps are clean, stable, and free of loose material. Use the handrail when entering or leaving.
Kitchen Maintenance
Keep countertops, sinks, range surfaces, and food-storage areas clean and dry.
Inspect beneath the sink and around the faucet for slow leaks. Check visible drain connections, supply lines, and cabinet flooring.
Wipe grease and food residue from the range after it cools. Keep crumbs away from burner openings and electrical components. Follow the appliance manual before removing grates or burner covers.
Do not place hot cookware directly on surfaces unless they are designed for it. Lightweight RV countertops and covers can scorch, crack, or warp.
Secure dishes, cookware, appliances, and pantry items before travel. Heavy items should be stored low to reduce injury and damage if a latch opens.
Bathroom Maintenance
Inspect the toilet, shower, sink, walls, flooring, and ventilation.
Look for:
- Water around the toilet base
- A bowl seal that will not hold water
- Loose toilet mounting
- Cracked shower panels
- Failed sealant
- Slow drains
- Damp flooring
- Mould or mildew
- Loose fixtures
- Damaged vent screens
Use cleaners approved for RV toilets, seals, plastics, and holding-tank systems. Harsh household products may damage seals or finishes.
Run the exhaust fan while showering and leave the bathroom open to dry afterward. Persistent moisture can damage wall panels and cabinetry. Because showers add moisture, run the exhaust fan during and after every use.
Interior Plumbing Checks
With the water system pressurized, inspect accessible plumbing connections.
Check:
- Beneath sinks
- Around the toilet
- Shower fittings
- Water-pump area
- Water-heater bypass valves
- Low-point drains
- Exterior-shower connections
- Washer hookups
- Filter housings
- Fresh-water tank fittings where accessible
Wipe each connection with a dry paper towel to reveal slow seepage. A fitting may remain dry when the pump is off but leak under pressure.
Stop using the water system if a leak is entering a wall, floor, electrical compartment, or inaccessible area. If a fitting seeps under pressure, stop using the system until it is repaired.
Control Condensation
Cooking, showering, breathing, wet clothing, and unvented moisture can raise humidity quickly inside an RV.
Reduce condensation by:
- Using the range and bathroom exhaust fans
- Opening a roof vent when conditions permit
- Maintaining airflow through the RV
- Wiping wet windows
- Drying shower surfaces
- Avoiding indoor storage of wet clothing
- Ventilating cabinets and storage spaces
- Using an appropriately sized dehumidifier
- Monitoring indoor humidity
- Checking beneath mattresses and cushions
Condensation can resemble a leak, but moisture should never be dismissed without investigation. Determine whether it comes from humidity, plumbing, exterior seals, or an appliance. For more on managing moisture through heating, cooling, and ventilation, see our RV Heating, Cooling and Ventilation Maintenance guide.
Mould and Mildew
Mould and mildew indicate that moisture and organic material are present.
Small surface areas may be cleanable using a product approved for the material, but the source of moisture must also be corrected.
Do not simply paint over staining or seal damp material inside a wall. Extensive growth, recurring odour, soft materials, or suspected contamination inside the structure requires professional assessment.
Ventilate the area and avoid disturbing material that could release a large amount of contamination into the air.
Pest Prevention
Food, moisture, warmth, and small openings attract insects and rodents.
Reduce pest activity by:
- Removing food and crumbs
- Storing dry goods in sealed containers
- Emptying garbage
- Cleaning beneath furniture
- Inspecting plumbing and wiring openings
- Checking exterior access points
- Removing nesting material
- Keeping fabrics dry
- Inspecting during storage
Do not block required appliance, furnace, refrigerator, or ventilation openings with improvised material.
Rodents can damage wiring, ducts, insulation, plumbing, and propane components. Arrange inspection before operating affected systems. If you find droppings or chewed wiring, inspect nearby systems before using them.
Detectors and Safety Equipment
Test smoke, carbon-monoxide, and propane detectors according to their instructions. Replace batteries and replace the detector itself at the manufacturer’s required interval.
Keep fire extinguishers accessible and inspect their condition according to the label.
Do not cover detectors because of nuisance alarms. Determine whether cooking smoke, low voltage, contamination, age, or a real hazard is causing the warning.
Interior Electrical Inspection
Visually inspect accessible outlets, switches, lights, USB ports, and wiring covers.
Stop using a device if you find:
- Discolouration
- Melting
- Cracks
- Loose mounting
- Sparks
- Burning odour
- Unusual heat
- Repeated breaker or fuse operation
- Damaged cords
Do not replace a fuse or breaker with a higher rating. Internal wiring repairs and recurring electrical faults require qualified service. If an outlet feels warm or shows discolouration, stop using it and arrange an inspection.
Preparing the Interior for Travel
Before moving the RV:
- Close and latch cabinets
- Secure drawers
- Lock the refrigerator
- Secure shower and interior doors
- Remove items from countertops
- Lower or secure tables
- Store heavy items low
- Secure televisions and appliances
- Close windows and roof vents as required
- Clear slide-out travel paths
- Check that furniture is locked in position
- Walk through the RV one final time
A lightweight object can become dangerous during sudden braking. Do not rely on friction to keep items in place. Because loose items can become dangerous, secure everything before the RV moves.
Seasonal Storage
Before storage:
- Remove food and garbage
- Clean and dry the refrigerator
- Ventilate the refrigerator as directed
- Clean countertops and floors
- Vacuum upholstery and storage spaces
- Dry the bathroom
- Ventilate cabinets
- Remove pest attractants
- Inspect for leaks
- Secure doors and drawers
- Follow the RV’s winterizing procedure
During storage, inspect the RV periodically for water intrusion, condensation, mould, unusual odours, pests, storm damage, and snow load. For the complete storage routine, see our How to Store an RV guide.
RV Interior Maintenance: Routine Schedule
After each trip
- Remove food and garbage
- Sweep or vacuum floors
- Wipe spills
- Dry the bathroom
- Inspect for new damage
- Secure loose hardware
Monthly during use
- Inspect cabinets, drawers, hinges, and latches
- Check beneath sinks
- Look beneath mattresses and cushions
- Inspect flooring and walls
- Test detectors
- Check for moisture and pests
Before each trip
- Secure doors, drawers, furniture, and appliances
- Clear slide-out paths
- Remove loose countertop items
- Confirm windows and vents are secured
Before storage
- Clean and dry the interior
- Remove perishables
- Inspect plumbing and exterior-wall areas
- Ventilate enclosed spaces
- Complete required winterization
- Record unresolved repairs
For a printable version of this schedule, see our RV Checklists page.
When to Contact a Qualified Technician
Arrange professional service for:
- Soft floors, walls, or ceilings
- Significant or concealed water intrusion
- Structural movement
- Wall or ceiling separation
- Persistent mould or musty odours
- Damaged seat-belt anchors
- Overheated wiring
- Repeated electrical faults
- Plumbing leaks inside inaccessible areas
- Propane odours
- Pest damage near wiring or propane components
- Doors or furniture that cannot be secured for travel
Interior damage may be the first visible sign of a larger exterior, plumbing, structural, or electrical problem. Correct the source rather than repairing only the surface. For more industry safety guidance, see the RV Safety & Education Foundation.
RV Interior Maintenance: Key Takeaways
RV interior maintenance involves more than cleaning. Loose hardware, trapped moisture, damaged flooring, failed latches, and hidden leaks can worsen rapidly when the RV returns to the road.
Inspect every room and storage area regularly, keep the interior dry, secure items before travel, and document developing problems. Early repairs help protect the RV’s structure, systems, and living space.