
RV heating and cooling maintenance keeps temperature and moisture under control inside a small, tightly enclosed space. Restricted airflow, dirty filters, blocked exterior vents, low electrical voltage, propane problems, and poor ventilation can reduce performance or create serious safety hazards.
These systems combine propane, electricity, combustion, refrigerant, motors, ductwork, and roof-mounted equipment. Owners can perform routine cleaning and visual inspections, but internal propane, combustion, refrigerant, and high-voltage repairs require qualified service.
Identify every system in your RV and follow its manufacturer’s maintenance schedule before removing covers, applying cleaners, or replacing parts.
Identify the Installed Systems
An RV may use several systems, including:
- Propane forced-air furnace
- Roof-mounted air conditioner
- Heat pump
- Electric fireplace
- Portable or built-in electric heater
- Roof vent fan
- Bathroom exhaust fan
- Range-hood fan
- Ducted or non-ducted air distribution
- Basement heating or enclosed-tank heat
- Thermostat-controlled ventilation
Record the manufacturer and model number of each appliance. Keep the manuals and fault-code information accessible.
Do not assume that two similar-looking systems use the same filters, controls, maintenance products, or troubleshooting procedures.
Maintain Clear Airflow
Heating and cooling equipment depends on unobstructed airflow. Restricted airflow can cause weak performance, coil icing, overheating, excessive noise, and premature component failure.
Regularly inspect:
- Air-conditioner return grilles
- Air-conditioner filters
- Ceiling supply vents
- Furnace return-air openings
- Furnace floor or wall registers
- Roof vents
- Bathroom and range-hood exhausts
- Duct openings
- Exterior appliance vents
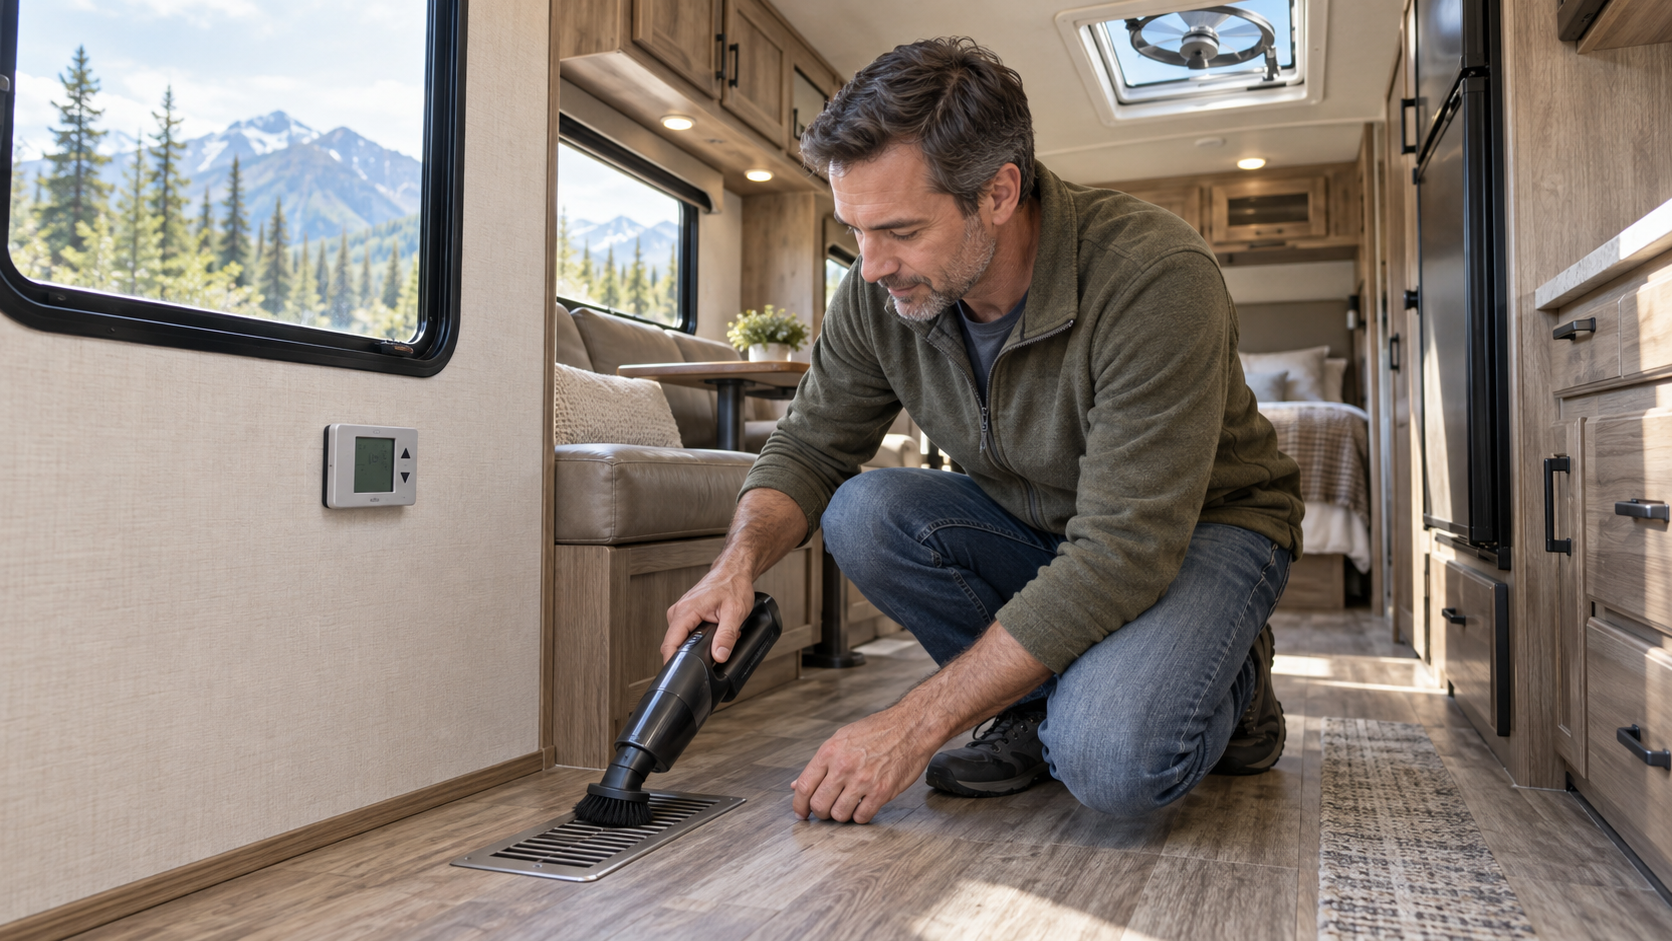
Keep rugs, furniture, bedding, pet hair, luggage, and stored items away from return-air openings and heat registers.
Do not close multiple supply vents in an attempt to redirect all airflow to one area unless the system manufacturer permits it. Excessive restriction can affect system performance.
Air-Conditioner Filter Maintenance
A dirty return-air filter is one of the most common causes of poor RV air-conditioner performance.
Before removing the filter:
- Turn the air conditioner off.
- Disconnect power if the manufacturer requires it.
- Open the interior return-air grille.
- Note the filter’s position and airflow direction, if marked.
- Remove it carefully to avoid releasing dust inside the RV.
Wash reusable filters or replace disposable filters according to the manufacturer’s instructions. Do not reinstall a washable filter until it is completely dry.
Never operate the air conditioner for an extended period without its filter. Dust can collect on the evaporator coil and blower assembly, making professional cleaning necessary.
Inspect the filter monthly during regular use and more frequently in dusty areas, during wildfire smoke, or when travelling with pets. For step-by-step air conditioner care, see our How to Maintain Your RV Air Conditioner guide.
Air-Conditioner Operation
Before starting the air conditioner, confirm that the RV is connected to an adequate electrical supply. Air conditioners draw substantial current, especially during compressor startup.
Check:
- Shore-power capacity
- Pedestal and RV breakers
- Power-cord condition
- Energy-management settings
- Thermostat mode
- Interior filter
- Return and supply airflow
Allow time between shutting the compressor off and restarting it. Rapid cycling can place unnecessary strain on the compressor and electrical system.
On hot days, reduce the cooling load by closing blinds, using reflective window coverings where appropriate, parking in shade, and limiting unnecessary door opening.
An RV air conditioner generally cools recirculated interior air. It does not replace the need for controlled ventilation.
Inspecting the Roof Air Conditioner
From a safe location, inspect the exterior air-conditioner shroud and surrounding roof area.
Look for:
- Cracked or missing shroud sections
- Loose hardware
- Debris
- Insect or animal activity
- Damaged fins
- Water staining
- Failed roof sealant
- Movement at the mounting area
- Signs of impact
Do not stand on the RV roof unless the manufacturer confirms it is walkable and you can use proper access and fall protection.
Internal electrical components may contain capacitors that remain dangerous after power is disconnected. Refrigerant, electrical, coil, and roof-gasket repairs should be handled by a qualified technician.
Condensation and Water From the Air Conditioner
Water running from the RV roof while the air conditioner operates can be normal condensation. Water dripping inside the RV is not normal.
Interior leakage may result from:
- Blocked condensate drainage
- A dirty filter
- Frozen evaporator coil
- Damaged or compressed roof gasket
- Loose mounting
- Cracked drain pan
- Improper installation
- An RV outside the permitted level range
- Roof or sealant failure
Turn the unit off if water enters the RV. Dry accessible surfaces and determine whether moisture has entered the ceiling or roof structure.
Do not tighten air-conditioner mounting bolts without the correct torque and procedure. Overtightening can deform the gasket or damage the roof assembly.
Heat-Pump Operation
Some rooftop air conditioners include a heat-pump mode. A heat pump transfers heat rather than producing it through propane combustion.
Heat-pump performance decreases as outdoor temperatures fall. Many units stop providing useful heat below a model-specific temperature or switch to another heat source when conditions require it.
Follow the manufacturer’s temperature limits. Do not assume the heat pump can protect the RV’s plumbing or enclosed underbelly during freezing weather.
Keep filters and vents clean just as you would during cooling operation. Unusual compressor noise, repeated cycling, icing, or fault codes require investigation.
Furnace Maintenance
A propane furnace draws interior air through a return opening, heats it, and distributes warm air through ducts or registers. Combustion air and exhaust remain separate from the interior airflow when the system operates correctly.
Keep furnace returns and registers unobstructed. Inspect accessible areas for dust, pet hair, loose ducting, damaged vents, and objects stored too close to the furnace.
Inspect the exterior furnace vent for:
- Soot
- Rust
- Mud-dauber or insect nests
- Leaves and debris
- Heat damage
- Loose fasteners
- Damaged screens
- Unusual staining
Use only insect screens approved for the furnace model. A restrictive screen can interfere with combustion and exhaust.
Never seal or cover a furnace vent.
Testing the Furnace
At the beginning of the season, test the furnace before relying on it during cold weather.
Confirm that:
- The battery is adequately charged
- Propane is available
- The thermostat is set correctly
- Return and supply openings are clear
- The blower starts normally
- Ignition occurs without repeated attempts
- Warm air reaches the registers
- The furnace shuts down normally
The blower requires 12-volt power even though the furnace burns propane. Low voltage may prevent the safety controls from permitting ignition.
Turn the furnace off if you notice propane odour, soot, repeated ignition attempts, unusual exhaust, scraping, grinding, excessive vibration, or overheating.
Gas-pressure testing, burner service, combustion testing, and internal furnace repairs require a qualified RV propane technician. For step-by-step furnace care, see our RV Furnace Maintenance and Troubleshooting guide.
Roof Vents and Exhaust Fans
Roof vents and powered fans remove heat, cooking moisture, shower humidity, and stale air.
Inspect:
- Vent lids
- Hinges
- Screens
- Seals
- Operating handles
- Fan blades
- Motors
- Wiring
- Rain sensors
- Exterior sealant
Clean screens and fan blades with the power off. Support removable components so they do not fall or damage the surrounding trim.
Plastic vent lids can become brittle from ultraviolet exposure. Replace cracked, distorted, or damaged lids before they leak.
Never travel with a roof vent open unless the vent and cover are specifically designed and approved for that use.
Range-Hood and Bathroom Fans
Grease can accumulate in a range-hood filter and reduce airflow. Remove and clean or replace the filter according to the manufacturer’s instructions.
Make sure the exterior range-hood flap opens freely. Some RVs use a travel latch that must be released before the fan can exhaust properly and secured again before travel.
Bathroom fans collect dust and moisture. Clean the screen and blades with the power off. Investigate rattling, slow operation, burning odours, or damaged wiring.
Always use ventilation while cooking and showering. Propane cooking adds heat and moisture to the interior even when the appliance operates normally.
Managing Condensation
Condensation forms when warm, humid interior air contacts cold windows, walls, ceilings, or framing. It can resemble a roof or plumbing leak and may damage finishes if ignored.
Reduce condensation by:
- Using bathroom and range exhaust fans
- Opening a roof vent slightly when conditions permit
- Maintaining interior airflow
- Avoiding indoor drying of wet clothing
- Using an appropriately sized dehumidifier
- Wiping moisture from windows
- Keeping mattresses and cushions ventilated
- Monitoring indoor humidity
- Inspecting hidden corners and cabinets
Cold-weather camping often requires a balance between retaining heat and removing moisture. Closing every vent may trap enough humidity to produce water on windows, walls, and inside cabinets.
Condensation should not be blamed automatically. Persistent moisture may come from an exterior leak, plumbing problem, or appliance and should be investigated.
Carbon-Monoxide and Propane Safety
Heating equipment must never be used without functioning safety detectors.
Test smoke, carbon-monoxide, and propane detectors according to their instructions. Replace batteries and complete detector replacement at the interval specified by the manufacturer.
Never use the range or oven to heat the RV. Never operate a barbecue, portable outdoor heater, generator, or fuel-burning equipment inside the RV or an enclosed storage area.
If a carbon-monoxide or propane alarm activates:
- Treat the alarm as genuine.
- Move everyone into fresh air.
- Avoid operating electrical switches if propane may be present.
- Shut off fuel only when it is safe.
- Contact emergency or qualified service as appropriate.
- Do not re-enter or restart equipment until the cause has been identified.
For more industry safety guidance, see the RV Safety & Education Foundation.
Common Problems
The air conditioner runs but does not cool well
Check the filter, return airflow, supply vents, thermostat, outdoor temperature, available voltage, and whether doors or windows are open. A dirty coil, refrigerant fault, or compressor problem requires professional service.
Ice forms on the air conditioner
Turn the cooling system off and allow the ice to melt without using sharp tools. Check the filter and airflow. Recurring icing may indicate a dirty coil, blower problem, sensor issue, or refrigerant fault.
The air conditioner trips a breaker
Stop resetting the breaker. The circuit may be overloaded, voltage may be low, or the air conditioner may have an electrical or mechanical fault.
The furnace blower runs without ignition
Low battery voltage, propane supply trouble, restricted airflow, an ignition fault, or a safety-control problem may prevent ignition. Stop repeated attempts if propane odour develops.
The furnace starts and stops repeatedly
Check airflow openings and battery condition. Overheating, thermostat placement, duct restrictions, or internal faults may cause short cycling.
A vent fan moves very little air
Clean the screen and blades, confirm that the exterior flap or lid opens correctly, and check battery voltage. Stop using a slow, hot, or noisy motor.
Moisture appears inside the RV
Increase controlled ventilation and check humidity, but also inspect the roof, windows, plumbing, appliances, and hidden spaces. Do not assume every wet area is condensation.
Preparing for Travel
Before moving the RV:
- Close roof vents unless approved for travel
- Secure vent covers and interior trim
- Turn off heating and cooling equipment as required
- Confirm exterior vent panels are latched
- Remove loose items near registers and fans
- Follow propane travel restrictions
- Check for unusual odours or fluid leaks
Never operate equipment contrary to the RV or appliance manufacturer’s travel instructions.
Seasonal Care
Spring startup
- Inspect exterior furnace and appliance vents
- Examine the air-conditioner shroud
- Clean air filters
- Open and test roof vents
- Test exhaust fans
- Inspect duct openings
- Test the furnace and air conditioner separately
- Test all safety detectors
- Watch for leaks, soot, odours, and fault codes
Before winter storage
- Clean and dry filters and vents
- Remove dust and debris
- Inspect exterior covers and sealant
- Shut systems down as directed
- Secure roof vents
- Record unresolved problems
- Inspect the stored RV periodically for condensation, mould, pests, leaks, and snow load
RV Heating and Cooling Maintenance: Routine Schedule
Before each trip
- Check exterior vents and covers
- Confirm roof vents are secured
- Inspect for soot, damage, and loose panels
- Test safety detectors
Monthly during regular use
- Clean air-conditioner filters
- Inspect furnace returns and registers
- Clean roof-vent screens and fan blades
- Check bathroom and range exhaust
- Look for condensation, mould, and unusual odours
At the beginning of each season
- Test heating and cooling systems
- Inspect exterior vents
- Check the roof air conditioner
- Verify thermostat operation
- Arrange service for recurring faults
Annually
- Follow manufacturer-required furnace and air-conditioner service
- Inspect ducts and airflow
- Review detector replacement dates
- Check exterior mounting and sealing
- Document all maintenance and repairs
For a printable version of the maintenance schedule, see our RV Checklists page.
When to Contact a Qualified Technician
Arrange professional service for:
- Propane odour or suspected leakage
- Soot or abnormal furnace exhaust
- Repeated ignition failure
- Smoke, sparks, or overheated wiring
- Recurring breaker or fuse operation
- Refrigerant or oil leakage
- Damaged air-conditioner wiring
- Persistent coil icing
- Interior water from roof-mounted equipment
- Cracked or damaged furnace components
- Failed combustion or safety controls
- Significant duct damage
- Recurring fault codes
- Roof work that cannot be performed safely
Stop using equipment when its operation changes suddenly or the cause of a problem is uncertain. For help identifying specific problems, see our RV Troubleshooting guides.
RV Heating and Cooling Maintenance: Key Takeaways
Reliable heating, cooling, and ventilation depend on clear airflow, clean filters, stable electrical power, safe propane operation, and effective moisture control.
Inspect these systems regularly, test them before extreme weather, and respond promptly to unusual noise, odour, heat, moisture, or fault codes. Routine owner maintenance can prevent many problems, but propane, combustion, refrigerant, and internal electrical repairs belong with qualified technicians.