
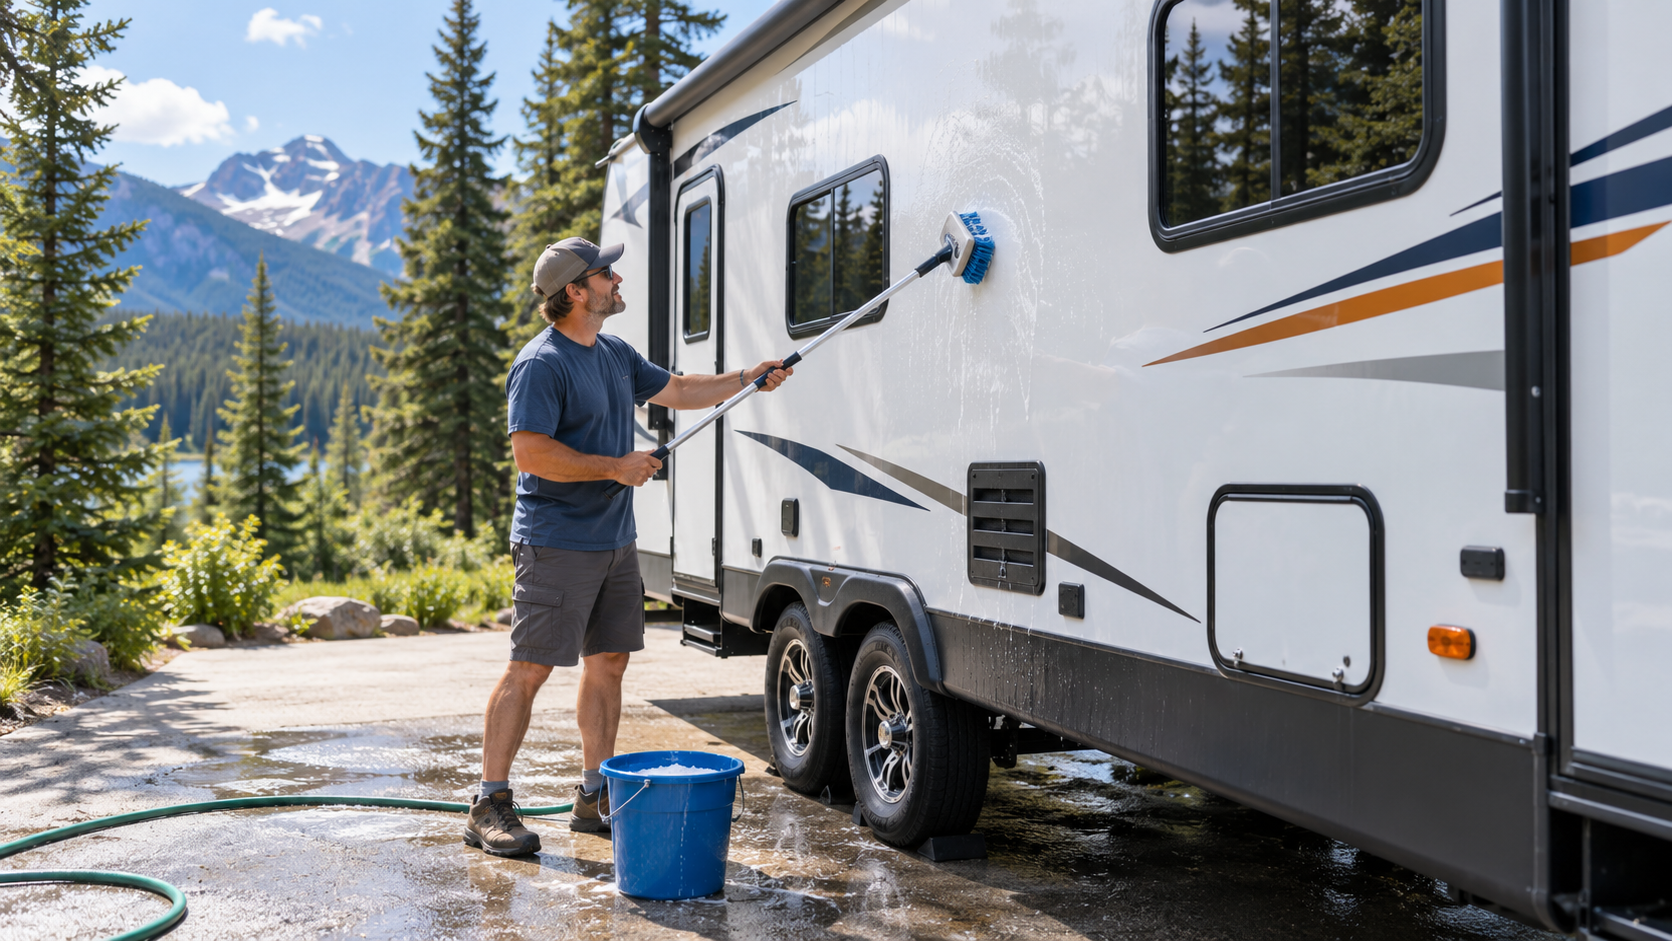
RV exterior care matters because the exterior faces sunlight, rain, snow, road salt, insects, tree sap, dust, fuel residue, and constant vibration. Dirt is more than cosmetic: it can hide cracks, loose mouldings, failed sealant, corrosion, and early water intrusion.
Regular washing protects the finish and makes inspection easier, but RV exteriors combine many materials. A cleaner that is safe for fibreglass may damage graphics, acrylic windows, rubber seals, painted aluminum, or protective coatings.
Identify the exterior materials and follow the RV manufacturer’s cleaning instructions before selecting products.
Know the Exterior Materials
An RV exterior may include:
- Gel-coated fibreglass
- Painted fibreglass
- Corrugated or smooth aluminum
- Automotive paint and clear coat
- Vinyl graphics
- Decals
- Acrylic or glass windows
- Plastic vents and access panels
- Rubber seals
- Painted steel
- Powder-coated frames
- Chrome or plated trim
- Manufacturer-specific composite materials
Do not assume one cleaner or protectant is suitable for every surface. Read the product label and confirm compatibility with the RV manufacturer when uncertain.
Test an unfamiliar product in a small, inconspicuous area before applying it broadly.
Choose a Suitable Washing Location
Park on firm, level ground where washing is permitted and runoff can be handled responsibly. Some campgrounds, storage facilities, and municipalities restrict RV washing or the discharge of cleaning products.
Avoid washing in direct midday sunlight when possible. Heat can cause soap and mineral-rich rinse water to dry before they are removed, leaving streaks and water spots.
Close all windows, roof vents, doors, and exterior compartments. Confirm that appliance-access panels, electrical inlets, water connections, and storage doors are latched.
Move equipment away from the RV and remove loose accessories that could be damaged.
Gather Appropriate Supplies
A basic exterior-cleaning kit may include:
- RV-approved wash solution
- Soft wash brush
- Microfibre wash mitts
- Separate wheel brush
- Buckets
- Ordinary garden hose
- Soft drying towels
- Telescoping handle
- Approved insect or black-streak cleaner
- Surface-compatible wax or protectant
- Stable access equipment where required
Use separate tools for wheels and body panels. Brake dust, road grit, and metal particles trapped in a wheel brush can scratch exterior finishes.
Inspect brushes and mitts before use. A single stone or piece of grit can leave scratches across a large panel.
Rinse Before Washing
Rinse loose dirt from the RV before touching the surface with a brush or mitt. Begin high and work downward so contamination does not run across areas that have already been cleaned.
Use gentle water pressure. Do not direct a concentrated stream into:
- Window seals
- Door seals
- Appliance vents
- Furnace exhausts
- Refrigerator openings
- Electrical connections
- Moulding joints
- Exterior speakers
- Slide-out seals
- Sealant edges
- Storage compartments
Water forced into an opening may enter the wall even when the component appears properly sealed.
Wash From Top to Bottom
Divide the exterior into manageable sections. Apply the approved wash solution with a clean, soft brush or mitt and rinse each section before the soap dries.
Use light pressure. Aggressive scrubbing can dull finishes, lift graphics, scratch windows, and damage sealant.
Pay attention to:
- Front and rear walls
- Upper corners
- Areas beneath roof edges
- Window frames
- Door frames
- Storage doors
- Mouldings
- Around lights and cameras
- Lower skirting
- Areas behind wheels
- Utility connections
Frequently rinse the brush or mitt so it does not carry grit across the surface.
If roof-cleaning residue runs down the sidewalls, rinse it promptly. Some roof cleaners can leave streaks or affect wax and protective coatings.
Cleaning Fibreglass
Gel-coated fibreglass can oxidize and lose its gloss after extended ultraviolet exposure. Routine washing removes dirt but may not correct oxidation.
Use cleaners, compounds, polishes, and protectants approved for the exact finish. Begin with the least aggressive method.
Do not use abrasive household powders, rough pads, or automotive compounds without confirming that they are suitable for the RV’s gel coat or paint.
Heavy oxidation, chalking, cracking, or exposed fibres may require professional correction.
Cleaning Aluminum Siding
Painted aluminum can scratch, dent, oxidize, or develop corrosion around fasteners and damaged areas.
Use a soft brush or mitt and an approved cleaner. Corrugated panels require attention along the lower edges of each ridge where dirt collects.
Inspect for:
- Paint damage
- Corrosion
- Loose fasteners
- Separated seams
- Dents
- Cracks around openings
- Failed sealant
Do not aggressively polish thin painted aluminum. Removing too much coating can expose the metal beneath.
Protecting Graphics and Decals
Vinyl graphics can fade, crack, shrink, lift, or become brittle.
Wash them gently and avoid directing strong water pressure at their edges. Do not use solvents, abrasive polish, or aggressive compounds unless specifically approved for the graphic.
When applying wax or protectant, confirm that it is safe for both the surrounding finish and the decal. Some products leave white residue along graphic edges or cause discolouration.
A lifting decal may trap water and dirt. Do not seal over a damaged graphic unless the manufacturer recommends that repair.
Removing Insects and Road Film
Insect residue can become harder to remove after prolonged sun exposure. Road film may contain oil, salt, tar, and fine abrasive material.
Soften contamination with a surface-compatible cleaner and the dwell time specified on its label. Rinse before gently wiping.
Do not scrape insects or tar with a blade, abrasive pad, or fingernail. Aggressive removal can scratch clear coat, gel coat, windows, and graphics.
Clean the front cap after long trips before residue bakes onto the surface.
Removing Black Streaks
Black streaks often form when dirt and oxidation wash down from the roof, gutters, trim, or sealant. The streak itself may be cosmetic, but its source should be inspected.
Use a black-streak remover approved for the RV’s finish and graphics. Test it first and rinse thoroughly.
Strong streak removers may also strip wax or protective coatings. Reapply an approved protectant afterward when required.
Persistent streaking near one location may indicate a dirty gutter, overflowing drain, failed seal, or water carrying contamination from a hidden area.
Windows and Screens
Determine whether each window is glass, acrylic, or another material before selecting a cleaner.
Some household glass cleaners contain ingredients that can damage acrylic windows or surrounding seals. Use products approved for the window material.
Clean frames, tracks, screens, latches, and drainage openings. Do not force debris deeper into weep holes.
Inspect for:
- Cracks
- Cloudiness
- Scratches
- Damaged screens
- Loose frames
- Failed seals
- Water staining
- Trapped moisture
Do not use abrasive pads or dry-wipe dusty acrylic because the surface can scratch easily.
Doors, Compartments, and Seals
Clean around entry doors, baggage doors, hatches, and exterior compartments.
Wipe seals with an approved cleaner and inspect them for:
- Tears
- Cracks
- Flattening
- Hardening
- Separation
- Missing sections
- Dirt buildup
- Areas that do not contact evenly
Use only seal treatments approved for the material. Petroleum-based products can damage some rubber and synthetic seals.
Open compartments after washing and check for water. Damp carpet, staining, rust, swollen flooring, or musty odour may reveal a leak.
Mouldings, Trim, and Exterior Attachments
Cleaning provides an opportunity to inspect corner mouldings, roof edges, belt rails, lights, ladders, grab handles, cameras, vents, and accessory mounts.
Look for loose fasteners, cracked lenses, gaps, movement, corrosion, and failed sealant.
Do not tighten a loose exterior fastener blindly. A screw that spins or will not tighten may indicate damaged backing material or concealed water intrusion.
Do not cover movement or structural damage with another layer of sealant.
Appliance and Utility Openings
Gently clean around:
- Furnace vents
- Refrigerator vents
- Water-heater compartments
- Shore-power inlets
- Fresh-water connections
- Exterior showers
- Cable connections
- Generator compartments
Never spray water directly into an appliance vent or electrical opening.
Do not cover ventilation openings to keep water, insects, or drafts out. Use only screens and accessories approved for the appliance.
Soot, melted material, unusual staining, or heat damage around a propane appliance requires professional inspection.
Wheels and Lower Areas
Clean wheels, wheel wells, steps, stabilizers, and lower skirting separately from the upper body.
Road grime in these areas may contain oil, salt, brake dust, and abrasive particles. Use separate tools and cleaners approved for the wheel finish and surrounding materials.
Do not apply tire dressing to the tread, braking surfaces, or areas where overspray could create a slipping hazard.
While cleaning, inspect for damaged wheel-well material, loose trim, corrosion, fluid leaks, and tire damage.
Pressure-Washing Risks
A pressure washer can force water behind seals, strip graphics, damage caulking, scar wood or plastic, and drive contamination into vents and electrical components.
Avoid pressure washing unless the RV and component manufacturers specifically permit it and provide suitable instructions.
Never direct high-pressure water at:
- Roof seams
- Sealant
- Windows and doors
- Exterior vents
- Electrical inlets
- Slide-out seals
- Graphics
- Cameras
- Speakers
- Bearings or brakes
Gentle hand washing offers more control and makes it easier to notice developing damage.
Drying the Exterior
Allowing rinse water to air-dry may leave mineral deposits. Dry accessible surfaces with clean, soft towels or another manufacturer-approved method.
Do not use a dirty drying towel. Trapped grit can scratch the finish.
Open exterior compartments and inspect for moisture. Dry door frames, seals, steps, handles, and areas where water collects.
Water trapped near a seal or trim joint may reveal a drainage or alignment problem.
Wax and Protective Coatings
Wax or protective coatings may help preserve some fibreglass, painted, or metal finishes, but no single product suits every RV surface.
Confirm compatibility with:
- Gel coat
- Paint
- Clear coat
- Graphics
- Plastic
- Aluminum
- Sealant
- Textured surfaces
Avoid applying slippery products to steps, handles, roofs, or walking surfaces.
Clean and dry the RV before applying protection. Do not use wax to hide oxidation, cracks, failed sealant, or structural damage.
Cleaning the Roof
Roof cleaning requires separate safety precautions and products approved for the roofing material.
Do not assume the roof is walkable. Consult the RV manufacturer before climbing onto it.
For complete roof-access, cleaning, sealant, and water-intrusion guidance, see our How to Inspect and Maintain Your RV Roof and Exterior Seals post.
Seasonal and Winter Care
Before winter storage:
- Wash and dry the exterior
- Remove insect residue and road salt
- Inspect windows, doors, mouldings, and sealant
- Clean and dry awnings
- Check exterior compartments for moisture
- Repair damage before storage
- Secure approved covers so they cannot abrade the finish
- Record unresolved problems
During winter storage, inspect the RV periodically for moisture, storm damage, pests, snow load, and cover movement.
After winter, rinse storage dust and road residue before scrubbing the surface. For the complete storage routine, see our How to Store an RV guide.
RV Exterior Care: Routine Schedule
After long trips
- Rinse insects and road film
- Clean the front cap
- Inspect graphics and lower panels
- Check for stone or branch damage
Monthly during regular use
- Wash the exterior as needed
- Clean windows and seals
- Inspect mouldings and attachments
- Check compartments for moisture
- Look for corrosion and failed sealant
After severe weather or rough roads
- Inspect roof edges and sidewalls
- Check lights, vents, ladders, and accessories
- Look for loose fasteners and impact damage
- Check for new leaks or water staining
Before storage
- Wash and dry the RV
- Remove road salt and organic residue
- Inspect seals and exterior openings
- Apply compatible protection where required
- Document repairs and product use
For a printable version of the maintenance schedule, see our RV Checklists page.
When to Contact a Qualified Technician
Arrange professional inspection when you find:
- Wall delamination
- Soft exterior panels
- Significant corrosion
- Cracked fibreglass
- Loose windows or mouldings
- Structural movement
- Persistent water intrusion
- Damaged appliance vents
- Failed mounting points
- Extensive oxidation
- Damage near electrical equipment
- Loose ladders or grab handles
Exterior cleaning should reveal problems, not conceal them. Repair the source of damage rather than covering it with wax, sealant, or trim. For more industry safety guidance, see the RV Safety & Education Foundation.
RV Exterior Care: Key Takeaways
Safe exterior care begins with compatible products, gentle washing, and close inspection. Work from top to bottom, keep abrasive dirt away from the finish, and avoid forcing water into openings.
Regular cleaning helps preserve the RV’s appearance, but its greater value lies in exposing loose hardware, failed seals, corrosion, and water damage before they become serious.