
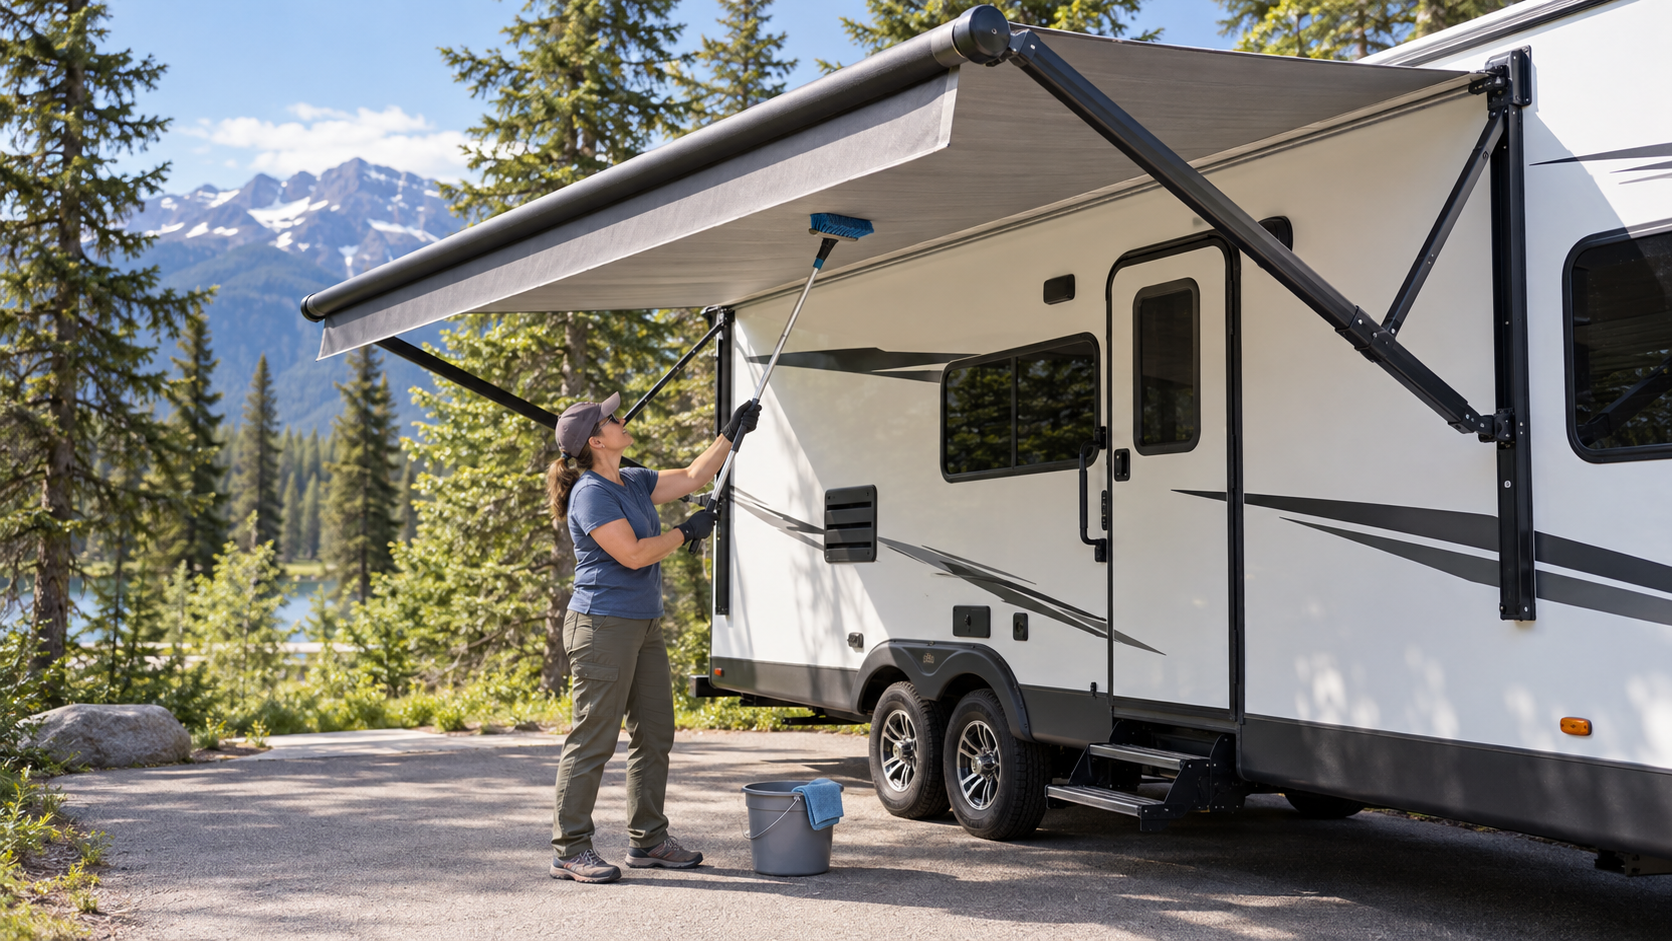
RV awning troubleshooting matters because an awning that will not retract is more than an inconvenience. The RV may not be safe to move until the awning is returned to its travel position or securely restrained. Continuing to operate a damaged awning can bend its arms, tear the fabric, damage the mounting rail, or pull hardware from the RV wall.
Some awning problems have simple causes, such as low battery voltage, a blown fuse, or an object caught in an arm. Other failures involve motors, gearboxes, control modules, wiring, fabric alignment, bent hardware, or powerful internal springs.
This guide covers basic owner-level troubleshooting and the steps needed to prepare for emergency retraction. Awning designs differ, so identify the manufacturer and model before opening a motor housing, releasing spring tension, or attempting a manual override.
Identify the Awning Before Troubleshooting It
Determine whether the RV has a manual or powered awning. Powered awnings may use a direct-wired switch, wireless remote, control module, wind sensor, or connection to the RV’s central control system.
Look for a manufacturer and model label on an awning arm, roller tube, motor housing, control panel, or owner’s manual. Take a clear photograph of the label and keep the correct manual in the RV.
Common awning types include:
- Manual patio awnings
- 12-volt powered patio awnings
- Powered awnings with adjustable pitch
- Automatic awnings with wind sensors
- Slide-out toppers
- Window and door awnings
- Box or cassette awnings
This article primarily concerns patio awnings. Slide toppers and cassette awnings have different mechanisms and retraction procedures.
Make the Area Safe
Keep people, pets, furniture, cooking equipment, and campsite belongings away from the awning before troubleshooting it. A bent arm or damaged mount can move suddenly.
Do not stand directly beneath an awning damaged by wind, heavy rain, snow, or falling branches. If the fabric holds pooled water, do not push upward from underneath it. The water may release suddenly, or the roller and arms may shift.
Never loosen an awning spring, remove an end cap, or dismantle a roller tube without the correct service procedure and tools. Internal springs can store enough energy to cause serious injury.
If the awning contacts an overhead power line, keep everyone away and contact the electrical utility or emergency services. Do not touch the RV or attempt to retract the awning.
Inspect for Obstructions and Visible Damage
Before pressing the switch again, examine the awning from a safe position.
Look for:
- Tree branches or campsite structures blocking movement
- Straps, lights, hooks, or accessories still attached
- Fabric caught in an arm
- Debris wrapped around the roller tube
- Ice or snow on the fabric
- Water pooled in the awning
- Bent or twisted arms
- Loose mounting brackets
- Damaged pivot points
- Torn or shifted fabric
- A sagging roller tube
- Wiring pulled from an arm
- An arm that has separated from the RV
Remove only loose objects that can be reached safely while the awning is stationary. Do not climb a ladder beside an unstable awning or pull on a loaded arm.
If an arm, roller, or wall mount is visibly bent, stop operating the awning. The remaining components may be carrying more force than normal.
Check Battery Power First
Most powered RV awnings operate from the 12-volt battery system, even when the RV is connected to shore power. A converter may help supply power, but weak batteries or poor connections can still prevent the motor from operating correctly.
Confirm that:
- The battery disconnect is on
- The house batteries are connected
- Battery terminals are clean and tight
- The batteries have an adequate charge
- The main ground connection is secure
- The RV’s charging system is working
- Interior 12-volt equipment operates normally
Use a multimeter when possible. A battery can show acceptable voltage at rest and still fall too low when the awning motor draws current.
Slow movement, relay chatter, dimming lights, intermittent operation, or a control panel that resets may indicate low voltage or excessive resistance in a connection.
Do not repeatedly operate the awning on weak batteries. Low voltage can overheat the motor, wiring, switch, or control module. For more on battery testing and care, see our RV Battery Maintenance guide.
Inspect the Fuse and Circuit Protection
Find the fuse or circuit breaker for the awning. It may be in the RV’s 12-volt distribution panel, near the battery, behind the awning switch, or close to a control module.
Check for:
- A blown fuse
- A tripped breaker
- Loose fuse-panel terminals
- Corroded wiring
- A damaged switch
- A loose control-module connector
- Pinched wiring near an awning arm
- Heat-discoloured connectors
Replace a fuse only with the specified type and amperage. If the replacement fuse blows immediately or the breaker trips again, stop. The circuit may have a short, seized motor, damaged wire, or mechanical overload.
Never install a larger fuse to keep the awning moving.
Nothing Happens When the Switch Is Pressed
If the awning makes no sound, check the battery, disconnect switch, fuse, circuit breaker, wall switch, remote, and control module.
Some awnings also use ignition or safety interlocks. Confirm that the RV is configured as required by its manual.
Possible causes include:
- No 12-volt power
- A blown fuse
- A tripped breaker
- A failed switch
- A disconnected wire
- A poor ground
- A failed control module
- A remote that needs a battery or pairing
- A motor that has failed
- An interlock preventing operation
If possible, check whether power reaches the awning circuit when the switch is pressed. Do not pierce wire insulation or bypass circuit protection to perform a quick test.
The Motor Clicks but Does Not Run
A click from a relay or control module suggests that the control circuit is responding, but it does not confirm that the motor receives adequate voltage.
Possible causes include:
- Weak batteries
- A loose battery connection
- A poor ground
- A failing relay
- A damaged motor
- A seized gearbox
- Bent arms creating excessive resistance
- A tripped or failing circuit breaker
Stop if a relay, motor, switch, or wire becomes hot. Repeated attempts may damage the motor or wiring.
The Motor Runs but the Awning Does Not Move
A motor that runs without moving the awning may indicate:
- A damaged gearbox
- A stripped drive component
- A disconnected motor
- A broken coupling
- Internal roller-tube damage
- A failed arm mechanism
Release the switch promptly. Continued motor operation can scatter damaged parts through the housing or make an emergency retraction more difficult.
The drive components are usually contained within the awning head or roller assembly. Opening that area may expose spring tension and should not be attempted without the correct procedure.
The Awning Moves Slowly
A powered awning should extend and retract at a reasonably consistent speed. Movement that becomes noticeably slower can indicate:
- Low battery voltage
- Corroded electrical connections
- A motor nearing failure
- Bent or misaligned arms
- Dry or damaged pivot points
- Fabric rubbing against the RV
- Dirt or corrosion in the mechanism
- Excessive load from water, snow, or accessories
Remove any permitted accessories and inspect the arms for binding. Lubricate only the points identified by the awning manufacturer. Spraying every joint or filling the motor housing with lubricant can damage components or attract abrasive dirt.
If one arm moves differently from the other, stop before the awning twists.
The Awning Extends or Retracts Unevenly
One side leading the other may indicate a bent arm, loose mounting bracket, damaged pivot, shifted fabric, twisted roller tube, or obstruction.
Stand back and compare the arms. They should remain reasonably parallel and move without severe twisting.
Do not have one person push or pull an arm while another operates the switch. The mechanism can move suddenly, and fingers can become trapped between the arm sections.
An awning that has become crooked after a wind event should be inspected before further operation. Even if it retracts, a damaged mount or arm may release during travel.
Fabric Rolls Crookedly
Awning fabric should roll reasonably evenly across the roller tube. A small amount of movement may be normal, but fabric that walks sharply to one side can rub an arm, wrinkle, telescope, or prevent full retraction.
Possible causes include:
- Fabric shifted in the awning rail
- Uneven fabric tension
- A bent roller tube
- Misaligned arms
- Loose fabric-retaining screws
- Damaged stitching or edge cord
- An RV wall or mounting rail problem
Do not keep cycling the awning in an attempt to centre severely misaligned fabric. The fabric or roller may require adjustment by a qualified technician.
If a small retaining screw is missing from the awning rail, replace it only according to the manufacturer’s instructions. An incorrectly placed screw can damage the fabric or interfere with movement.
Awning Fabric Rolls in the Wrong Direction
The fabric normally rolls over the top of the roller tube so rainwater can shed from the awning. If the fabric rolls underneath or appears reversed, the awning may have been extended beyond its normal stopping position.
Release the switch immediately. Continuing to run the awning can reverse the fabric around the roller, alter the arm geometry, and damage the wiring or motor.
Consult the correct operating procedure before attempting to return it to the proper orientation. Do not repeatedly reverse the switch while someone pulls on the fabric.
Water Pools on the Awning
Water can collect when both awning arms are set at the same height and the fabric does not have enough pitch to drain. Some powered awnings have an automatic dumping feature, but that feature should not be treated as permission to leave the awning unattended.
If water has already pooled:
- Keep everyone away from the low area
- Do not stand beneath the water
- Turn off nearby electrical equipment
- Follow the manufacturer’s instructions for lowering one side
- Retract the awning only if the system can do so safely
A large pool of water places significant weight on the fabric, roller tube, arms, and wall mounts. If the awning is severely distorted, contact a technician rather than trying to force it.
Retract the awning before heavy rain, snow, hail, or strong winds.
Wind Damage
Wind can lift an awning with little warning. Stakes, tie-downs, and automatic wind sensors do not make an awning safe in all conditions.
After a wind event, inspect:
- The arm assemblies
- Roller-tube alignment
- Wall brackets
- Fasteners and backing points
- Fabric and stitching
- Motor wiring
- Pivot pins
- Travel locks or retaining devices
Look closely at the RV wall around each mount. Cracked sealant, loose fasteners, distorted siding, or movement at the bracket can indicate hidden structural damage.
Do not operate an awning if a mount has pulled away from the wall. Retracting it may place additional force on the damaged attachment. For routine awning care, see our RV Awning Maintenance guide.
Wind Sensors and Automatic Retraction
Some powered awnings use a motion or wind sensor to retract automatically. These systems can reduce risk, but they do not replace attentive operation.
A wind-sensor problem may be caused by:
- Weak sensor batteries
- Lost pairing
- Incorrect sensitivity settings
- A disconnected control module
- Wiring problems
- A failed motion sensor
- Low RV battery voltage
Test the system only according to the manufacturer’s procedure. Do not strike or shake the awning violently to see whether it retracts.
Even when automatic retraction works, close the awning before leaving the campsite or going to sleep. Weather can change faster than the system responds, and power or sensor failures can occur.
When an Awning Will Not Fully Close
An awning that stops short of its travel position may be obstructed, misaligned, overloaded, or affected by low voltage.
Check for:
- Fabric folded near an arm
- Debris on the roller
- Attached lights or accessories
- Bent arm sections
- A displaced gas strut
- Wiring caught in a pivot
- Loose hardware
- Fabric shifted on the roller
- Low battery voltage
- A gearbox or motor fault
Do not drive with an awning arm protruding from the RV, even if the fabric appears rolled up. Airflow can pull the assembly open or tear it from the wall.
Preparing for Emergency Retraction
If the awning cannot retract normally, identify its exact model before beginning a manual procedure.
Before attempting an emergency retraction:
- Clear everyone from beneath and around the awning.
- Remove loose campsite objects.
- Confirm the RV is stable.
- Obtain the correct manufacturer’s instructions.
- Gather the specified tools.
- Arrange enough assistance to control the awning.
- Plan how it will be secured for travel.
- Contact a mobile RV technician if the mechanism is bent or unstable.
Do not attempt the procedure alone if the instructions require someone to support or guide the roller and arms.
Manual Retraction Varies by Awning
There is no universal emergency-retraction procedure.
Depending on the model, the instructions may require:
- Applying power directly through an approved connection
- Using a manual drive point
- Turning the motor with a specified tool
- Removing a particular fastener
- Disconnecting the motor from the drive
- Releasing a brake
- Rolling the awning manually
- Folding and securing the arms separately
Some procedures can allow the awning to move freely once the motor or brake is released. The arms may be spring-loaded, gas-strut assisted, or under fabric tension.
Never remove an awning end cap, loosen the torsion assembly, cut a cable, or dismantle a spring-loaded roller based on general instructions for another model.
If the model cannot be identified or the mechanism has twisted, contact the awning manufacturer, RV manufacturer, roadside assistance provider, or mobile RV technician.
Securing a Damaged Awning for Travel
Retracting the awning is only part of the job. The roller and both arms must remain firmly against the RV while travelling.
Use the securing method specified by the manufacturer. Depending on the damage, this may involve approved travel locks, straps, or temporary restraints installed by a technician.
Before moving the RV, confirm:
- The roller is tight against the RV
- Both arms are seated in their travel positions
- Nothing protrudes from the side
- The fabric cannot unroll
- Loose wiring is secured
- Damaged parts cannot swing into traffic
- The restraints will not damage the RV wall
- The entry door, windows, vents, and appliance openings remain usable
Do not rely on light cord, tape, or a single cable tie to restrain an awning at highway speed. Do not wrap a strap across a sharp edge that could cut it.
Stop after travelling a short distance and recheck the restraints. Continue checking them during the trip to the repair facility.
Manual-Awning Problems
Manual awnings use locks, levers, support arms, rafters, and spring-loaded roller assemblies.
If a manual awning will not open or close, check that:
- The travel locks are released
- The control lever is in the correct position
- Both arms are free to move
- The rafters are released as required
- Support knobs are loosened or tightened at the proper step
- Fabric is not caught
- Debris is not blocking the arms
- The pull strap is accessible and undamaged
Do not force a control lever that will not move. Spring tension or pressure against the locking mechanism may need to be relieved according to the operating instructions.
A broken pull strap can often be replaced, but controlling the roller while installing it requires the correct procedure. Never allow the roller to snap closed uncontrolled.
RV Awning Troubleshooting: Checklist
If the awning will not operate correctly, confirm:
- The awning’s manufacturer and model are known.
- The weather is safe for troubleshooting.
- No one is standing beneath the awning.
- Fabric, arms, and roller are free from obstructions.
- The RV batteries have adequate voltage.
- The battery disconnect is on.
- The fuse and circuit breaker are intact.
- Wiring and connectors show no obvious damage.
- Both arms remain aligned.
- Mounting brackets are secure.
- Fabric rolls in the correct direction.
- No water, snow, or ice loads the fabric.
- The correct emergency-retraction instructions are available.
- The awning can be properly secured before travel.
For a printable version of the maintenance schedule, see our RV Checklists page.
When to Call a Professional
Stop operating the awning and arrange qualified service when:
- An arm or roller tube is bent
- A wall bracket is loose
- Mounting hardware has pulled from the RV
- Fabric is badly torn or displaced
- A motor runs without moving the awning
- A fuse or breaker repeatedly opens
- Wiring becomes hot or smells burnt
- The awning moves unevenly
- Internal spring tension may be involved
- The manual-retraction procedure cannot be confirmed
- The awning cannot be secured for travel
Awning springs, roller assemblies, structural mounting points, motors, and damaged arms can release stored energy. These repairs are safer with the proper equipment and service information. For help identifying specific problems, see our RV Troubleshooting guides. For more industry safety guidance, see the RV Safety & Education Foundation.
RV Awning Troubleshooting: Key Takeaways
When an RV awning stops working, resist the urge to keep pressing the switch or forcing an arm. Check for obstructions, confirm battery voltage, inspect the circuit protection, and look for bent or displaced components.
If the awning has suffered wind damage or will not close evenly, stop before the problem spreads to the roller, fabric, or RV wall. Emergency retraction should follow the instructions for the exact awning model, and the assembly must be secured properly before the RV moves.
The best protection remains prevention: retract the awning before leaving the campsite, going to sleep, or when wind, heavy rain, hail, or snow is possible.