
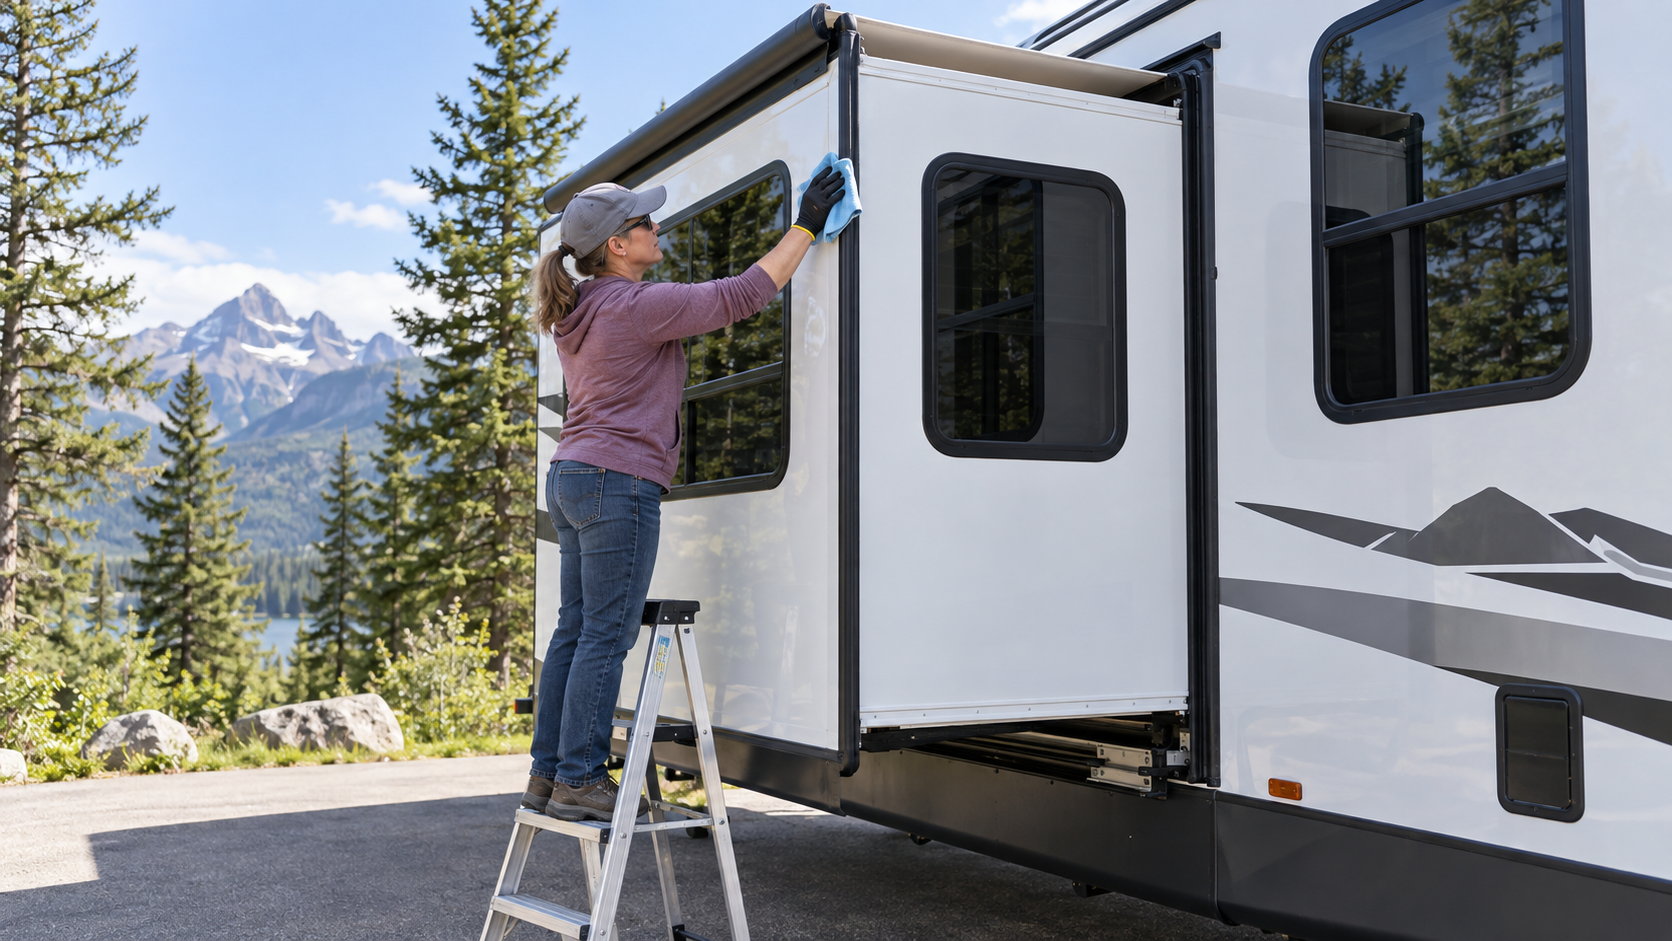
A slide-out can add valuable floor space to an RV, but it also introduces moving components, electrical or hydraulic equipment, exterior seals, roof surfaces, and large openings through the RV wall. Regular RV slide-out maintenance helps prevent leaks, alignment problems, and mechanical failures caused by dirt, water, low voltage, damaged seals, or improper operation.
Slide-out designs vary considerably. Maintenance that is correct for one system may damage another, so identify the mechanism and follow the instructions supplied by the RV and slide-system manufacturers before lubricating, adjusting, synchronizing, or manually retracting anything.
Regular inspection and careful operation can reveal developing problems before the room becomes stuck, damages its seals, or allows water into the RV.
RV Slide-Out Maintenance: Identify Your System
Common RV slide mechanisms include:
- Rack-and-pinion systems
- Through-frame systems
- In-wall track systems
- Cable-operated systems
- Hydraulic systems
- Electric screw-drive systems
- Flush-floor and above-floor designs
- Manufacturer-specific mechanisms
An RV may use more than one type of slide system. The mechanism may be visible beneath the room, mounted along its sidewalls, concealed beneath the floor, or located inside cabinets or storage compartments.
Locate the manufacturer and model information before performing maintenance. Keep the operating instructions and manual-retraction procedure accessible even when the slide is closed. Because each mechanism has different service requirements, applying universal advice can damage some systems.
Follow the Correct Operating Sequence
The correct order for levelling, stabilizing, and operating slide-outs depends on the RV and slide system. Some RVs must be levelled before extending the slides, while others specify a different sequence.
Follow the manufacturer’s instructions rather than relying on a universal procedure.
Before moving a slide-out:
- Park where the room has adequate exterior clearance
- Check for trees, posts, utility pedestals, vehicles, and other obstacles
- Remove branches, snow, ice, and debris from the slide roof
- Confirm that exterior compartment doors will not interfere
- Check the interior floor and surrounding furniture
- Move chairs, tables, rugs, and other objects out of the travel path
- Confirm that cabinet doors and drawers are closed
- Keep people and pets away from the room
- Check that the RV has sufficient battery power
- Listen and watch while the room moves
One person should operate the controls while monitoring the slide whenever possible. Stop immediately if the room binds, tilts, twists, makes an unusual noise, or contacts an obstruction.
Do not repeatedly reverse direction in short bursts unless the system manufacturer directs you to do so. Some systems require the switch to remain pressed briefly after the room reaches its limit, while others have different procedures. Follow the instructions for the exact mechanism. If the room binds or moves unevenly, stop and identify the cause before continuing.
Inspect the Slide-Out Roof
Before retracting the room, inspect its roof whenever it is safely accessible. Branches, cones, stones, ice, and other debris can damage seals or be pulled into the RV.
Look for:
- Leaves and branches
- Standing water
- Snow or ice
- Tears or punctures
- Failed sealant
- Loose trim
- Damaged roofing material
- Soft or swollen areas
- Debris beneath a slide topper
- Signs of animal or insect activity
Do not climb onto the slide-out roof. It is generally not designed to support a person. Use a stable ladder or suitable inspection equipment while remaining clear of the roof edge and moving components.
Remove debris using methods approved for the roofing material. Never force a frozen slide to move. Ice can hold seals together, restrict the mechanism, and damage toppers or roofing surfaces. Even if the roof looks clean, check under slide toppers before retracting the room.
Inspect and Clean Slide Seals
Slide-outs typically use flexible wiper seals, bulb seals, or a combination of both. Wiper seals sweep against the room as it moves, while bulb seals compress when the slide reaches its fully extended or retracted position.
Inspect seals for:
- Tears
- Cracks
- Hardening
- Flattened areas
- Gaps
- Separation from the mounting surface
- Missing adhesive
- Folded or twisted sections
- Dirt and debris
- Mould or mildew
- Areas that do not contact the room
- Evidence of water entry
Clean the seals with products and methods approved by the seal and RV manufacturers. A soft cloth, mild approved cleaner, and careful hand cleaning are often sufficient. Avoid petroleum-based products and strong solvents unless specifically approved because they can swell, soften, or degrade some seal materials.
Do not assume every rubber conditioner or slide-seal treatment is compatible. Some products attract dirt or leave residue that interferes with seal movement.
Allow the seals to dry and inspect them again. Replace damaged seals rather than relying on excessive conditioner or surface sealant to hide the problem. Because some products attract dirt, use only cleaners approved for the seal material.
Check Seal Contact
A slide-out seal must make consistent contact around the room. Inspect both the extended and retracted positions when possible.
Look for daylight, uneven compression, loose corners, or sections where the wiper seal does not flip into the correct position. Compare both sides of the room and inspect the upper corners carefully.
A seal that repeatedly folds incorrectly may be dirty, damaged, improperly positioned, or affected by slide alignment. Do not attach unapproved objects to force the seal to move. If cleaning does not correct the problem, have the seal and room alignment inspected.
Water staining near a slide corner may come from the roof, exterior flange, sidewall seal, floor, or another opening. The point where water appears inside may not be where it entered. If the seal does not contact evenly, have the room alignment inspected rather than adjusting it yourself.
Inspect the Mechanism
Examine all safely accessible slide components without placing any part of your body beneath an unsupported room.
Depending on the system, inspect:
- Tracks
- Gear racks
- Rollers
- Arms
- Cables
- Pulleys
- Chains
- Shafts
- Motors
- Gearboxes
- Mounting brackets
- Fasteners
- Hydraulic cylinders
- Hoses and fittings
- Wiring and electrical connectors
- Controller modules
- Floor openings and protective seals
Look for loose hardware, metal shavings, uneven wear, damaged teeth, frayed cables, cracked brackets, leaking fluid, bent components, corrosion, hanging wires, or material rubbing against the mechanism.
Never work beneath a slide-out unless it has been secured using an approved procedure. A slide room is extremely heavy and can move without warning. Although a component may look secure, metal shavings or loose fasteners indicate developing wear.
Lubrication and Approved Maintenance Products
Not every slide system requires lubrication, and applying the wrong product can cause damage. Grease and oily sprays may collect sand and dirt, contaminate seals, or interfere with components designed to operate dry.
Consult the slide-system manual before applying anything. Confirm:
- Whether lubrication is required
- Which components may be lubricated
- The approved product
- How much to use
- How often to apply it
- Whether old residue must be removed first
Do not spray lubricant indiscriminately onto tracks, motors, electrical connectors, rollers, seals, or hydraulic components.
Clean exposed components according to the manufacturer’s instructions. If a mechanism must remain dry, remove dirt without leaving an oily coating. If the manual does not call for lubrication, leave the mechanism dry.
Battery Voltage and Electrical Condition
Electric slide motors draw considerable current. A battery may operate lights and small accessories while still lacking enough power to move a slide-out correctly.
Before operating an electric slide:
- Confirm that the battery is adequately charged
- Follow the manufacturer’s instructions regarding shore power or the tow vehicle
- Inspect accessible battery connections
- Check relevant fuses and circuit breakers
- Listen for clicking, slowing, or repeated stopping
- Watch for dimming lights or low-voltage warnings
Low voltage can cause slow movement, controller faults, uneven travel, or incomplete sealing. Repeatedly operating a struggling motor can overheat wiring, trip protection devices, or damage the mechanism.
Do not replace a fuse or breaker with one of a higher rating. An electrical protection device that repeatedly opens indicates a problem that requires diagnosis. Because slide motors draw heavy current, test the battery under load before operating the room. For more on 12-volt systems and battery care, see our RV Battery Maintenance post.
Hydraulic Slide-Out Systems
Hydraulic systems may operate slide-outs, levelling equipment, or both. Inspect the reservoir, pump, hoses, fittings, cylinders, and accessible connections according to the manufacturer’s schedule.
Look for:
- Fluid beneath the RV
- Wet hoses or fittings
- Cracked or abraded lines
- Damaged cylinders
- Slow or uneven movement
- Pump noise
- Unexpected fluid-level changes
- Rooms that drift after stopping
Use only the specified hydraulic fluid. Do not mix products or overfill the reservoir. Fluid level may need to be checked with slides and levelling equipment in a particular position.
Hydraulic fluid under pressure can penetrate skin and cause serious injury. Never use your hand to search for a leak. If fluid appears beneath the RV, stop using the system and arrange professional service.
Slide Toppers
A slide topper helps shield the room’s roof from sunlight, leaves, and light debris, but it does not eliminate the need for roof inspection.
Check the topper for:
- Tears and frayed edges
- Loose mounting hardware
- Failed sealant
- Uneven rolling
- Sagging fabric
- Water pooling
- Debris trapped beneath it
- Bent arms or roller components
- Fabric that does not retract correctly
Allow wet fabric to dry when practical before prolonged storage. Never place your hands near a spring-loaded roller or attempt to disassemble it without the correct equipment and procedure. If the topper sags or pools water, have it inspected before retracting the slide.
Keep the Interior Travel Path Clear
Many slide-out problems begin inside the RV. A small object beneath the room can damage flooring, rollers, trim, or the mechanism.
Before retracting the slide:
- Sweep or vacuum the floor
- Remove stones and pet toys
- Move furniture to its travel position
- Lift rugs that could catch
- Close drawers and cabinet doors
- Check curtains and bedding
- Confirm that electrical cords are clear
- Inspect the floor at both ends of the room
Watch the interior edge as the room begins moving. Stop if flooring lifts, trim bends, or the slide contacts furniture. Because small objects can damage flooring or the mechanism, clear the floor before every retraction.
Preparing for Travel
Before towing or driving the RV, every slide-out must be fully retracted and seated in its travel position.
Walk around the RV and confirm:
- Each room is completely retracted
- Exterior seals are compressed evenly
- Slide toppers are properly rolled
- Nothing protrudes from the RV
- Interior travel locks are installed when required
- Warning indicators show the correct status
- Compartments and doors are secure
Never travel with a slide partially extended. A partially retracted room may move, leak, strike an object, or place damaging loads on the mechanism and RV structure. If the room is not fully seated, do not travel until the problem is corrected.
Common Slide-Out Problems
The slide does not move
Confirm that the RV is in the operating condition specified by the manufacturer. Check battery voltage, disconnect switches, fuses, breakers, ignition interlocks, parking-brake requirements, and controller indicators.
Do not assume the motor has failed until the electrical supply and required interlocks have been checked.
The slide moves slowly
Low voltage, excessive friction, an obstruction, damaged rollers, mechanical binding, or a failing motor can slow the room. Stop if movement becomes noticeably slower or uneven.
Continuing to operate a struggling slide may turn a minor problem into a larger repair.
One side moves ahead of the other
Release the switch and stop operation. Uneven movement may indicate synchronization trouble, damaged gears, cable problems, a controller fault, or mechanical binding.
Do not attempt to straighten the room by repeatedly extending and retracting it unless the manufacturer’s documented procedure specifically requires that action.
The motor runs but the room does not move
A broken gear, disconnected shaft, damaged coupler, failed cable, hydraulic problem, or other mechanical fault may separate the motor from the room.
Stop operating the switch. Continued motor operation can worsen the damage.
The slide stops partway
Check for an obstruction, low voltage, an open breaker, controller fault, heat protection, or mechanical binding. Do not force the room or have people push against it.
Use the manual-retraction procedure only after identifying the system and reading its instructions.
The slide makes unusual noises
Grinding, popping, banging, scraping, or repeated clicking may indicate binding, misalignment, damaged gears, loose hardware, debris, or a failing component.
Stop and inspect before operating it again.
Water enters around the slide
Check the slide roof, topper, exterior flange, upper corners, wiper seals, bulb seals, sidewalls, and interior floor. Look for damaged seals, debris, gaps, poor compression, failed sealant, or room misalignment.
Dry accessible areas and arrange a complete inspection if water may have entered the wall or floor.
The room does not seal evenly
Uneven gaps or compression can indicate an obstruction, damaged seal, incorrect adjustment, worn components, or alignment trouble.
Adjustment procedures vary by system and can affect room position in several directions. Incorrect adjustment may worsen the problem or damage the opening.
Manual Retraction
Every owner should locate the manual-retraction instructions before an emergency occurs. The procedure may involve a crank point, motor release, gearbox, cable system, hydraulic valve, controller, or other manufacturer-specific component.
Keep the required tools accessible even when the room is extended.
Before manually retracting a slide:
- Identify the exact system.
- Read the manufacturer’s procedure.
- Remove power when directed.
- Clear the interior and exterior paths.
- Keep people away from pinch points.
- Use the specified tools.
- Secure the room for travel as directed.
Never use an impact wrench unless the manufacturer specifically permits it. Excessive speed or torque can damage gears, shafts, and stop mechanisms. If you are unsure how to retract the room manually, contact a technician before attempting the procedure.
Cold-Weather and Winter Care
Remove snow and ice before operating a slide-out. Do not use open flames, high heat, sharp tools, or force to free frozen seals.
Before seasonal storage:
- Clean and dry the slide roof
- Inspect exterior seams and seals
- Remove debris
- Retract the slide completely unless the manufacturer directs otherwise
- Confirm that the seals are seated
- Follow the approved maintenance schedule
- Record unresolved repairs
- Inspect the stored RV periodically for leaks, moisture, pests, and snow accumulation
Repair damaged seals before storage. A small opening can allow wind-driven snow or water into the structure for months without being noticed. Because ice can hold seals together, never force a frozen slide to move. For the complete cold-weather routine, see our How to Winterize an RV guide.
Routine Slide-Out Maintenance Schedule
Before each operation
- Check interior and exterior clearance
- Inspect the floor and slide roof
- Keep people away from the room
- Confirm adequate battery power
- Watch and listen while the slide moves
Monthly during regular use
- Inspect seals, tracks, and accessible mechanisms
- Clean dirt and debris
- Check for uneven movement
- Examine wiring, hoses, and fittings
- Look for water intrusion
- Use only approved maintenance products
Mid-season
- Inspect seal contact and condition
- Check slide toppers and mounting hardware
- Examine rollers, cables, tracks, or hydraulic components
- Test the manual procedure only as the manufacturer permits
- Record developing wear or alignment concerns
Before storage
- Clean and dry the room and roof
- Inspect exterior sealant and seals
- Retract the slide fully
- Confirm the room is properly seated
- Complete required seasonal maintenance
- Arrange repairs before leaving the RV unattended
For a printable version of this schedule, see our RV Checklists page.
When to Contact a Qualified Technician
Professional service is appropriate when:
- The room moves unevenly or binds
- Cables are frayed or loose
- Gears, tracks, or rollers are damaged
- Hydraulic fluid is leaking
- A motor or controller repeatedly faults
- Electrical protection repeatedly trips
- The room will not fully extend or retract
- Seals do not contact evenly
- Water has entered the wall or floor
- The slide opening appears distorted
- Structural components are loose or damaged
- Adjustment or synchronization is required
- Manual retraction cannot be completed safely
A slide-out room is heavy and contains serious pinch and crush hazards. If the system, procedure, or cause of a problem is uncertain, stop operating it and arrange professional diagnosis. If the system, procedure, or cause of a problem is uncertain, stop operating it and arrange professional diagnosis. For more industry safety guidance, see the RV Safety & Education Foundation.
Final Thoughts
Reliable slide-out operation begins with clean travel paths, adequate electrical power, healthy seals, and careful observation. Never force a room that hesitates, twists, or makes an unfamiliar sound.
Identify the mechanism, follow its specific maintenance instructions, and avoid universal lubrication or adjustment advice. Early attention to a damaged seal, loose component, or uneven movement can prevent water intrusion and expensive mechanical repairs.