
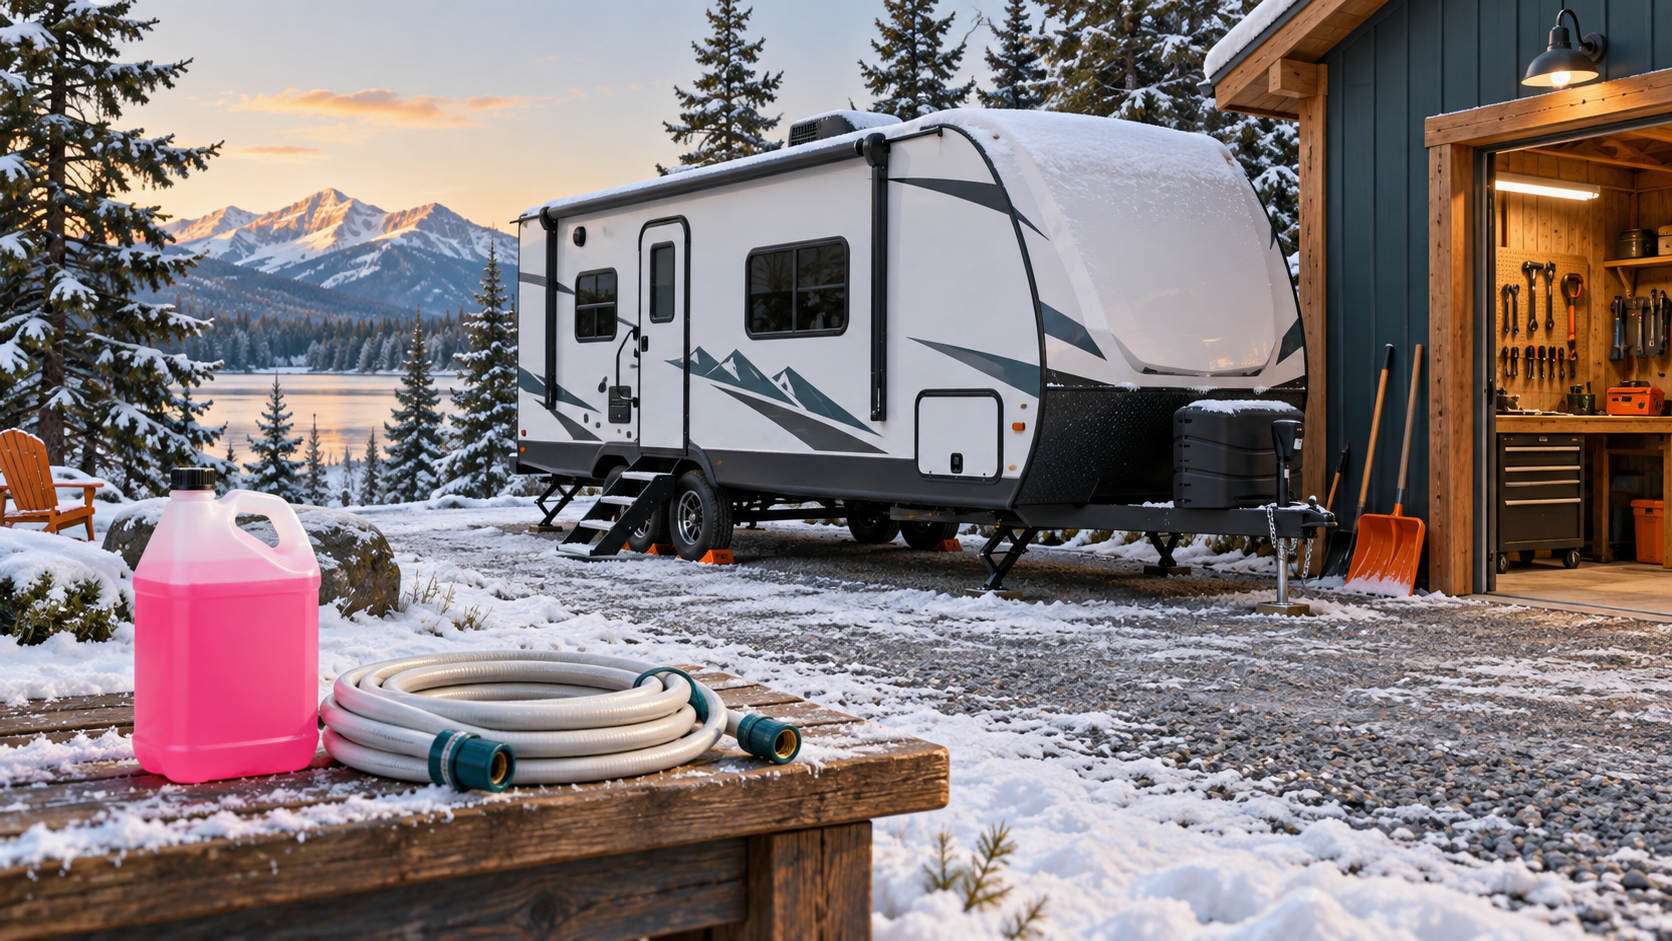
Knowing how to winterize an RV protects its plumbing system from freeze damage. When water freezes, it expands. Even a small amount trapped inside a fitting, valve, pump, faucet, filter housing, or appliance can crack the component and create a leak you may not see until spring.
Blowing compressed air through the plumbing can remove much of the water, but it may not remove all of it. Water can remain in low sections of plumbing, check valves, faucet cartridges, toilet valves, pump chambers, outside showers, and appliance supply lines. For RVs stored through a Canadian winter or anywhere that experiences sustained freezing temperatures, pumping RV plumbing antifreeze through the system provides more dependable protection.
This guide describes a common winterizing process. RV plumbing arrangements vary considerably, and certain appliances require their own procedures. Always consult the instructions supplied with your RV and each water-connected appliance before beginning.
Important: Use only non-toxic RV/marine plumbing antifreeze intended for potable-water systems. Never use automotive antifreeze in an RV plumbing system.
When Should an RV Be Winterized?
Winterize the RV before temperatures fall below freezing. Do not rely solely on the daytime forecast. Plumbing can freeze during a cold night, particularly when exposed lines run through unheated compartments or beneath the floor.
You may also need to winterize when:
- You will store the RV without heat during cold weather
- The furnace will not operate continuously
- You will transport the RV through freezing conditions
- You cannot rely on shore power or propane
- You will leave the RV unattended during unpredictable autumn or spring weather
- A heated storage arrangement may lose power
An RV can suffer freeze damage during a brief cold period. If you doubt that you can maintain dependable heat, winterizing is the safer choice.
Antifreeze, Compressed Air, or Both?
There are three common ways to winterize an RV plumbing system.
RV Plumbing Antifreeze
This method uses the RV’s water pump to draw non-toxic RV plumbing antifreeze into the water lines. You open each fixture until antifreeze appears, replacing or mixing with any remaining water.
This is the preferred method for RVs you store in colder climates because it protects areas that may retain water after draining.
Compressed Air
A regulated air supply is connected to the city-water inlet to push water out through the fixtures. This method can work when you perform it correctly and when the RV manufacturer permits it. But it may leave water in low spots and components that do not drain completely.
Never apply unregulated shop-air pressure to an RV. Follow the RV manufacturer’s pressure limit and use a proper regulator and blowout adapter. Excessive pressure can damage fittings, filters, valves, and appliances.
Combined Method
For cold-climate storage, the most thorough approach is often to drain the system, use low-pressure compressed air if approved by the manufacturer, and then pump RV plumbing antifreeze through the lines.
Compressed air removes much of the water, reducing dilution of the antifreeze. The antifreeze then protects low spots and components where water may remain.
Tools and Supplies
The exact requirements depend on the RV, but most owners commonly need the following:
- Non-toxic RV/marine plumbing antifreeze
- The RV and appliance owner’s manuals
- A water heater drain cap, drain plug, or anode rod socket
- A ratchet, wrench, or appropriate hand tools
- A container for removing water-filter elements
- Towels or a shallow drain pan
- A flashlight
- Disposable gloves and safety glasses
- A short antifreeze pickup hose or installed winterizing kit
- A city-water blowout adapter, if using compressed air
- An adjustable air-pressure regulator, if using compressed air
- An oil-free air source suitable for the procedure
- Replacement drain-plug seal or approved thread sealant, if required by the manufacturer
Many RVs require approximately two to four gallons of antifreeze, although large or complex systems may require more. Additional antifreeze may be needed for washing machines, dishwashers, ice makers, multiple bathrooms, outdoor kitchens, tankless water heaters, or other water-connected equipment.
Before You Begin
Park the RV securely on firm, reasonably level ground. Chock the wheels where necessary.
Turn off the water heater at every control location. Depending on the RV, this may include an interior propane switch, an electric switch, a circuit breaker, or a switch on the water heater itself. Disconnect shore power if required and allow the water to cool completely.
Do not remove a water-heater drain plug or anode rod while the tank is hot or pressurized. Hot water can cause severe burns.
Turn off the water pump and disconnect the campground water supply. Open a hot-water faucet to relieve plumbing pressure. Confirm that the water is cool and that the system no longer holds pressure before draining the water heater.
If the RV has water filters, remove the filter elements according to the manufacturer’s instructions. Install the proper bypass plug or place the filter housing in bypass mode where required. Antifreeze can ruin some filter elements, and an empty filter housing can consume a considerable amount of antifreeze.
Empty the black- and grey-water holding tanks at an approved dumping facility before winterizing. Flush them as appropriate, then close the termination valves and securely install the sewer cap. For more on RV water systems, see our RV Plumbing Basics guide.
Step 1: Drain the Fresh-Water Tank and Plumbing Lines
Open the fresh-water-tank drain and allow the tank to empty. Locate and open the hot- and cold-water low-point drains. Their locations vary, but they are often found beneath the RV or inside a plumbing service compartment.
Open the faucets to help air enter the system. Include both hot and cold sides where applicable. Open or operate:
- Kitchen faucet
- Bathroom faucet
- Shower
- Outside shower
- Outdoor kitchen faucet
- Toilet
- Toilet spray hose
- Exterior spray ports
- Any additional sink or water fixture
Follow the manufacturer’s instructions for operating the water pump during draining. Do not leave the pump running dry.
After the system has drained, switch off the pump. Close the faucets and reinstall or close the low-point drains as required before pumping antifreeze.

Fresh water tank drains and hot and cold water low point drains serve different purposes. Their locations, colours, fittings and labels vary by RV.
Step 2: Drain the Water Heater
Confirm again that every water-heater energy source is off, the water has cooled, and plumbing pressure has been relieved.
Open the exterior water-heater access panel. Depending on the model, the tank may use a removable drain plug or an anode rod that also serves as the drain plug. Place a suitable container or direct the water toward a safe drainage area before removing it.
Carefully remove the plug or anode rod and allow the tank to drain. Follow the water-heater manufacturer’s procedure for flushing sediment and inspecting the anode rod where applicable.
Some water heaters use an anode rod and others do not. Never install an anode rod in a heater that was not designed for one. Tankless water heaters and hydronic systems can require completely different winterizing procedures.
Do not reinstall the drain plug or anode rod until directed by the applicable manufacturer. Some manufacturers permit the opening to remain uncovered during storage, while others specify reinstalling the component.

Tank-style RV water heaters may use a sacrificial anode rod or a removable drain cap. Confirm which design your water heater uses before draining it.
For step-by-step water heater draining and flushing, see our How to Drain and Flush an RV Water Heater guide.
Step 3: Place the Water Heater in Bypass Mode
A conventional tank-style water heater may hold six, ten, twelve, or more gallons. Bypassing it prevents the tank from filling with antifreeze.
You’ll normally find the bypass valves on the back of the water heater, accessible from inside the RV through a cabinet, removable panel, storage compartment, or plumbing service bay.
Several configurations are common.
Three-Valve Bypass
A three-valve system normally has one valve on the cold-water inlet, one on the hot-water outlet, and one on the line joining the hot and cold plumbing.
For winterizing, the cold inlet and hot outlet are closed, while the valve in the connecting bypass line is opened.
Two-Valve Bypass
Some systems use valves on the inlet and bypass lines while a check valve controls the hot-water outlet. The manual will show the required winterizing positions.
One-Valve Bypass
A one-valve system commonly relies on internal check valves. Turning the single selector valve redirects flow through the bypass line.
Do not assume every handle works identically. On many quarter-turn valves, a handle aligned with the pipe indicates an open flow path and a handle crossing the pipe indicates closed. Diverter valves and manufacturer-specific systems may operate differently.
After setting the valves, confirm that antifreeze will flow around the water heater rather than into it.

A common three-valve bypass in normal-use mode. The hot and cold tank valves are open, while the centre bypass valve is closed. The back of the water heater is usually accessed from inside the RV through a cabinet or removable panel. Configurations vary, so confirm your RV manufacturer’s instructions.

The same three-valve system in winterizing mode. The hot and cold tank valves are closed, while the centre bypass valve is open. This directs RV plumbing antifreeze around the drained water-heater tank.
Do not energize an empty water heater. Leave its propane and electric heating functions off throughout storage. Operating an empty electric water heater can quickly destroy its heating element.
Step 4: Blow Out the Lines if Using the Combined Method
This step is optional, and you should only perform it when the RV and appliance manufacturers permit compressed-air winterization.
Close the fresh-water-tank drain and low-point drains as directed. Attach a proper blowout adapter to the city-water connection. Connect an oil-free air source through an adjustable pressure regulator.
Set the pressure no higher than the limit specified by the RV manufacturer. Never connect an unregulated compressor directly to the plumbing.
Open one fixture at a time. Briefly operate the hot and cold sides until water stops spraying and only air or a light mist exits. Work through every fixture, including outside showers and spray ports. Operate the toilet valve carefully.
Some appliances and accessories cannot be adequately protected by simply blowing air through the main plumbing. Follow their individual winterizing instructions.
Disconnect the air supply when complete.
Step 5: Connect the Antifreeze Pickup Hose
Many newer RVs have a factory-installed winterizing valve and pickup hose near the water pump or inside a utility compartment.
Place the free end of the pickup hose into a container of RV plumbing antifreeze. Turn the winterizing valve from the fresh-water-tank position to the antifreeze pickup position.
Some centralized utility panels use labelled selector valves instead of a visible hose beside the pump. Place every selector in the manufacturer’s specified winterize position.
Older RVs may not have a pickup hose or winterizing valve. In that case, an appropriate winterizing kit can be installed on the inlet side of the water pump. Another method may involve temporarily disconnecting the pump’s inlet line and attaching a compatible pickup hose.
Do not force mismatched fittings or allow debris into the pump. If you are uncertain how to connect the pump safely, have an RV technician install a permanent winterizing kit.
Pouring antifreeze into the fresh-water tank is generally inefficient, requires considerably more antifreeze, and may make spring flushing more difficult. Use the method specified for the particular RV.

An RV water pump shown in normal operation and winterizing mode. With a converter kit, turning the bypass valve allows the pump to draw RV plumbing antifreeze through the pickup hose instead of from the fresh-water tank. Without a kit, the tank-supply line can be disconnected and a temporary pickup hose attached directly to the pump inlet.
Step 6: Pump Antifreeze Through Every Fixture
Confirm that:
- The fresh-water tank is drained
- The water heater is drained and bypassed
- Low-point drains are closed
- Water filters are removed or bypassed
- The pickup hose is submerged in antifreeze
- The water pump is ready to operate
Turn on the water pump. It may run longer than usual while drawing antifreeze into the system.
Beginning with a fixture, open the cold side until the flow becomes a consistent antifreeze colour. Close it, then open the hot side until the same colour appears. Repeat this process at every fixture.
Winterize every water outlet in the RV, including:
- Kitchen faucet, hot and cold
- Bathroom faucet, hot and cold
- Interior shower, hot and cold
- Outside shower, hot and cold
- Outdoor kitchen faucet
- Toilet flush valve
- Toilet spray hose
- Exterior spray port
- Additional sinks or bathrooms
- Low-point drains, if the manufacturer directs antifreeze through them
Keep the antifreeze pickup hose submerged. If the container empties, switch off the pump before replacing it so the pump does not draw air unnecessarily.
A brief change in colour may not be enough if the antifreeze has mixed with trapped water. Continue until the stream has a strong, consistent colour.
Switch off the pump when every fixture has been protected.
Step 7: Protect Drain Traps
Water remains inside the P-traps beneath sinks and showers. Pour RV plumbing antifreeze into each drain to displace or protect that water.
Treat:
- Kitchen sink drains
- Bathroom sink drains
- Shower drain
- Bathtub drain, if equipped
- Additional sink or appliance drains
Leave some antifreeze in the toilet bowl if permitted by the toilet manufacturer. This can help keep the seal from drying during storage. Use only a product compatible with the toilet and its seals.
Antifreeze passing through the drains will enter the grey or black holding tanks. The tanks should already have been emptied before this step.
Step 8: Winterize Water-Connected Appliances and Accessories
The main plumbing procedure may not protect every appliance. Consult the separate manual for each installed component.
Additional procedures may be required for:
- Tankless water heaters
- Washing machines
- Dishwashers
- Residential refrigerators with ice makers
- Refrigerator water dispensers
- Built-in water filters
- Water purifiers
- Black-tank flush systems
- Macerator toilets or pumps
- Hydronic heating systems
- On-demand drinking-water systems
- Outdoor kitchens
- Instant hot-water dispensers
- Solar showers or accessory tanks
Do not assume that seeing antifreeze at the faucets means you have protected these components. Solenoid valves, pumps, filter housings, check valves, and small supply tubes may retain water.
A black-tank flush connection can also retain water in its hose, check valve, or vacuum breaker. Follow the RV manufacturer’s procedure for that system.
If a component’s instructions are unavailable or unclear, contact its manufacturer or a qualified RV technician.
Step 9: Complete a Final Inspection
Walk through the RV and check every plumbing location. Look inside cabinets, beneath sinks, around the water pump, and behind accessible panels for leaks or disconnected fittings.
Confirm that:
- The water pump is off
- The city-water supply is disconnected
- The fresh-water tank is drained
- The low-point drains are positioned as specified
- The water heater is off, drained, and bypassed
- Water filters have been removed or bypassed
- Antifreeze reached every hot- and cold-water fixture
- The toilet and spray hose are protected
- Outside showers and spray ports are protected
- Drain traps contain antifreeze
- Water-connected appliances were winterized separately
- Holding tanks were emptied
- The sewer termination valves are closed
- The water-heater access panel is secured
- The antifreeze pickup valve is left in the position recommended for storage
- Removed filter elements and drain components are labelled and stored safely
Attach a visible reminder near the water-heater controls stating:
WATER HEATER EMPTY — DO NOT TURN ON
Record the date and products used in the RV’s maintenance log. Photographing the final valve positions can make de-winterizing easier in spring.
Common Winterizing Mistakes
Relying on Compressed Air Alone in Severe Cold
Compressed air may leave water trapped in low sections and small components. Antifreeze provides a greater margin of protection where winters are long or extremely cold.
Forgetting to Bypass the Water Heater
Without the bypass, the water-heater tank can consume many gallons of antifreeze and still leave the rest of the system without protection.
Turning On an Empty Water Heater
An empty electric water heater can burn out its heating element rapidly. Keep every water-heater energy source switched off until the tank has been refilled and purged of air during de-winterizing.
Missing the Outside Shower
Outside showers are exposed to cold and are among the easiest fixtures to forget. Protect both hot and cold sides.
Forgetting the Toilet Valve or Spray Hose
Water trapped in the toilet valve or sprayer can freeze and crack the component.
Leaving a Water Filter Installed
Antifreeze can damage the filter element, and a large filter housing may waste antifreeze. Remove or bypass filters as directed.
Using Too Much Air Pressure
High air pressure can damage the plumbing system. Use a regulator and remain within the manufacturer’s specified limit.
Forgetting Appliance Supply Lines
Ice makers, washing machines, dishwashers, tankless heaters, and other equipment often require individual procedures.
Using the Wrong Antifreeze
Automotive antifreeze is toxic and must never be used in potable-water plumbing. Use only RV/marine plumbing antifreeze approved for the application. For more on seasonal storage and preparation, see our Seasonal RV Storage Tips post.
Can an RV Be Left Heated Instead?
Maintaining heat may prevent freezing, but it introduces several risks. Furnaces can stop because of depleted propane, low battery voltage, equipment failure, blocked vents, or power interruption. Some plumbing also runs through areas that receive little heat.
Unless the RV manufacturer specifically designed the RV for cold-weather use and you can monitor it reliably, maintaining heat should not replace proper winterization during unattended storage. For more industry safety guidance, see the RV Safety & Education Foundation.
When to Call an RV Technician
Professional winterization is appropriate when:
- You cannot identify the drain or bypass valves
- The water pump has no usable winterizing connection
- The RV has a tankless or hydronic water-heating system
- A washing machine, dishwasher, ice maker, or other complex appliance is installed
- Plumbing has been modified
- A valve is seized, leaking, or damaged
- The RV uses a centralized system whose instructions are unclear
- You suspect previous freeze damage
- You are not confident that every water-bearing component has been protected
Professional winterization usually costs much less than repairing concealed freeze damage. For help identifying water system problems, see our RV Troubleshooting guides.
How to Winterize an RV: Cold-Climate Recommendations
For an RV facing sustained freezing temperatures, do not treat draining and blowing out the system as complete winterization. Compressed air can reduce the amount of water in the lines, but it cannot guarantee that every low point, valve, pump chamber, or appliance is dry.
Unless the RV manufacturer specifies another procedure, pumping approved RV plumbing antifreeze throughout the potable-water system provides the more dependable safeguard. A combined process—draining, carefully blowing out the lines, and then adding antifreeze—offers an additional margin of protection for severe cold.
No general guide can account for every RV configuration. Before the first freeze, locate the manuals for the RV, water heater, water pump, toilet, and every water-connected appliance. Confirm their requirements and record the work you complete.