
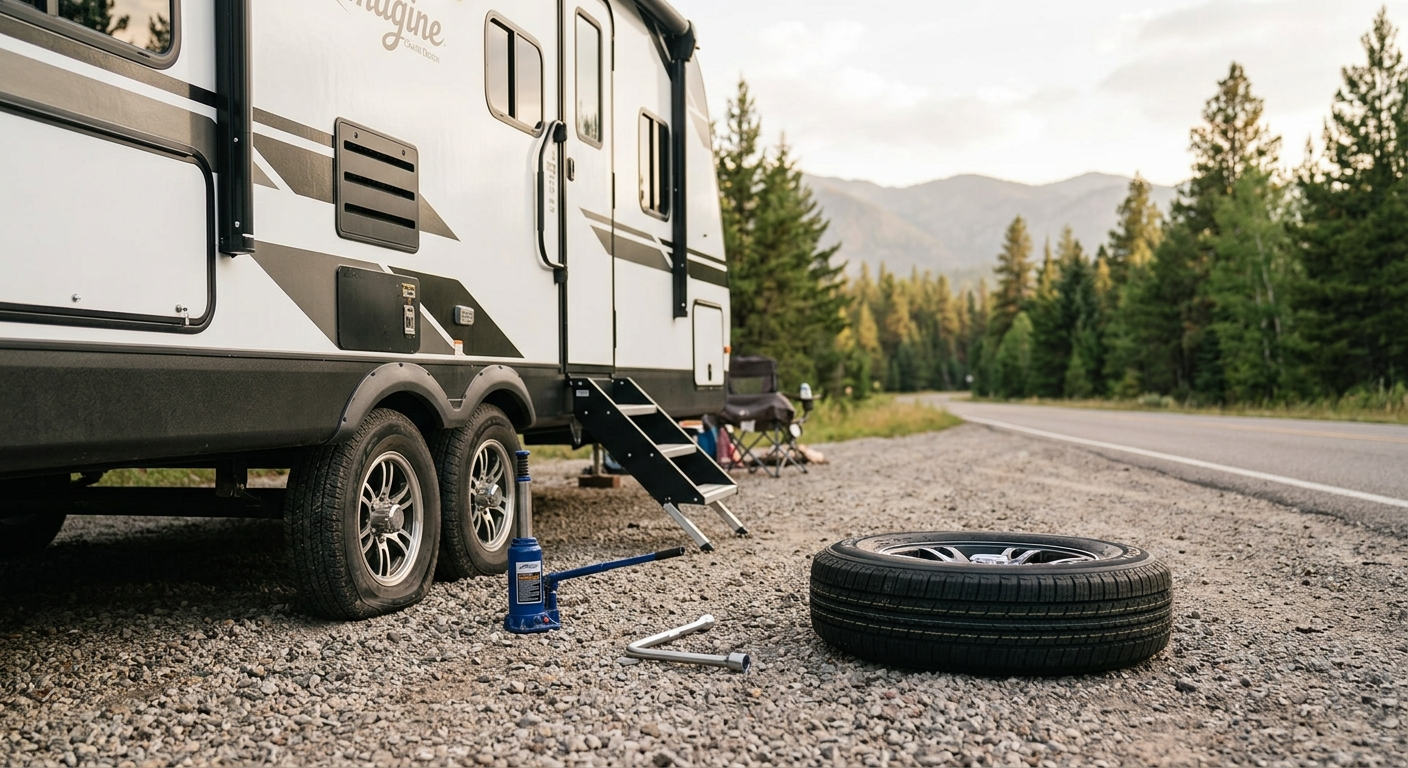
Knowing how to change an RV tire safely matters because a flat tire is more than an inconvenience. It can strand you on the side of a highway, damage the RV if you try to drive on it, and create real safety risks if you try to change it without the right equipment or procedure.
RV tires are heavier, run at higher pressures, and support much more weight than passenger-car tires. A jack that works on a sedan may be entirely unsuitable for a travel trailer or motorhome. A roadside shoulder may be too dangerous to work on at all.
This guide explains how to change an RV tire safely, when to do it yourself, when to call for help, and what to check before you ever need to change a tire. It is not a substitute for the instructions in your RV, chassis, and jack manuals.
Before You Ever Need This Procedure
The best time to prepare for a tire change is before one happens. Three things matter more than anything else:
1. Know what you have.
- The correct tire size, load range, and pressure for your RV
- The correct jack type and lifting points
- The correct lug-nut torque specification
- Whether your RV has a spare tire and where it is stored
- Whether your roadside-assistance coverage includes tire changes
2. Carry the right equipment.
- A properly rated hydraulic bottle jack or floor jack
- Properly rated jack stands
- A lug wrench or breaker bar that fits your lug nuts
- A torque wrench
- Wheel chocks
- A tire-pressure gauge
- A reflective triangle or road flares
- Gloves and safety glasses
- A flashlight or headlamp
- A spare tire that matches the others
3. Practise at home.
Loosen the lug nuts (with the wheel on the ground), lift the RV, and remove a wheel in your driveway once. Knowing the procedure before you are on a shoulder in the rain is worth the effort.
Why RV Tires Are Different
Passenger-car tires and RV tires are not the same.
- Load capacity. RV tires carry far more weight than car tires. A tire that fits may still be under-rated for your RV.
- Inflation pressure. RV tires often run at 80–110 PSI, compared with 32–36 PSI for passenger cars.
- Age and sidewall construction. Trailer tires (ST-rated) are built differently from light-truck tires (LT-rated). Using the wrong type can affect handling and safety.
- Weight per wheel. A motorhome or trailer tire may support 2,000–4,000 pounds each. A passenger-car jack is not designed for that.
If you are unsure which jack, torque, or tire size is correct for your RV, check the certification label and the owner’s manual before you need them.
Safety First: Stop and Assess
The first decision is whether to change the tire yourself at all.
Do not attempt a roadside change if:
- The location is unsafe (busy highway, no shoulder, poor visibility, extreme weather)
- You do not have the right equipment
- You do not have a safe, firm place to jack the RV
- You are unsure of the procedure
- You are alone on a busy road at night
- You have any doubt about your ability to do it safely
Call for help instead. Roadside assistance, a mobile tire service, or emergency services are the right choice when conditions are unsafe. A tire is replaceable. You are not. For more industry safety guidance, see the RV Safety & Education Foundation.
Prepare Before You Lift Anything
If you decide to proceed:
- Move as far from traffic as safely possible. Ideally onto a shoulder, pull-out, or side road.
- Turn on hazard lights.
- Set out reflective triangles or flares — behind the RV on the traffic side.
- Apply the parking brake.
- Turn off the engine.
- Chock the wheels that will remain on the ground — both directions where possible.
- Loosen the lug nuts slightly on the flat tire while the weight is still on the wheel. Do not remove them yet.
- Get the spare and tools out.
- Put on gloves and safety glasses.
For a towable RV, the tow vehicle should remain connected if the manufacturer recommends it for stability.
Jacking an RV Safely
This is the part most people get wrong.
Never crawl under an RV supported only by:
- A hydraulic jack
- A bottle jack
- A scissor jack
- Stabilizer jacks
- The tongue jack
- Levelling jacks
- The tow vehicle’s suspension
Stabilizer jacks are not lifting jacks. They are designed to reduce movement, not support the full weight of the RV.
Correct procedure:
- Locate the approved lifting points. These are specified in the RV or chassis manual. Do not assume any frame rail or axle tube is a safe lifting point.
- Place the jack under the approved point.
- Raise the RV slowly until the tire is just off the ground. Do not lift higher than necessary.
- Place a properly rated jack stand under an approved support point.
- Lower the RV onto the jack stand before removing the wheel.
- Keep the jack in place as secondary support if possible.
If the manual or lifting points are unclear, stop and call for help. Lifting an RV incorrectly can damage the frame, bend an axle, or cause the RV to fall.
Removing and Installing the Wheel
Once the RV is supported safely on the jack stand:
- Remove the lug nuts and set them aside where they will not roll away.
- Pull the wheel straight off. It may be heavy — use both hands and keep your feet clear.
- Inspect the hub and studs for damage, corrosion, or wear.
- Position the spare on the studs. Line it up carefully.
- Hand-thread the lug nuts in a star pattern. Do not tighten fully yet.
- Lower the RV until the tire just contacts the ground.
- Tighten the lug nuts in a star pattern with the wrench.
- Lower the RV completely and remove the jack and jack stand.
- Torque the lug nuts to the manufacturer’s specification with a torque wrench. Do not guess.
Tightening the Lug Nuts Correctly
Lug-nut torque matters. Too loose, and the wheel can come off. Too tight, and you can stretch or break the studs.
- Use a torque wrench. An impact wrench or “tight enough” guess is not acceptable.
- Follow the star pattern. Never tighten in a circle.
- Use the manufacturer’s torque specification. This is listed in the RV, chassis, or wheel manual.
- Recheck torque after 50–100 km (30–60 miles). Lug nuts can loosen as the wheel seats.
- Recheck again after any wheel service.
If you cannot torque the wheel properly, do not drive on it. Call for help.
After the Change
Before driving away:
- Confirm all lug nuts are torqued
- Confirm the jack and tools are removed
- Confirm the spare is properly inflated
- Confirm the flat tire is stored securely
- Check the tire pressure on the other tires
- Check for any damage near the wheel well or undercarriage
- Note the date and location of the tire change
Stop after 50–100 km (30–60 miles) and recheck the lug-nut torque.
Then visit a tire shop as soon as practical. A spare is meant to get you to a service location, not to be your permanent tire. Have the flat inspected, repaired, or replaced, and confirm the spare is properly rated for your RV.
Special Cases
Dual tires (motorhomes)
Dual rear tires require extra care. The inner tire may be difficult to access, and the outer wheel must be removed before the inner one. This is often best left to a professional, especially on the side of the road.
Fifth-wheel and travel trailer tires
Trailer wheels are typically removed the same way, but lifting points and jack requirements differ. Use the axle manufacturer’s approved lifting point, not the axle tube itself. For more on trailer suspension and running gear, see our RV Suspension Maintenance guide.
Motorhome tires
Motorhome tires are heavy and often mounted on large wheels. Some require specialized equipment. If you are unsure, call for help.
Split rims (older RVs)
Split rims are dangerous and should only be serviced by trained professionals with the correct equipment. Never attempt to change or inflate a split-rim tire yourself.
Preventing the Next Flat
A flat tire is often preventable.
- Check tire pressure regularly — when tires are cold, before travel.
- Inspect tires before every trip for cuts, bulges, cracks, and embedded objects.
- Check tire date codes. Tires older than 6–7 years may need replacement regardless of tread.
- Do not overload your RV. Check axle and tire load ratings.
- Check lug-nut torque at the manufacturer’s intervals.
- Watch for uneven wear. It can indicate alignment, suspension, or inflation problems.
- Replace tires in axle pairs when possible.
Your RV Tire Safety post covers this in more detail. For a complete tire guide, see our RV Tire Safety post.
When to Call for Help
Call for assistance when:
- The location is unsafe
- You lack the right tools
- You are unsure of the lifting points or torque specification
- The RV cannot be lifted safely
- The damage is more than a simple flat
- You have a dual-tire setup or split rims
- You are alone in bad weather or at night
- You do not feel confident performing the change
Roadside assistance, a mobile tire service, or emergency services are the right call. There is no shame in asking for help — there is real risk in attempting a tire change you are not prepared for. For a printable pre-trip inspection that includes tires, see our RV Pre-Trip Inspection Checklist.
How to Change an RV Tire: Checklist
Before driving away:
- RV is on firm, level ground.
- Parking brake is applied and wheels are chocked.
- Jack is rated for the RV’s weight and placed at an approved lifting point.
- Jack stand is rated and positioned correctly.
- Lug nuts are hand-threaded in a star pattern.
- RV is lowered and lug nuts tightened in a star pattern.
- Lug nuts are torqued to specification.
- Spare is properly inflated and rated for the RV.
- Flat tire and tools are stored securely.
- Torque is rechecked after 50–100 km (30–60 miles).
How to Change an RV Tire: Key Takeaways
Changing an RV tire safely comes down to preparation and honesty about your limits. Know your equipment, know your lifting points, and know when to call for help.
The most important safety rules are simple: never work under an RV supported only by a jack, always torque lug nuts to specification, and never attempt a tire change in an unsafe location. A properly prepared owner can handle a roadside tire change. A rushed one is a hazard to themselves and others.