
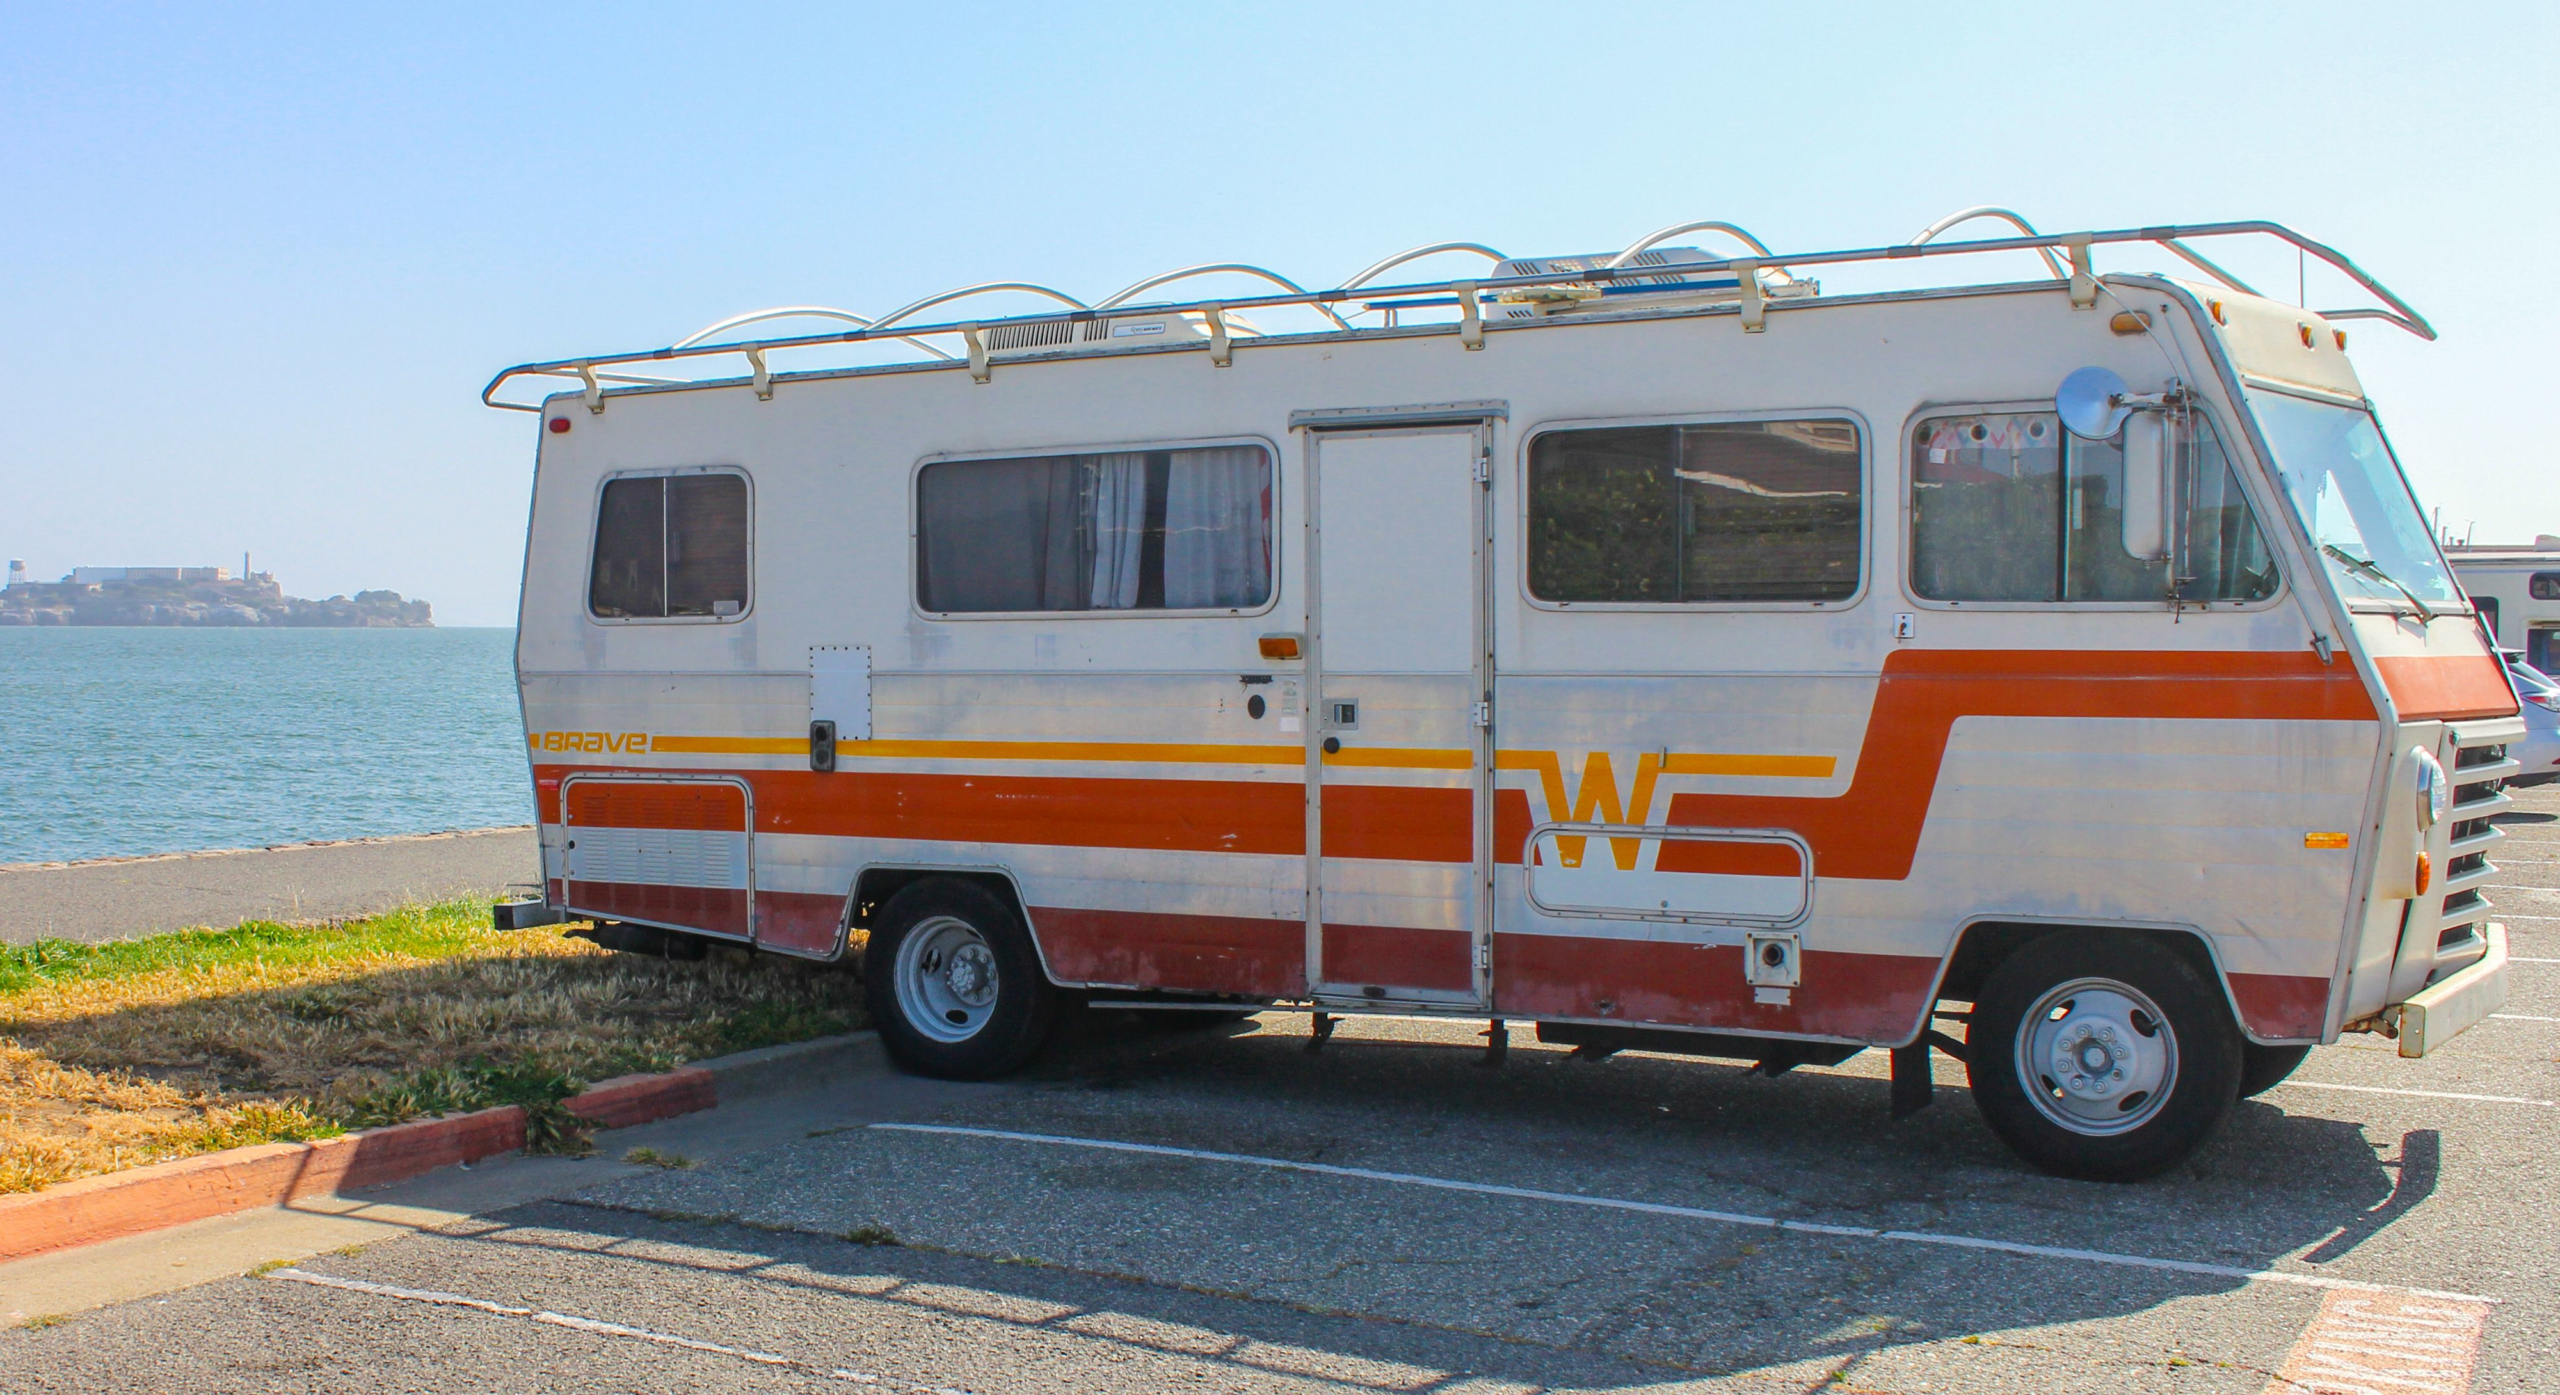
A used RV can be an excellent purchase. Depreciation has already done its work, the layout has proven itself in real use, and minor flaws are often visible rather than hidden. But a used RV can also hide expensive problems — water damage, worn running gear, neglected appliances, or a chassis that has been overloaded for years.
The difference between a good used RV and a costly mistake usually comes down to inspection. This guide walks through what to check before committing, how to organize the inspection, and when to walk away. It is not a substitute for a professional pre-purchase inspection, but it helps you know what to look for and what questions to ask.
Start With the Seller and the Records
Before inspecting the RV itself, understand its history.
Ask the seller:
- How long have you owned it?
- Why are you selling?
- How often was it used, and where was it stored?
- Is there a maintenance log or service history?
- Have there been any repairs, replacements, or upgrades?
- Has it ever been in an accident, flood, or fire?
- Has it ever had water damage?
- Are all manuals, warranties, and title documents available?
A seller who answers clearly and provides documentation is a better sign than one who avoids specifics or pressures you to decide quickly.
Review the paperwork:
- Title or registration matching the seller’s name
- Bill of sale or purchase agreement
- Maintenance records
- Warranty documents still in effect
- Appliance manuals
- Any lien or loan documentation
- Recall notices or completed recall work
If the seller cannot provide clear ownership documents, walk away. Title problems are far more difficult to resolve than mechanical ones. For more industry guidance on RV construction and safety standards, see the RV Industry Association.
Plan the Inspection
A thorough inspection takes time — usually two to four hours for a towable RV and longer for a motorhome. Bring:
- A bright flashlight
- A small level
- A digital multimeter
- A tire-pressure gauge
- A moisture meter if available
- Work gloves
- A notepad or phone for photographs
- A tarp or knee pad for inspecting underneath
- A creeper or inspection mirror if available
- A friend or second set of eyes
Inspect in daylight, on a level surface. Do not rush the inspection because the seller seems eager. A methodical approach protects you.
If possible, arrange for a professional RV inspector to examine the RV before you finalize the purchase. A pre-purchase inspection typically costs a few hundred dollars and can identify problems that are difficult to see without experience.
Check the Exterior
Walk around the RV slowly and look at it from every angle. Examine the roof, walls, and underside from a distance first, then move closer.
Look for:
- Uneven or wavy sidewalls
- Delamination, bubbling, or rippling
- Rust streaks or corrosion
- Cracked or discoloured sealant
- Loose or missing trim
- Bent or damaged compartment doors
- Damaged bumpers, skirting, or wheel wells
- Signs of collision repair
- Mismatched paint or graphics
- Loose or missing fasteners
Delamination — where the exterior wall separates from its backing — is a serious structural problem. It is often caused by water intrusion and is expensive to repair. A small area can spread.
Check the roof only if it can be accessed safely. Look for:
- Cracked or missing sealant
- Lifted or separated roofing material
- Damaged vents, skylights, or AC shrouds
- Loose antennas or solar mounts
- Standing water or soft spots
- Evidence of previous repairs
Do not walk on a roof that has not been confirmed as walkable or is visibly damaged.
Inspect for Water Damage
Water damage is the single most common and costly used-RV problem. It can remain hidden for months and cause structural damage before it becomes visible.
Check the interior for:
- Stains on ceilings, walls, or floors
- Swollen or wrinkled wall panels
- Soft or spongy flooring
- Peeling wall covering
- Musty or earthy odours
- Rusted fasteners or staples
- Damp carpet or upholstery
- Water stains inside cabinets
- Moisture beneath mattresses or cushions
- Discolouration around windows and vents
Check the exterior for:
- Failed sealant around every opening
- Damaged roof seams
- Cracked or missing window seals
- Loose or damaged marker lights
- Failing trim
- Seals around slide-outs
A moisture meter can help compare suspicious areas with known dry areas, but it does not identify the source. Any sign of water intrusion deserves further investigation before purchase. For help tracing a suspected leak, see our RV Water Leak Detection guide.
If you find active moisture, soft flooring, or significant staining, either walk away or budget for professional remediation before committing.
Test the Plumbing System
The plumbing system reveals a lot about how the RV has been maintained.
With the water system pressurized (using the pump or city water):
- Check beneath every sink
- Look around the toilet
- Inspect the water pump and strainer
- Check the water heater area
- Look at all visible plumbing connections
- Inspect low-point drains
- Check the outside shower, if equipped
- Watch for drips or staining
Run water at every fixture — hot and cold — and check the drains. A slow drain can indicate a blocked trap or a full holding tank.
Turn off the water and check that the pump holds pressure. A pump that cycles when no faucet is open suggests a leak.
Look at the water heater for signs of leakage or corrosion. Check the anode rod if accessible.
Check the Appliances
Test every appliance with the RV connected to the appropriate power source.
Test:
- Refrigerator (on propane and electric, if applicable)
- Furnace
- Air conditioner
- Water heater
- Cooktop and oven
- Microwave
- Range hood
- Vent fans
- Interior lights
- Exterior lights
- Water pump
Give the refrigerator time to cool before deciding whether it works. Some types can take several hours.
Look for fault codes, unusual odours, soot, or irregular operation. Test the furnace for a full cycle — blower, ignition, heat, and shutdown.
Inspect the Electrical System
The electrical system includes both 12-volt DC and 120-volt AC components.
Check:
- Shore-power cord and plug for damage
- RV inlet for corrosion or melting
- Battery condition, mounting, and cables
- Converter operation
- Inverter, if equipped
- Fuses and circuit breakers
- GFCI receptacles
- Interior and exterior lights
- USB outlets and charging ports
- Solar equipment, if equipped
- Generator, if equipped
Test all receptacles with a small appliance or a receptacle tester. Test the GFCI devices by pressing the test button and confirming they reset.
Inspect the battery for corrosion, swelling, or cracking. A battery that will not hold a charge may need replacement.
Inspect the Propane System
Propane leaks are dangerous. Do not skip this area.
Check:
- Cylinder or tank condition
- Regulator and vent
- Pigtail hoses
- Mounting hardware
- Accessible propane lines
- Appliance connections
- Detector operation
If you smell propane during the inspection, stop. Do not attempt to relight an appliance or investigate the leak yourself.
Have the propane system professionally tested before using it. A pressure test is inexpensive and can reveal problems that are difficult to see. For more on propane system inspection, see our RV Propane System Safety and Maintenance guide.
Inspect Tires, Wheels, and Running Gear
Tires are a common source of expensive surprises.
Check:
- Tire tread depth
- Cracking or sidewall damage
- Bulges or blisters
- Uneven wear
- Date codes on all tires
- Valve stems
- Wheel condition
- Lug nuts
- Wheel bearings, if accessible
RV tires often age out before they wear out. Tires older than six or seven years may need replacement regardless of tread depth.
Inspect the suspension components for cracks, damage, or excessive rust. Check the springs, shackles, equalizers, and hangers.
Towables require inspection of the hitch, coupler, safety chains, and breakaway system, while motorhomes need checks on the chassis, brakes, steering, and driveline. For a complete tire guide, see our RV Tire Safety post. Suspension and running gear are covered in our RV Suspension Maintenance guide.
Check the Frame and Undercarriage
The frame supports everything else. Look for:
- Rust and corrosion
- Cracks or bent members
- Welded repairs
- Damage from impacts
- Loose or missing hardware
- Corrosion around tank mounts
- Sagging underbelly material
- Trapped water beneath the RV
Some surface rust is normal, but deep scaling, cracked welds, or significant structural damage requires professional evaluation.
If the underbelly is sagging or bulging, it may contain trapped water. Do not puncture it while inspecting — the water may release suddenly. For more on underbelly inspection, see our RV Underbelly Inspection and Rodent Prevention guide.
Inspect the Interior
Look at the interior as a user, not just as an inspector.
Check:
- Flooring for soft or swollen areas
- Cabinetry for alignment and security
- Drawers and doors for smooth operation
- Furniture mounting and condition
- Mattress and upholstery condition
- Window operation
- Door operation
- Slide-out operation
- Roof vents and skylights
- Bathroom fixtures
- Shower pan and seals
Operate the slide-outs through a full cycle. Watch for uneven movement, unusual sounds, or incomplete retraction. Test the awning extension and retraction.
Look underneath mattresses and cushions for hidden moisture or mould. Open every cabinet and look inside.
Test the Safety Equipment
Safety equipment may need replacement even if it appears functional.
Check:
- Smoke alarm
- Carbon-monoxide alarm
- Propane detector
- Fire extinguisher
- Emergency exits
- Breakaway system (on towables)
Most detectors have a limited service life. Check the dates and note if replacement is needed. A missing or expired detector is not a deal-breaker but should be factored into your offer.
Take a Test Drive or Tow
If the RV is a motorhome, drive it. If it is a towable, tow it if possible with the seller’s permission and an appropriate tow vehicle.
During a test drive:
- Listen for unusual engine, transmission, or brake noises
- Check steering for wander or vibration
- Test brakes at low and moderate speed
- Check instrument panel for warning lights
- Confirm that all gauges operate
- Observe the air-conditioning and heating
- Check the mirrors and visibility
During a tow test:
- Confirm the trailer tracks straight
- Test the brakes at low speed
- Listen for unusual noises from the suspension
- Check that the lights work
- Watch for sway or instability
If you cannot test the RV yourself, arrange for a qualified technician to do so.
Review the Documentation
Before committing to the purchase, gather:
- Clear title in the seller’s name
- Bill of sale
- Maintenance records
- Warranty documents
- Manuals for the RV and appliances
- Recall documentation
- Any inspection reports
Check that the VIN or serial number on the RV matches the documentation. Look for signs of tampering.
If the seller cannot provide a clean title, walk away.
Estimate the True Cost
Purchase price is only part of the cost of ownership. Budget for:
- Immediate repairs or replacements
- Tires if older than six years
- Batteries if weak
- Detectors if expired
- Fluid changes if due
- Professional inspection fees
- Insurance
- Registration and taxes
- Storage
- Ongoing maintenance
A used RV that seems affordable may require several thousand dollars of work in the first year. Factor that into your decision.
Know When to Walk Away
Walk away if you find:
- Significant water damage or delamination
- Soft flooring, walls, or ceiling
- Active plumbing leaks
- Propane leaks or evidence of fire
- Serious chassis or frame damage
- Cracked or damaged holding tanks
- Major electrical problems
- Missing or unclear title documentation
- A seller who is evasive or unwilling to allow inspection
Some problems can be repaired. Others indicate the RV has been neglected or damaged beyond reasonable repair. Trust your instincts — if something feels wrong, it usually is.
A Used-RV Inspection Checklist
Before committing to purchase, confirm:
- Seller history and documentation are clear.
- Title is clean and matches the seller.
- Exterior has no significant delamination or damage.
- Roof and seals appear intact.
- No signs of water intrusion or soft materials.
- Plumbing holds pressure and shows no leaks.
- Every appliance has been tested.
- Electrical system works on both 12-volt and 120-volt.
- Propane system has been professionally tested.
- Tires are within age and condition limits.
- Suspension and running gear are sound.
- Frame and undercarriage show no structural damage.
- Interior is dry, secure, and functional.
- Slide-outs, awnings, and steps operate correctly.
- Safety equipment is present and within service life.
- Test drive or tow revealed no major issues.
- Total cost — including repairs and upgrades — fits your budget.
Used RV Inspection: Key Takeaways
Buying a used RV rewards patience and preparation. The best purchase is not the one with the lowest price — it is the one you can confidently use, maintain, and enjoy. Inspect carefully, ask direct questions, and do not let enthusiasm override evidence.
A professional pre-purchase inspection is often the single best investment you can make. It is far less expensive than discovering structural damage after the sale.
If a used RV passes your inspection and matches your needs, it can provide years of dependable travel at a fraction of the cost of a new one. That is the appeal of buying used — but it only works when the inspection is thorough. For more industry guidance on RV construction and safety standards, see the RV Industry Association.