
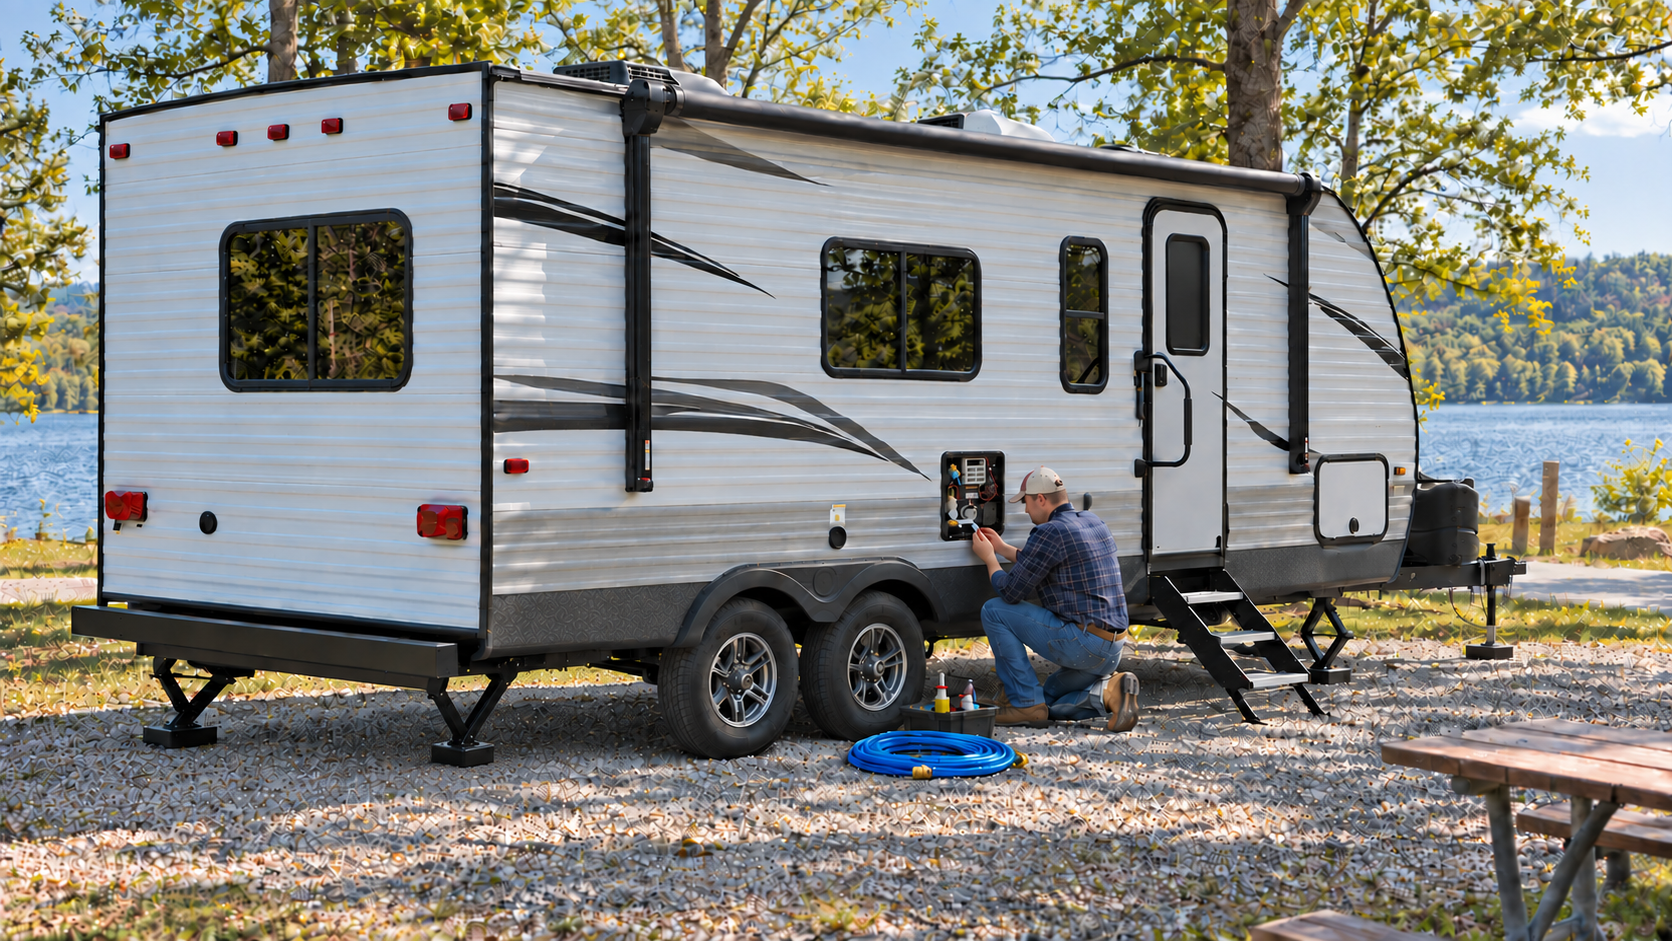
Learning how to de-winterize an RV prepares its plumbing, appliances, safety equipment, and travel systems for another camping season. The process involves more than flushing antifreeze from the water lines. It is also an opportunity to inspect the RV for winter damage, restore the water heater correctly, sanitize the fresh-water system, check for leaks, and test essential equipment.
RV plumbing systems vary. Valve locations, winterizing kits, water heaters, filters, appliances, and drain arrangements may differ from one RV to another. Always consult the instructions supplied with your RV and its components before beginning.
Do not energize the water heater on propane or electricity until you have confirmed that its tank is completely full of water. Operating an empty water heater can damage the heating element or other components.
When Should an RV Be De-Winterized?
De-winterize only when the RV will no longer be exposed to freezing temperatures or when dependable heat will be maintained.
A brief overnight freeze can damage plumbing after the antifreeze has been removed. Check the extended forecast and consider the conditions where the RV is stored, transported, and used.
If freezing weather remains possible, you may need to delay de-winterizing or be prepared to winterize the plumbing again.
Tools and Supplies
The exact supplies will depend on your RV, but commonly needed items include:
- The RV and appliance owner’s manuals
- A drinking-water-safe hose
- A water-pressure regulator
- Household bleach or an RV fresh-water sanitizer approved by the manufacturer
- A measuring container
- A funnel or another suitable filling method
- Replacement water-filter elements
- A water heater drain cap, drain plug, or anode rod, as applicable
- The correct socket and hand tools
- Plumber’s tape, if specified by the component manufacturer
- Flashlight
- Towels or absorbent cloths
- Disposable gloves
- Safety glasses
- Tire-pressure gauge
- Battery-terminal cleaning supplies
- Leak-detection solution approved for propane systems
Never use automotive antifreeze in an RV fresh-water system. RV plumbing antifreeze is normally non-toxic, but it should still be thoroughly flushed from the plumbing before the system is used.
Step 1: Inspect the RV Before Connecting Utilities
Begin with a general inspection before connecting water, shore power, or propane.
Walk around the exterior and look for:
- Roof or exterior damage
- Cracked, separated, or deteriorated sealant
- Loose mouldings or trim
- Damaged vents, skylights, or covers
- Signs of water intrusion
- Pest entry points or nests
- Damaged wiring or hoses
- Leaks beneath the RV
- Tire cracking, bulges, or abnormal wear
- Debris obstructing appliance vents
Inspect the interior for water stains, soft materials, unusual odours, mould, rodent damage, and insect activity. Check cabinets, storage compartments, plumbing areas, and spaces around windows and roof openings.
Do not operate an appliance if its vent is blocked or damaged.
Step 2: Inspect and Restore the Battery System
Inspect the batteries before placing them back into service.
Look for:
- Cracked or swollen battery cases
- Loose connections
- Corroded terminals
- Damaged cables
- Signs of overheating
- Low electrolyte levels in serviceable flooded lead-acid batteries
Clean and tighten connections according to the battery manufacturer’s instructions. Charge the batteries using equipment compatible with their type and specifications.
If the batteries were removed for storage, confirm their polarity before reconnecting them. Reversing the positive and negative cables can damage electrical equipment.
Reconnect the battery or turn on the battery disconnect only after confirming that the system is safe.
Step 3: Check the Plumbing System’s Winterized Configuration
Before introducing water, determine how the RV was winterized.
Confirm the position and condition of:
- Fresh-water tank drain
- Low-point drains
- Water heater drain opening
- Water heater bypass valves
- Water-pump winterizing valve
- Antifreeze pickup hose
- Water-filter bypass
- Exterior shower controls
- Washer or dishwasher connections, if equipped
- Ice-maker and refrigerator water lines, if equipped
If the water pump drew antifreeze from a container through a winterizing hose, return the winterizing valve to the position that allows the pump to draw from the fresh-water tank. Secure or cap the pickup hose as required.
Reinstall any caps or plugs required for the fresh-water tank and low-point drains. Leave the water heater in bypass mode at this stage.
Do not return the water heater bypass valves to normal operation yet. The water heater should remain isolated until the antifreeze has been flushed from the rest of the plumbing.
Step 4: Flush Antifreeze From the Plumbing
The plumbing can usually be flushed using a pressurized campground connection or the RV’s fresh-water tank and water pump.
If using a city-water connection:
- Confirm that the fresh-water tank and low-point drains are closed.
- Attach a drinking-water-safe hose.
- Install a water-pressure regulator if required.
- Connect the hose to a potable-water supply.
- Turn on the water gradually and inspect for leaks.
If using the onboard fresh-water system:
- Close the fresh-water tank and low-point drains.
- Add potable water to the fresh-water tank.
- Confirm that the winterizing valve allows the pump to draw from the tank.
- Turn on the water pump.
- Allow the system to pressurize while checking for leaks.
Keep the water heater bypassed throughout the flushing process.
Beginning with the fixture farthest from the water source, open each cold-water faucet until the water runs clear. Then open the hot-water side and allow it to run until it is clear.
Flush every water-connected fixture and appliance, including:
- Kitchen faucet
- Bathroom faucet
- Shower
- Toilet
- Exterior shower
- Outdoor kitchen faucet
- Drinking-water dispenser
- Washer connections
- Dishwasher
- Ice maker
- Refrigerator water dispenser
- Black-tank flush connection, if applicable and used according to its instructions
Operate the toilet several times. Flush both the hot and cold sides of single-handle faucets by moving the handle fully to each position.
Pink colouring may disappear before all antifreeze has been removed. Continue flushing until the water is clear, free of foam, and no longer has an antifreeze odour.
Collect discharged water where required and dispose of it according to local regulations. For more on RV water systems, see our RV Plumbing Basics guide.
Step 5: Return the Water Heater to Normal Operation
Only after the antifreeze has been flushed from the plumbing should the water heater be returned to normal operation.
First, shut off the water supply or water pump and relieve pressure by opening a faucet.
Inspect the water heater. Depending on its design, reinstall the correct:
- Drain cap
- Drain plug
- Anode rod
Inspect the component and its threads before installation. Replace a severely deteriorated anode rod or damaged sealing component according to the water heater manufacturer’s instructions. Do not overtighten plastic drain components.
Set the water heater bypass valves to their normal operating positions. Valve arrangements vary, so follow the labels and manufacturer’s diagram for your RV.
Restore the water supply or turn on the pump. Open a hot-water faucet and allow air to escape while the water heater fills. Do not be alarmed by sputtering while air is being displaced.
When water flows steadily from the hot-water faucet without bursts of air, close the faucet and inspect the water heater, drain fitting, bypass valves, and nearby plumbing for leaks.
Important: Do not turn on the water heater’s propane burner or electric heating element until you have confirmed that the tank is completely full of water.
Tankless water heaters and hydronic systems may require different procedures. Follow the instructions supplied by their manufacturers. For step-by-step water heater draining and flushing, see our How to Drain and Flush an RV Water Heater guide.
Step 6: Reinstall Water Filters
If water-filter elements were removed during winterization, inspect the housings before installing new elements.
Check for:
- Cracks
- Damaged threads
- Deteriorated seals
- Missing O-rings
- Debris inside the housing
- Improperly positioned bypass valves
Clean the housings and lubricate O-rings only with a product approved by the filter manufacturer. Install the correct replacement elements and tighten the housings according to the manufacturer’s instructions.
If the filters are installed before sanitizing, confirm whether the sanitizer is compatible with them. Some manufacturers recommend leaving filter elements out or keeping the filter bypassed during sanitation.
Step 7: Sanitize the Fresh-Water System
The fresh-water system should normally be sanitized at the beginning of the camping season, after contamination is suspected, or at the interval recommended by the RV manufacturer.
Use the sanitizer concentration and contact time specified by the RV or component manufacturer. If using household bleach, confirm that it is plain, unscented bleach without added cleaners, fragrances, thickeners, or splash-control ingredients.
Never pour concentrated bleach directly onto RV surfaces or into plumbing components. Prepare and add the sanitizing solution using the method specified by the manufacturer.
A common sanitation process includes:
- Drain the fresh-water tank if necessary.
- Prepare the correct amount of sanitizing solution.
- Add the solution to the fresh-water tank using an approved method.
- Fill the tank with potable water.
- Turn on the water pump.
- Open each hot and cold fixture until the sanitizing solution reaches it.
- Flush the toilet and all other water-connected equipment.
- Allow the solution to remain in the system for the specified contact time.
- Drain the fresh-water tank and plumbing.
- Refill the tank with potable water.
- Flush every fixture until the chlorine odour is reduced to an acceptable level.
- Repeat the fresh-water flush if necessary.
The water heater, filters, ice maker, washer, dishwasher, and other water-connected equipment may have specific sanitation instructions. Follow the manufacturer’s procedure for each component.
Do not mix bleach with vinegar, ammonia, holding-tank chemicals, or other cleaning products. Mixing chemicals can create dangerous gases.
Step 8: Pressure-Test the Plumbing and Check for Leaks
After flushing and sanitizing, pressurize the plumbing with the water pump.
Once the pump stops, do not use any water for several minutes. Listen for the pump cycling when no fixture is open. Repeated cycling may indicate a leak, a faulty check valve, trapped air, or another pressure-system problem.
Inspect:
- Water-pump connections
- Pump strainer
- Fresh-water tank fittings
- Low-point drains
- Water heater drain fitting
- Water heater bypass valves
- Filter housings
- Faucets
- Toilet valve
- Shower fittings
- Exterior shower
- Connections beneath sinks
- Appliance water lines
- Plumbing inside storage compartments
Dry each area before testing so new moisture is easy to identify. Use a flashlight and check beneath fittings with a clean paper towel or dry cloth.
Watch for slow drips, dampness, swelling, or staining. Some leaks appear only after the plumbing has remained pressurized for a period of time.
Correct leaks before leaving the RV unattended.
Step 9: Test the Water Pump and Tank-Monitoring System
Fill the fresh-water tank partially and operate the plumbing using the onboard pump.
The pump should:
- Prime within a reasonable period
- Provide steady water flow
- Stop after the system reaches pressure
- Remain off when no water is being used
- Operate without unusual noise or vibration
Inspect the pump strainer and nearby fittings for leaks.
Check the tank-monitoring panel. Holding-tank sensors are often affected by residue and may not be perfectly accurate, but the fresh-water reading should respond as the tank level changes.
Step 10: Inspect the Wastewater System
Inspect the sewer outlet, termination valves, caps, and exposed plumbing before using the holding tanks.
Look for:
- Cracks
- Loose fittings
- Missing caps
- Damaged valve handles
- Signs of leakage
- Pest damage
- Deteriorated seals
Add water to the black and grey tanks before their first use. Never leave the black tank completely dry during normal operation.
Verify that the toilet seal holds a small amount of water in the bowl. Clean and lubricate the seal only with products approved by the toilet manufacturer.
Wear gloves when handling wastewater equipment and wash your hands afterward.
Step 11: Restore and Inspect the Propane System
Inspect visible propane-system components before opening the cylinder or tank valve.
Look for:
- Cracked or damaged hoses
- Loose fittings
- Corrosion
- Regulator damage
- Blocked appliance vents
- Insect nests
- Soot
- Unusual discolouration
Open the propane supply valve slowly. Test accessible connections using an approved propane leak-detection solution. Never use an open flame to check for leaks.
If you smell propane, hear gas escaping, see bubbles forming at a connection, or suspect a leak:
- Do not operate electrical switches.
- Extinguish flames and smoking materials.
- Shut off the propane supply if it is safe to do so.
- Move everyone away from the RV.
- Have the system inspected by a qualified technician.
Propane pressure tests, regulator repairs, gas-valve repairs, and combustion adjustments should be performed by a qualified professional. For propane appliance safety, see our RV Propane System and Appliance Safety guide.
Step 12: Test Appliances
Test each appliance according to its manufacturer’s instructions.
Equipment may include:
- Refrigerator
- Furnace
- Water heater
- Air conditioner
- Range and oven
- Microwave
- Vent fans
- Generator
- Inverter
- Converter or charger
- Solar-charging system
- Washer or dishwasher
Test appliances one at a time and observe their operation.
For propane appliances, inspect the exterior vent while the appliance operates. Shut the appliance down if you notice soot, delayed ignition, unusual odours, abnormal flame behaviour, or repeated ignition failure.
Confirm again that the water heater is full before turning on either its propane burner or electric heating element.
Step 13: Inspect the Electrical System
Before connecting shore power, inspect the power cord, plug, adapters, and electrical inlet.
Do not use equipment with:
- Burned or discoloured terminals
- Melted plastic
- Cracked insulation
- Loose blades
- Damaged strain relief
- Signs of overheating
Use an electrical-management system or surge protector appropriate for the RV’s electrical service.
After connecting power, verify the operation of:
- Interior and exterior lights
- Electrical receptacles
- Ground-fault circuit interrupters
- Converter or battery charger
- Appliances
- Vent fans
- Slide-outs
- Levelling equipment
- Tank-monitoring panel
If a breaker trips repeatedly, a fuse continues to blow, or wiring becomes unusually hot, stop using the affected circuit and have it inspected. Never install a fuse or breaker with a higher rating to prevent it from opening.
Step 14: Test Safety Equipment
Test all safety devices before travelling or sleeping in the RV.
Inspect and test:
- Smoke alarm
- Carbon-monoxide alarm
- Propane alarm
- Fire extinguisher
- Emergency exits
- Entry-door lock
- Exterior lighting
- Breakaway switch on towable RVs
Replace detector batteries where applicable. Check the replacement date or service life printed on each detector. Replace expired units even if their test buttons still work.
Confirm that the fire extinguisher is properly charged, accessible, securely mounted, and suitable for RV use.
Make sure everyone travelling in the RV knows where the emergency exits and fire extinguisher are located. For more industry safety guidance, see the RV Safety & Education Foundation.
Step 15: Inspect the Roof and Exterior Seals
Inspect all roof and exterior openings for gaps, cracks, lifting, or deteriorated sealant.
Pay particular attention to:
- Roof edges
- Vents
- Skylights
- Antennas
- Solar-panel mounts
- Air conditioners
- Windows
- Doors
- Marker lights
- Exterior mouldings
- Ladders
- Awning mounts
- Utility connections
Use only sealants approved for the RV’s roof and exterior materials. Do not apply new sealant over loose, dirty, or incompatible material.
Water intrusion can cause extensive hidden damage. Investigate staining, softness, swelling, or musty odours promptly.
Step 16: Inspect Tires, Wheels, Brakes, and Running Gear
Check tire pressure when the tires are cold and adjust it according to the RV or chassis manufacturer’s specifications.
Inspect tires for:
- Cracks
- Cuts
- Bulges
- Embedded objects
- Uneven wear
- Flat spots
- Signs of ageing
Confirm tire age using the date code rather than appearance alone.
Check wheel fastener torque according to the manufacturer’s specifications and schedule. Inspect visible suspension, axle, bearing, brake, hitch, coupler, pin-box, safety-chain, and breakaway-system components.
Motorhomes should also receive the chassis inspections and fluid checks specified by their manufacturers.
Have abnormal tire wear, brake concerns, bearing noise, suspension damage, or hitch problems inspected by a qualified professional before travelling. For a complete tire guide, see our RV Tire Safety post.
Step 17: Operate Slides, Awnings, and Levelling Equipment
Remove any storage locks or travel restraints according to the manufacturer’s instructions.
Inspect the areas around slide-outs and awnings for debris before operating them. Watch and listen for:
- Uneven movement
- Binding
- Unusual noises
- Damaged seals
- Torn fabric
- Loose hardware
- Hydraulic leaks
- Frayed cables
- Misalignment
Operate levelling equipment only on a suitable surface and according to its instructions. Stabilizers are not designed to lift the RV unless the manufacturer specifically states otherwise.
Stop operating any mechanism that binds, moves unevenly, or makes unfamiliar noises.
Step 18: Complete a Final Spring Readiness Check
Before the first trip, confirm that:
- All RV antifreeze has been flushed from the plumbing
- The water-pump winterizing valve is in its normal position
- The water heater bypass is in its normal operating position
- The water heater is full
- The water heater drain cap, drain plug, or anode rod is installed correctly
- Fresh-water and low-point drains are closed
- Water-filter elements are installed correctly
- The fresh-water system has been sanitized
- Plumbing connections have been checked for leaks
- The water pump operates normally
- Wastewater valves and fittings are secure
- Propane equipment operates safely
- Electrical equipment has been tested
- Safety detectors are operational and within their service lives
- The fire extinguisher is ready and accessible
- Tires are properly inflated and inspected
- Wheel fasteners have been checked as required
- Brakes, bearings, suspension, and hitch components are ready for travel
- Exterior seals have been inspected
- Slides, awnings, and levelling equipment operate properly
- Required documents, emergency supplies, and roadside equipment are onboard
For a printable pre-trip checklist, see our RV Pre-Trip Inspection Checklist.
How to De-Winterize an RV: After the First Trip
Inspect the RV again after its first trip of the season.
Highway movement and system use may reveal problems that were not apparent while the RV was parked. Recheck:
- Plumbing fittings and filter housings
- Water heater connections
- Roof and exterior seals
- Tire pressure
- Wheel fastener torque
- Battery connections
- Propane equipment
- Slide-outs and awnings
- Storage compartments for moisture
Correct developing problems before the next trip.
How to De-Winterize an RV: Key Takeaways
A careful de-winterizing process does more than remove antifreeze. It restores each system in the correct order and gives you an opportunity to find leaks, winter damage, and equipment problems before travelling.
The most important plumbing sequence is to keep the water heater bypassed while flushing antifreeze from the water lines. Only after the antifreeze has been flushed should the bypass valves be returned to normal operation and the water heater filled.
Never energize an empty water heater, never ignore a suspected propane leak, and do not travel with unresolved tire, brake, suspension, hitch, or electrical concerns.
With a methodical inspection and complete spring checklist, your RV will be better prepared for safe, reliable travel throughout the camping season.