
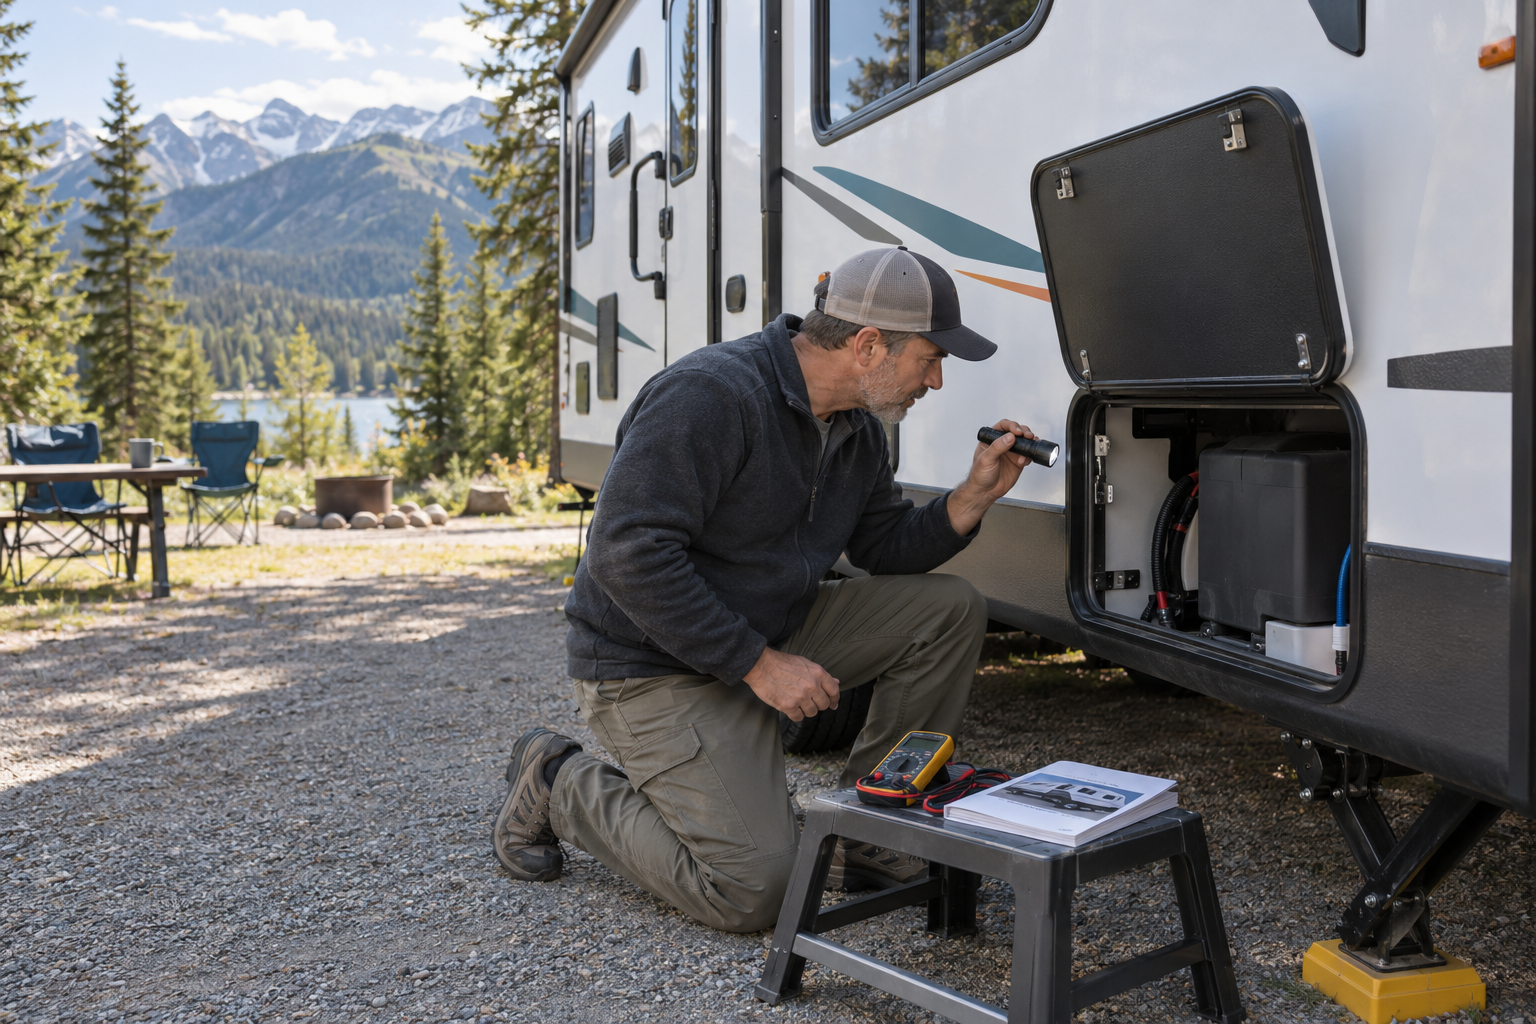
Common RV Problems and How to Troubleshoot Them
Common RV problems can develop even in a well-maintained RV, whether you’re travelling or sitting at a campsite. A light may stop working, the water pump may run without building pressure, or an appliance may suddenly refuse to start. Some issues have simple causes that an RV owner can safely check, while others require a qualified RV technician.
The key to RV troubleshooting is to slow down and identify which system is affected. Avoid replacing parts until you have checked the power source, controls and simplest possible causes.
Common RV Problems: Start With the Simple Checks
Before examining individual components, look for anything that recently changed. Consider whether the problem began after connecting to shore power, filling the fresh-water tank, replacing a propane cylinder, moving the RV or operating another appliance.
Start with these basic checks:
- Confirm that the RV has the required power, water or propane supply.
- Check whether the affected appliance is switched on.
- Look for loose plugs, disconnected cables and closed valves.
- Confirm that the battery-disconnect switch is in the correct position.
- Check the RV’s monitor panel for battery and tank information.
- Read the appliance manual for operating requirements and fault codes.
- Determine whether the problem affects one component or an entire system.
Test the easiest and safest possibilities first. A single light that fails probably has a different cause than every 12-volt light going out at once.
Know When to Stop
Stop troubleshooting and arrange professional service if you smell propane, see smoke or sparks, find burnt or melted wiring, discover dangerously hot electrical components, or suspect a carbon-monoxide leak.
Do not bypass a fuse, circuit breaker, safety switch, propane detector or other protective device. Never work inside a live 120-volt electrical panel, modify propane equipment or open a sealed appliance combustion system unless you have the required training. For more industry safety guidance, see the RV Safety & Education Foundation.
The RV Has No 12-Volt Power
The RV’s 12-volt system normally powers its lights, water pump, vent fans, control boards and safety detectors. If several of these components stop working together, begin at the battery and main power controls.
Check the following:
- Confirm that the battery-disconnect switch is on.
- Inspect the battery terminals for looseness or corrosion.
- Check the battery’s state of charge with an appropriate meter.
- Look for a blown main fuse or tripped 12-volt circuit breaker near the battery.
- Inspect the fuse panel for a blown circuit fuse.
- If connected to shore power, determine whether the converter is supplying charging voltage.
A fuse normally blows because excessive current passed through the circuit. Replace it only with a fuse of the same type and amperage. If the replacement fuse blows again, stop and have the circuit inspected.
A weak battery may still operate a light while failing under a heavier load. Voltage measurements should therefore be considered alongside the battery’s condition, age and performance under load.
The RV Has No 120-Volt Power
The 120-volt system supplies standard receptacles and larger appliances such as the air conditioner and microwave. If the entire RV loses 120-volt power, first determine whether power is available at the campsite pedestal or household receptacle.
Check that:
- The shore-power cord is completely connected.
- The pedestal breaker is on.
- The RV’s main circuit breaker has not tripped.
- The power cord and plug show no signs of overheating or damage.
- A surge protector or electrical management system is not displaying a fault.
- The available electrical service matches the RV’s requirements.
To reset a tripped circuit breaker, move it fully to the off position before switching it back on. If it trips again, disconnect the affected load and arrange an inspection.
A single dead receptacle may be protected by a ground-fault circuit interrupter. Locate the GFCI receptacle—often found in the bathroom, kitchen or exterior area—and press its reset button. One GFCI can protect several downstream receptacles.
Do not repeatedly reset a breaker or GFCI that continues to trip. Persistent tripping may indicate an overloaded circuit, damaged appliance, moisture problem or wiring fault. For more on how the RV’s electrical system works, see our Understanding RV Electrical Systems guide.
The Battery Is Not Charging
A battery that does not charge may have a poor connection, a failed charging source or internal damage.
Confirm that the RV is receiving shore power and that the converter’s breaker and fuses are intact. Inspect the battery terminals and cables, then measure voltage at the battery with the charging system off and again while it is operating.
The expected voltage depends on the battery type, state of charge, temperature and charging stage. Consult the battery and converter manufacturers’ specifications rather than relying on one universal number.
If the charging voltage reaches the battery but the battery will not hold a charge, the battery may require testing or replacement. Before installing a different battery chemistry, confirm that the RV’s converter or charger is compatible with it. For detailed battery care, see our RV Battery Maintenance guide.
The Water Pump Runs but No Water Flows
If the fresh-water tank contains water but the pump cannot build pressure, check for a simple supply or priming problem.
Look for:
- An empty or incorrectly reading fresh-water tank.
- A winterization valve left in the bypass or suction position.
- A loose pump strainer or fitting allowing air into the inlet.
- A clogged pump strainer.
- A kinked or obstructed water line.
- An open low-point drain.
- A city-water or tank-fill valve in the wrong position.
- Air trapped in the plumbing after the system was drained.
Open one cold-water faucet and allow the pump time to prime. Do not let it run dry for an extended period. If the pump continues running without drawing water, switch it off and inspect the inlet side for air leaks or restrictions.
The Water Pump Will Not Stop Running
A pump normally stops when the plumbing reaches its preset pressure. If it continues running, first check for an open faucet, exterior shower, toilet valve or visible leak.
The pump may also continue cycling because of:
- Air trapped in the system.
- A loose fitting or cracked line.
- A leaking water-heater drain plug.
- A defective check valve.
- A contaminated or damaged pump strainer.
- A pressure-switch or internal pump problem.
Inspect accessible areas, including cabinets and storage compartments, for moisture. Shut the pump off immediately if water is escaping into the RV.
There Is Low Water Pressure
Low pressure at every fixture may result from a restricted campground supply, clogged pressure regulator, blocked filter, dirty pump strainer or improperly positioned valve.
If only one faucet has weak flow, remove and clean its aerator. Mineral deposits and debris commonly collect in faucet screens and showerheads.
When connected to city water, use a regulator designed for RV plumbing. Excessive campground pressure can damage fittings and fixtures. If a replaceable inline filter has become restricted, change it according to its manufacturer’s instructions.
A Holding Tank Smells Inside the RV
Holding-tank odours can enter through a dry drain trap, dirty toilet seal, open roof vent near a tank vent, plumbing leak or blocked vent stack.
Begin by running water into infrequently used sinks and showers to refill their traps. Clean the toilet bowl seal and confirm that it holds water. Make sure the tank contains enough liquid for waste to move freely, and use only tank treatments that are compatible with the RV’s plumbing and local disposal requirements.
Do not leave the black-tank valve continuously open at a full-service campsite. Liquids can drain away while solids remain behind. Keep the valve closed, allow the tank to accumulate sufficient liquid, and empty it when appropriate.
Persistent odours may require inspection of the roof vent, air-admittance valves, toilet seal and accessible drain connections. For detailed holding tank care, see our RV Holding Tank Maintenance guide.
The Water Heater Does Not Produce Hot Water
First identify whether the water heater is operating on propane, electricity or both. Confirm that the tank is full before turning on an electric heating element. Operating a conventional tank-style element without water can destroy it quickly.
Check that:
- The water-heater bypass valves are in the normal operating position.
- The propane cylinder valve is open and other propane appliances operate.
- The applicable 12-volt fuse and 120-volt breaker are intact.
- The exterior water-heater switch, if equipped, is on.
- The appliance is not displaying a fault.
- The outside access area is clear of insect nests and debris.
If water is only lukewarm, an outside shower with both taps open and its showerhead shut off can allow hot and cold water to mix throughout the plumbing system. Close both shower valves completely.
Do not adjust propane components or remove protective covers from live electrical equipment. Ignition failures, gas-valve problems and damaged wiring require qualified service. For step-by-step water heater diagnosis, see our RV Water Heater Maintenance and Troubleshooting guide.
The Furnace Will Not Start
An RV furnace normally needs propane and 12-volt power. The blower must reach sufficient speed before the furnace permits ignition.
Check the thermostat setting, propane supply, battery condition and furnace fuse. Make sure the interior return-air opening and exterior intake and exhaust vents are unobstructed.
If the blower starts but the burner does not ignite, low battery voltage, restricted airflow, an ignition fault or a safety-switch problem may be involved. Do not place tools or fingers inside the exterior furnace openings, and never attempt to bypass the sail switch or limit switch.
Turn the furnace off and seek service if it repeatedly attempts ignition, produces unusual noises, smells strongly of exhaust, leaves soot around the vent or shuts down unexpectedly. For step-by-step furnace diagnosis, see our RV Furnace Maintenance and Troubleshooting guide.
The Air Conditioner Runs but Does Not Cool Properly
Begin with airflow. Clean or replace the interior filters and make sure the ceiling vents are open. Check that the return-air opening is not blocked.
Other possible causes include:
- Low campground voltage.
- Extremely high outdoor temperature.
- Direct sunlight heating the RV.
- Cold air leaking into the return-air side of the ceiling assembly.
- Dirty evaporator or condenser coils.
- A frozen evaporator coil.
- Fan, capacitor or compressor problems.
Close windows and roof vents while the air conditioner is operating. Use window shades and start cooling before the interior becomes excessively hot.
Rooftop service involves fall hazards and electrical components that can retain a dangerous charge after power is disconnected. Internal electrical repairs and refrigerant work belong to a qualified technician. For step-by-step air conditioner care, see our How to Maintain Your RV Air Conditioner guide.
The Refrigerator Is Not Cooling
RV refrigerator troubleshooting depends on the type of refrigerator installed. Absorption refrigerators, compressor refrigerators and residential-style refrigerators have different power and operating requirements.
For an absorption refrigerator, confirm that the RV is reasonably level when parked, the exterior vents are clear and the selected energy source is available. Cooling can take several hours, especially when warm food is placed inside.
For a compressor refrigerator, check its 12-volt or 120-volt supply, ventilation requirements and control settings. Avoid blocking interior air circulation with tightly packed food.
If an absorption refrigerator produces a strong ammonia smell or shows yellow residue near the cooling unit, switch it off, ventilate the area and arrange professional service. For detailed refrigerator diagnosis, see our RV Refrigerator Maintenance and Troubleshooting Basics guide.
The Slide-Out Will Not Move
Before operating a slide-out, confirm that the RV is positioned according to the manufacturer’s instructions and that nothing obstructs the room inside or outside.
Check the battery charge, required ignition or parking-brake interlocks, slide-out fuse or breaker, and the position of any control or isolation switches. Listen for the motor or hydraulic pump when the switch is pressed.
Stop immediately if one side moves while the other does not, the room becomes crooked, or the mechanism makes grinding or repeated clicking sounds. Continuing to operate a misaligned slide can cause expensive structural damage.
Emergency retraction procedures differ by manufacturer. Follow the exact instructions for the installed slide system rather than forcing the room manually. For detailed slide-out care, see our RV Slide-Out Maintenance guide.
Exterior Lights Are Not Working
If one trailer light fails, inspect its bulb or LED assembly, socket and local connection. If several towing lights fail, check the tow-vehicle connector, trailer plug and corresponding fuses.
Corrosion, damaged wiring and poor ground connections commonly cause intermittent trailer-light problems. Look for bent connector pins, dirt, moisture and loose wiring without probing live circuits carelessly.
Test the running lights, brake lights and turn signals before every trip. Do not tow the RV until its required road lighting works correctly.
An RV Tire Keeps Losing Pressure
Inflate RV tires according to the RV manufacturer’s load and inflation information or a tire manufacturer’s load table based on actual loaded wheel-position weights. Do not use the maximum pressure moulded into the tire sidewall as an automatic inflation recommendation.
A recurring pressure loss may come from:
- A puncture.
- A leaking valve stem or valve core.
- Bead damage or corrosion.
- Wheel damage.
- Temperature changes.
- An improperly repaired tire.
Inspect the tire for cuts, bulges, cracking, uneven wear and embedded objects. Do not crawl beneath an unsupported RV or attempt to repair a tire that has structural damage. A tire professional should inspect unexplained or repeated pressure loss.
Keep Notes While Troubleshooting
Record what happened before the problem began, which systems were operating and what you checked. Photograph fault codes, monitor-panel readings and damaged components. Note the RV’s battery voltage, power source, outside temperature and fluid levels when relevant.
Clear records help prevent repeated tests and give a technician useful information if professional diagnosis becomes necessary. Include appliance model and serial numbers whenever requesting technical support.
Troubleshoot Safely and Methodically
Many common RV problems begin with a lost power source, low battery, incorrect valve position, blocked airflow or loose connection. A careful owner can often identify these causes without dismantling equipment.
Work through one system at a time, make only one change before retesting and never defeat a safety device. When the cause remains unclear—or when the problem involves propane, combustion, brakes, structural damage or live 120-volt equipment—stop and call a qualified professional. For a printable pre-trip inspection checklist, see our RV Checklists page.